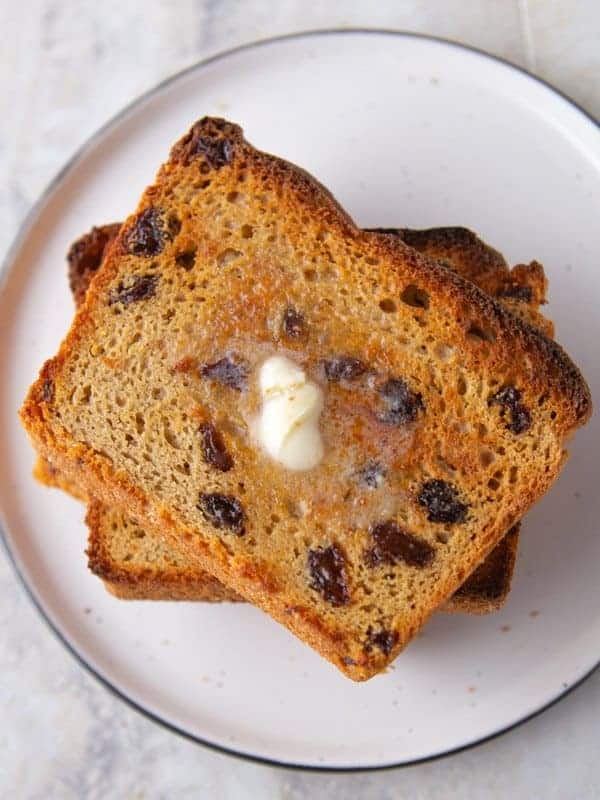
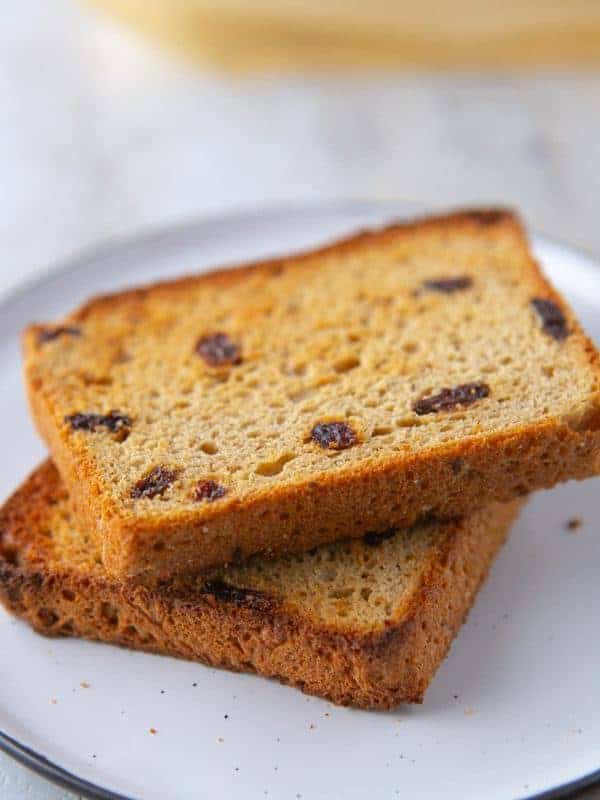
Gluten-Free Cinnamon Raisin Bread Recipe! Easy to make. Not too sweet. Perfect for toasting or as a base for French Toast.
Cinnamon raisin bread is one of my favorites—and I don’t usually like raisins!
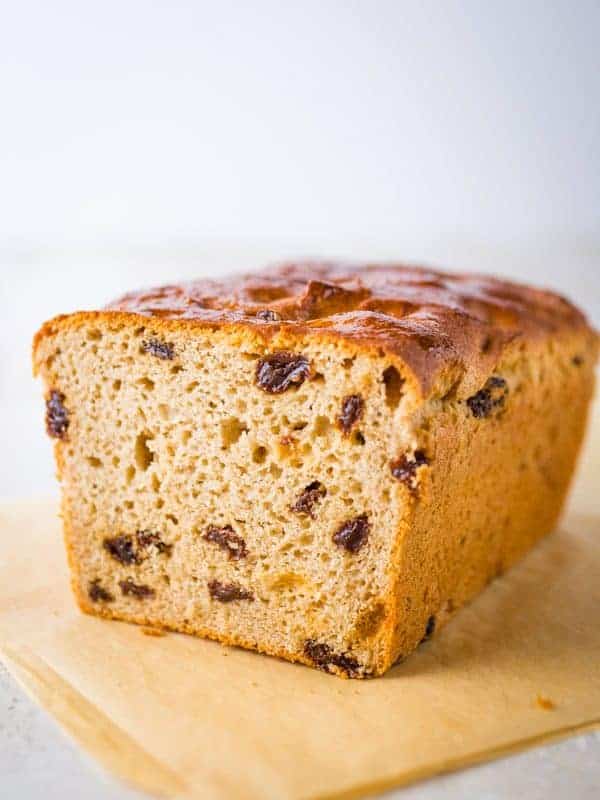
This recipe, based on my popular gluten-free sandwich bread, makes a loaf that’s soft and tender but not too sweet. It’s a wonderful loaf for beginner gluten-free bakers.
How to Make Gluten-Free Cinnamon Raisin Bread
- Start with a Soft Dough
To get a soft and tender gluten-free bread, this recipe starts with a really wet dough. How wet? Think of a thick cake batter. That’s what it looks like. The reason for this is that brown rice flour and tapioca starch perform better when they’re fully hydrated. It allows the dough to rise nice and high.To ensure the flour and starches absorb all the liquid in the recipe, mix the dough for about five minutes. Although it might not look like anything is happening during that time, two important changes are occurring as the dough mixes. First, the dough temperature rises, which the yeast loves, and the flour and starch absorb the liquid. At the end of mixing, the dough should look soft, shiny, and smooth. - Stir in Raisins Last.
After mixing the dough, stop the mixer and add the raisins. Adding the raisins at the end prevents the raisins from breaking up as the dough mixes. (If you don’t love raisins in your cinnamon bread, skip them!) - Allow the Dough to Rise—but just once.
Spread the dough evenly into a greased 8×4 inch loaf pan. Cover it with a piece of greased plastic wrap and allow to rise for about an hour. While traditional yeast-dough usually go through two rises, this dough doesn’t benefit from a double rise.Once the dough has reached the top of the pan, preheat your oven. If you wait until the dough fully rises to preheat the oven, it can over-rise and collapse during baking. - Bake to 210 degrees F.
Using a digital thermometer is the best way to know if a loaf of bread is done. Insert the thermometer in the center of the loaf. The temperature should read about 210 degrees F. If the top browns before the center of the loaf is done, place a piece of foil over the bread and finish baking. - Cool (at least a little) before eating.
Freshly baked bread is delicate. Allow the bread to cool in the pan for about five minutes and then transfer to a wire rack. Placing the loaf on a raised wire rack allows the steam to escape and prevents the bottom of the loaf from getting soggy.It’s best to wait until the loaf if fully cool before slicing. If you can’t wait that long, wait at least 20 minutes. This allows the starches to set. - Slice and enjoy or slice and freeze.
This bread keeps for about three days on the counter or about three months frozen. To freeze the loaf, allow it to cool completely. Wrap with plastic wrap and place in a freezer bag. Or slice the bread into individual slices, place a piece of waxed paper between each slice, wrap in plastic wrap and freeze in a storage bag.
What Gluten-Free Flour Blend Should I Use?
For yeast breads, like my gluten-free sandwich bread, it’s best to use a homemade gluten-free flour blend. My preferred blend contains brown rice flour, tapioca starch, and xanthan gum. If you use a commercial blend, make sure it’s recommended for use with yeast breads. Some are not.
What’s the Best Yeast to Use for Gluten-Free Bread?
Instant dry yeast, also called “rapid rise”, “quick yeast” or “fast acting yeast” is an excellent choice for gluten-free yeast breads. It dissolves quickly and, as the name implies, works quickly.
How long does the dough take to rise?
This loaf takes about 45 minutes to rise. Very warm or very cold environments will impact how long the dough takes to rise. You want the loaf to have doubled in size before baking.
How do you know when the loaf has risen enough?
Look for the dough to have doubled in size. If it rises higher than that, it can sink during baking or cooling.
Can I Use Almond Flour?
Not in this recipe.
Can I make this bread without eggs?
No. Sorry.
Can I make this loaf without milk or butter?
Yes! Replace both the milk and melted butter with your favorite dairy-free alternative.
Can I use this recipe for cinnamon buns?
No. This recipe makes a very soft gluten-free dough. It can’t be rolled into cinnamon buns.
My loaf sank in the center. What happened?
It probably rose too much. THere’s a balance between a rise that’s enough and too much. When gluten-free yeast dough rises too much, it deflates when it bakes, causing it to sink.
Gluten-Free Cinnamon Raisin Bread
Soft and tender gluten-free cinnamon raisin bread.
Ingredients
- 3/4 cup milk about 110° F (6 ounces; 170 grams)
- 1 packet instant/rapid rise yeast 2 1/4 teaspoons; 7 grams
- 1 1/2 cups brown rice flour 7 ounces; 200 grams
- 1 cup tapioca starch 4 ounces; 113 grams
- 4 tablespoons brown sugar sugar 2 ounces/54 grams
- 2 teaspoons xanthan gum
- 1 1/2 teaspoons cinnamon
- 1 teaspoon table salt
- 1/2 teaspoon baking powder
- 3 large eggs whisked (about 5 ounces; 150 grams total, out of shell)
- 2 tablespoons melted butter
- 1 teaspoon vanilla extract
- 1 cup raisins*
Instructions
-
Whisk together milk and yeast in a small bowl. Allow to stand for five minutes.
-
In the bowl of a stand mixer, combine brown rice flour, tapioca starch, brown sugar, xanthan gum, cinnamon, salt, and baking powder. Whisk to combine. Fit the stand mixer with the flat paddle attachment. Add the yeast mixture, eggs, melted butter, and vanilla extract. Mix on medium speed for five minutes. Dough will be thick. It will not form a ball.
-
Stop the mixer. Add the raisins. Turn mixer to low speed. Mix until raisins are incorporated.
-
Spray an 8-1/2" by 4-1/2" by 2-3/4" loaf pan with nonstick cooking spray. Spread dough evenly into the pan. Spay a piece of plastic wrap with nonstick cooking spray and place plastic wrap loosely on the pan. Allow dough to double in size. This takes about one hour.
-
When dough has doubled in size, preheat oven to 350°F. Remove plastic wrap from the top of the pan.
-
Bake until the internal temperature of the bread reaches 210°F, about 45 minutes. (If the crust gets too dark before the internal temperature reaches 210°F, place a piece of foil onto the bread. This prevents the crust from burning.)
-
Remove bread from the oven and allow to cool for two minutes. Transfer bread to a wire cooling rack to cool completely.
-
When cool, slice into pieces with a serrated knife.
-
Store bread on the counter for up to three days or freeze sliced bread, wrapped in freezer wrap with waxed paper between each slice, and placed into a freezer container, for up to six weeks.
Recipe Notes
Softening Raisins
The raisins should be soft to the touch. If your raisins are dry, place them in a small bowl. Pour just enough warm water over the raisins to cover. Allow the raisins to soak for about five to ten minutes. Drain the raisins and then use as directed.


Cassidy says
This was so easy to make and absolutely delicious! Can’t wait to try your other bread recipes.
Janet says
Can this bread be made without a stand up mixer? I hand mixed, it turned out brick shaped. Any tips for doing so?
Elizabeth says
It sounds like the issue was with the rise, not the mixing. Did the loaf almost double in size before baking?
Deb says
This is an absolutely terrific tasting loaf of raisin bread. It’s moist and full of flavour. It turned out exactly like it should. Thank you for this recipe. This is one that is now added to the “recipe box”;)
Sally says
Hi Elizabeth, I have Bob’s Red Mill 1 to 1 Gluten Free Baking Flour. Should I use the same amount as all your flours combined? So 1.5 cups brown rice flour + 1 cup tapioca flour + 2 tsp xanthan gum = 2.5 cups + 2 tsp flour?
Elizabeth says
Good question! I haven’t tried this one with Bob’s flour. So I can’t say for sure that it will work. However, I definitely think it’s worth a shot.
The replacement would be as you mention. However, you don’t need to replace the xanthan gum. So 2 1/2 cups of flour is what I’d try!
Jamie says
Thank you! This was delicious, easy, and I didn’t have to spend a lot of money to make it! Triple win : )
carol s williams says
I made this yesterday. I used bob’s redmill 1-1 flour and 1 cup corn starch. The absolute best gf bread ever. Better than any store brand.. Rose really well, and soft and tender.
Thank you for recipe
Elise says
So you replaced Bobs 1 to 1 for rice flour and replaced tapioca starch with corn starch?
Mel says
Wow! Just wow!! Thank you for sharing this amazing recipe.
Laura says
Delish! I used my own blend of flours instead of recipe and my rapid-rise yeast failed the first time. Thanks to my search engine, I found a Wiki article on how to rescue a flat loaf. The interior temperature tip also helped me bake a beautiful and tasty snack bread.
Selma Charles says
OMG!! 😊 Perfectly down
Ellen says
I have struggled with breadmaking ever since going gluten-free 20 years ago. This is the easiest and most delicious bread of its kind that I’ve ever tried to make. Thank you.!