
I love caramel. I love brownies. And I love salty-sweet treats. So when I saw Dorie Greenspan’s recipe for Salted Caramel Brownies, I knew I had to make them.
Oh.my.god.
Calling them “brownies” feels like a bit of an undersell. This is an over-the-top dessert. And the prep time reflects that. The brownie is easy to make. The caramel isn’t so easy. It takes a bit of time. So allow yourself enough time in the kitchen. It’s not a recipe that you want to rush through or try to make while your dog nuzzles against your leg or you are texting with a friend.
Let’s get going!
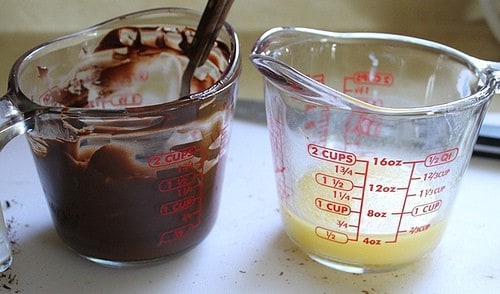
Butter and chocolate! Lots of folks melt them together. I like to melt them separately in the microwave since they both melt at different temperatures. It is one more dirty dish but it is worth it!
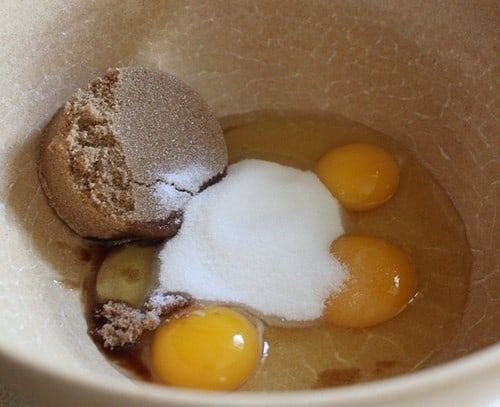
Eggs meet sugar. YUM!
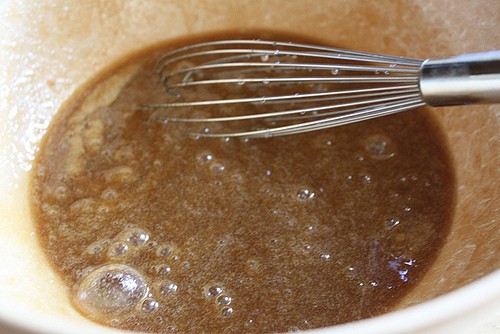
Whisk the eggs and sugars together until smooth. Doesn’t that already look good?
Add the chocolate, melted butter and vanilla. Inhale deeply to appreciate the scent! When you are done swooning, whisk it all together.
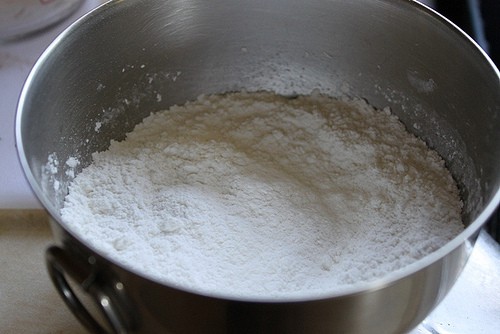
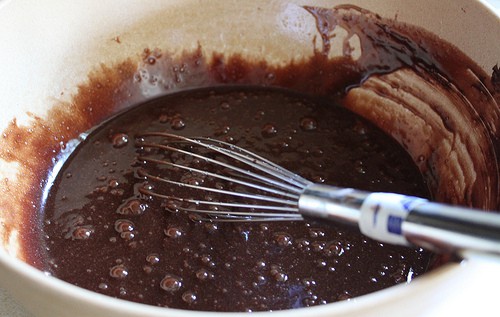
The dry ingredients, which have already been whisked together, go into the bowl. Whisk until a thick batter forms.
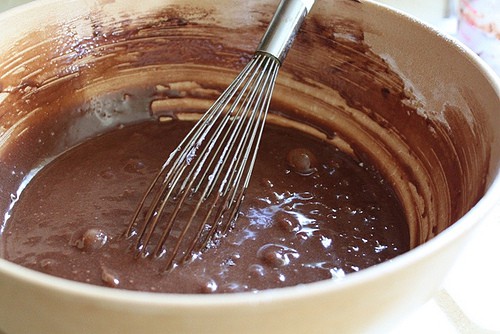
This is what you are looking for with the batter. Smooth, thick, and shiny. It’s ready for the pan!
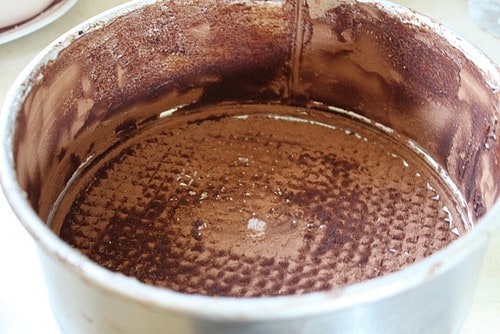
When working with chocolate cakes or brownies, I like to butter and “flour” my pan with cocoa powder. This way I don’t have any white flour clinging to the outside of my baked goods.
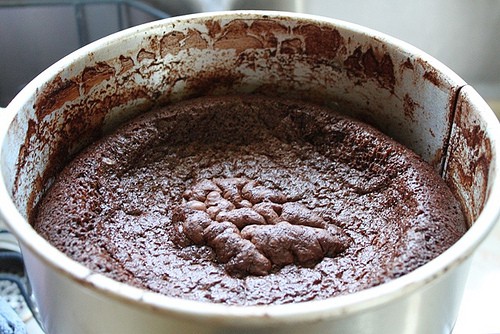
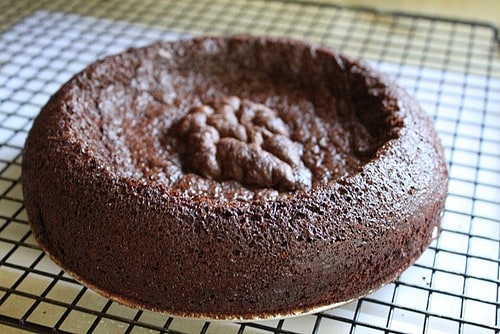
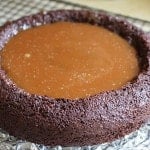
This is what comes out of the oven! As you can see, the brownie rose and then sank down. (Leaving that little funny bump in the center.) This is good! This is what you want! The caramel needs a place to rest. When the brownie sinks slightly, it provides a place for the caramel. Mmmm….caramel…
Cool the brownie on a wire rack. The bottom of the springform pan will cling to the brownie. That is okay! This is how you get it off…
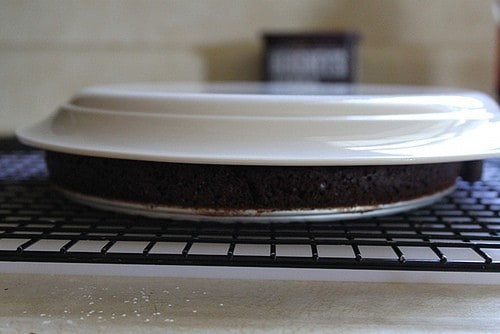
Put a plate on top of the brownie.
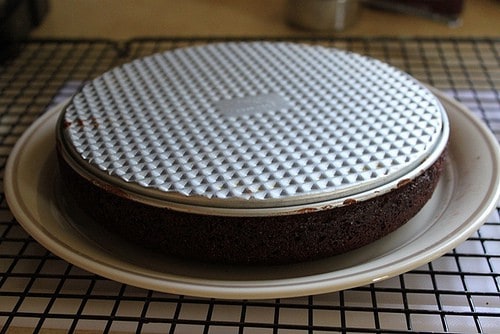
Using the plate, flip the brownie over so the bottom of the springform pan is exposed. Carefully peel off the bottom of the pan. I use a blunt edge metal spatula to loosen the pan.
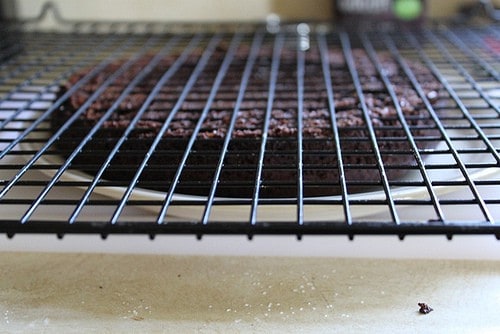
Now place your wire rack (upside down) on the brownie. Flip it over and your brownie is right-side-up!
Allow the brownie to cool before you make the caramel sauce.
Now it’s time to make the caramel.
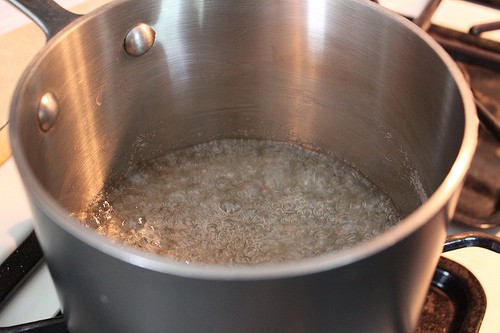
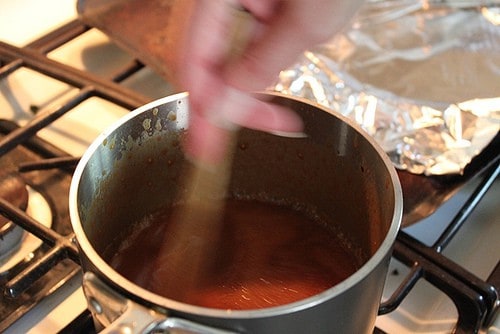
In a two-quart pot with a heavy bottom, combine your water and sugar. It will look like the pot is too big for this recipe. That is what you want! When we add the cream, we need the sauce to have LOTS of room to expand.
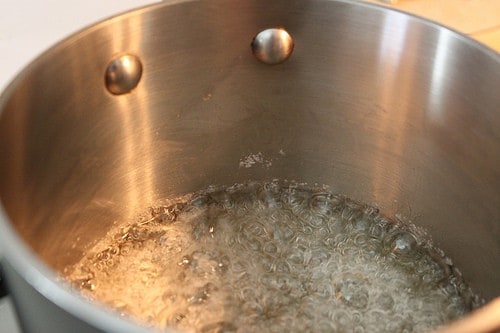
See that sugar that is clinging to the side of the pan? That sugar is a bad thing! Using a pastry brush and cold water, wash the side of the pan down to remove the sugar. This will help to prevent your caramel from crystallizing.
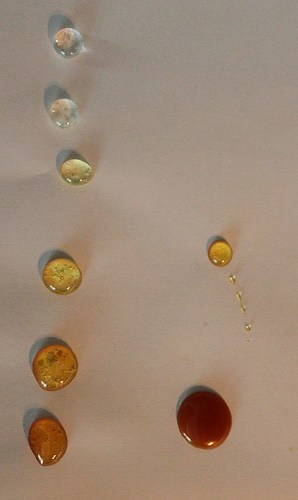
Boil your sugar, never stirring, until it is amber in color. This will take some time. See the blob of caramel on the bottom left? That is what we are looking for!
The large blob on the right is the finished sauce. The blob above that? Me being a slob! I slopped some sauce. Sorry!
This is what you are looking for! Don’t let it get any darker or your caramel will taste burnt.
Now the fun begins! We add the cream! This is what happens:
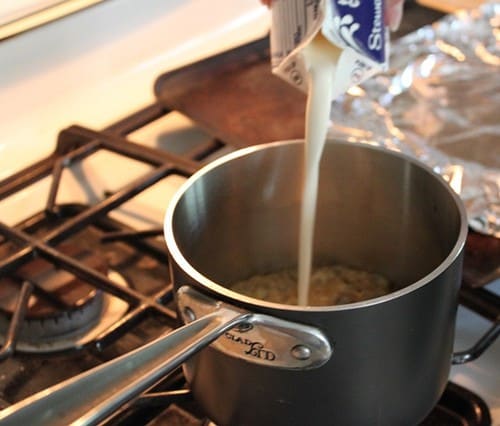
Cream goes in. (See how low the sauce is in the pot? Watch this!)
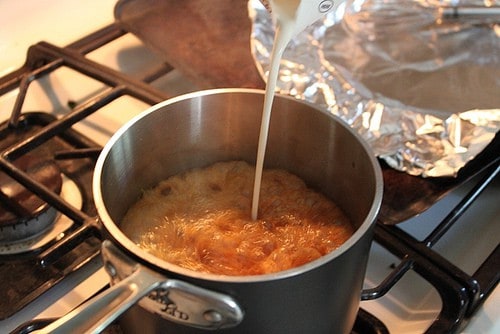
As soon as the cream hits the hot caramel it begins to boil violently. This is why you want to use a 2-quart pot.
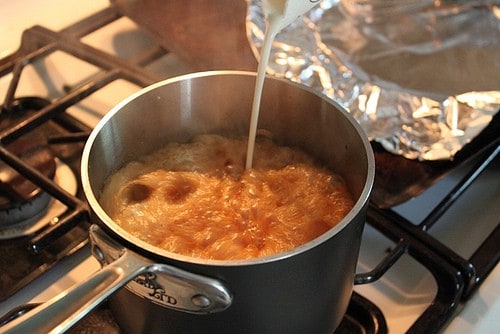
It continues to boil.
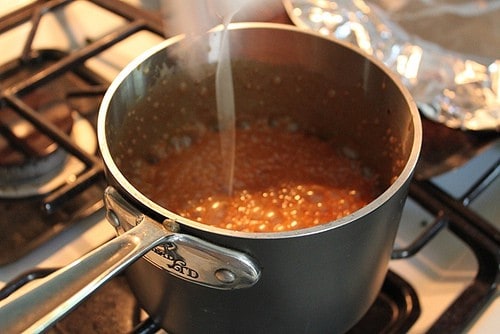
And then it dies down just as quickly as it rose.
Stir until everything is melted, add your vanilla and then cool the caramel.
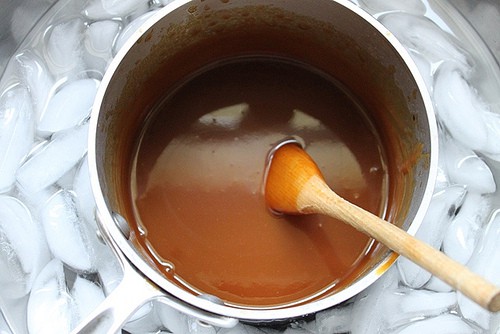
I like to use an ice bath because then I can quickly cool my caramel sauce and get it on my brownie. If you don’t want to use an ice bath, cool the caramel at room temperature. This will take about 5 hours. An ice bath? 15 minutes.
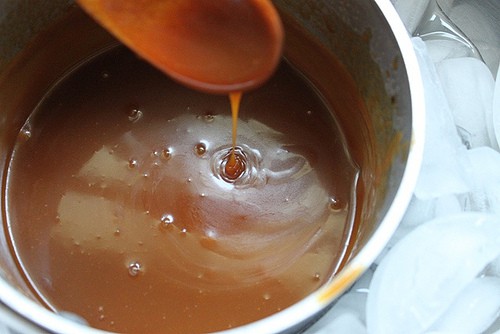
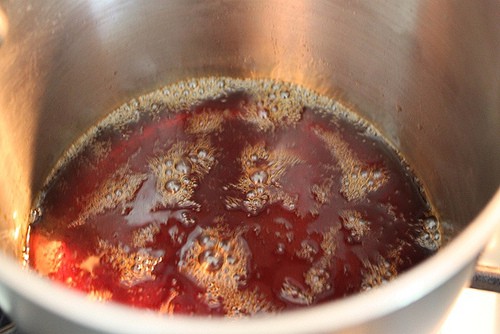
The cooled caramel will thicken and look just lovely!
Pour the cooled caramel over the brownie, sprinkle on a little Kosher salt and you are ready to go!
Over the Top Salted Caramel Gluten-Free Brownies
Ingredients
For the Brownie
- about 1 tablespoon cocoa powder for dusting pan
- 2/3 cup white rice flour (2 2/3 ounces; 75 grams)
- 1/3 cup cornstarch (1 1/3 ounces; 36 grams)
- 1 teaspoon baking soda
- 1/4 teaspoon salt
- 1 stick unsalted butter, cut into 8 pieces
- 5 ounces bittersweet chocolate, coarsely chopped
- 3 large eggs (about 3 1/2 ounces; 100 grams)
- 1/2 cup packed light brown sugar (3 3/4 ounces; 106 grams)
- 1/4 cup granulated sugar (1 3/4 ounces; 50 grams)
- 3 tablespoons light corn syrup (2 ounces; 56 grams)
- 1/2 teaspoon vanilla extract
For the Caramel Sauce
- 1 1/2 cups granulated sugar (10 1/2 ounces; 298 grams)
- 1/3 cup water (2 2/3 ounces; 75 grams)
- 1 1/4 cups heavy cream (10 ounces; 283 grams)
- 1 teaspoon pure vanilla extract
- Kosher salt for sprinkling
Instructions
-
For the Brownies: Preheat oven to 375 degrees F. Butter and cocoa powder (or use white rice flour if you don't have cocoa powder on hand) an 8-inch round springform pan. Wrap the outside of the pan in foil and set it on a baking sheet.
-
In a small bowl, whisk together the dry ingredients. Set aside.
-
In the microwave, melt the chocolate and the butter. I like to melt them in separate 2-cup measuring cups. Remember, chocolate will appear to still be solid even when melted. Be sure to stir the chocolate every 45-seconds to prevent burning.
-
Combine the eggs, brown sugar and granulated sugar in a large bowl. Whisk until smooth. Add the melted chocolate and butter. Whisk until smooth.
-
Add the dry ingredients and whisk until the batter is smooth. Pour the batter into the prepared pan.
-
Bake for 40-45 minutes or until the brownie is set. The brownie should not jiggle. (A cake tester inserted into the center of the cake might come out with a few wet crumbs attached.)
-
Cool the cake in the pan for 10 minutes. After ten minutes, remove the brownie from the pan. (To do this: Remove the outer ring, place a plate over the brownie and flip the brownie and plate over. The brownie is now upside down on the plate. Slowly remove the bottom cake plate from the brownie. Once the plate is removed, put your wire rack on the brownie. Flip the brownie again so that it is right side up.)
-
Allow the brownie to cool before you make the caramel sauce. Transfer the brownie to your serving dish.
-
For the Caramel Sauce: Fill your sink with ice cubes and about two inches of water.
-
In a 2-quart medium heavy-bottomed saucepan, combine the sugar and water. Stir to combine.
-
Turn on heat to medium. Cook until sugar darkens. you want it to be an amber color. This will take about 15 minutes. While the sugar is cooking, be sure to check the sides of the saucepan for any sugar that is clinging to the side. If you see any, wash the side of the pan down with a pastry brush and cold water.
-
Test the sugar by dropping a little from a spoon onto a white piece of paper. Again, you are looking for an amber color. If you notice your caramel is darkening in one area of the pan more than another, carefully swirl the pan. You don't want to stir as sugar crystals might form. A very gentle swirl will do the trick.
-
When the caramel reaches the right color, turn off the heat. Standing back, pour the cream into the hot caramel. It will boil violently. Take care while doing this.
-
As soon as all the cream is added, stir the mixture. If your caramel hardened in the bottom of the pan (this happens sometimes), turn the burner back on to low and stir until the sugar is dissolved.
-
Stir for three minutes off the heat. Add vanilla and stir.
-
Carefully set the hot pot into the water bath. (Be sure that the water isn't higher than the pan. You don't want any water getting into your caramel sauce. Cool until sauce has thickened.
-
Pour a generous amount of caramel sauce onto the brownie. Sprinkle with a little kosher salt. (You will have made more caramel sauce than you can put on your brownie. Store the leftover sauce in the refrigerator.)
-
Cut and serve.
Leave a Reply