Whipped coconut cream was one of those “easy” recipes that tripped me up. Lots of people talked about how easy it was to make. You just scooped the coconut cream from the top of a can of full-fat coconut milk and whipped it up. That’s it. No problem, right?
Wrong!
Each time I tried, I somehow ended up with a can of coconut milk that did not get the nice, firm layer of coconut cream on top. after chilling. It drove me bonkers. BONKERS!
As they say, ingredients matter, especially in a recipe as simple as this one, so I switched brands of coconut milk. That did the trick. When I opened up the can and saw the prized hard layer of coconut cream, I did a little happy dance. Ever since then, I’ve had no problem making whipped coconut cream. And, I have to say, folks were right. This recipe is really easy to make! (As long as your coconut milk cooperates!)
Whipped Coconut Cream: Whipping It Up
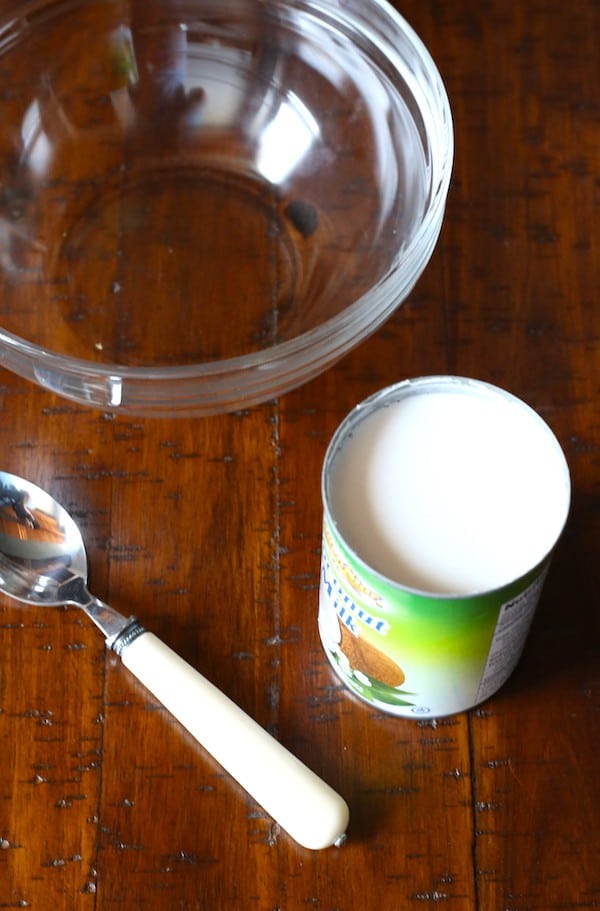
Throw your can in the fridge overnight to firm up the fatty coconut cream. If the coconut milk doesn’t turn solid when chilled, I suggest looking for a different brand. (My favorite is Golden Star brand. It only contains two ingredients: coconut and water.)
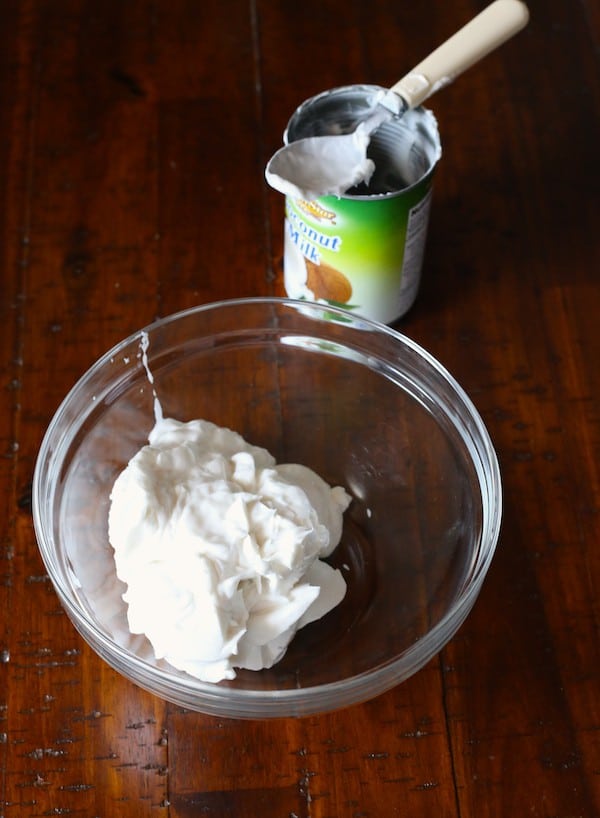
Scoop the chilled coconut cream into a bowl. If you’re using full-fat coconut milk, there might be a little watery coconut milk under the coconut cream. Don’t use this. It waters down the coconut cream, making it harder to whip. (You don’t need to ditch the coconut milk. Add it to a smoothie or drink as-is. The coconut milk is tasty stuff!)
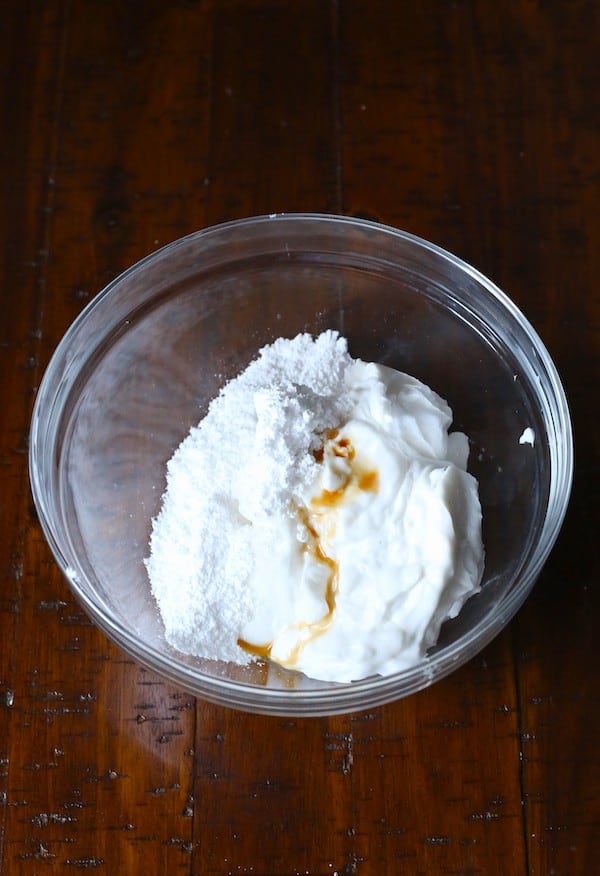
It’s up to you whether or not to sweeten the coconut cream. I prefer it with some sweetness. If you follow a grain-free diet, use a grain-free powdered sugar. (Either homemade paleo powdered sugar or a grain-free store bought brand.) If you aren’t grain-free, traditional powdered sugar works just fine.
I suggest adding a splash of vanilla. It takes the whipped coconut cream from “Oh! This is good!” to “Ohhhhhhh….this is goooooooood. I want more!”
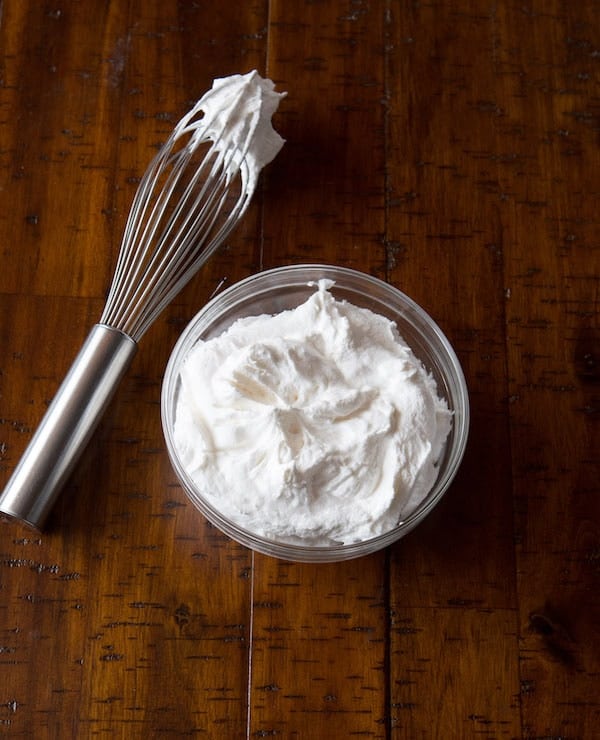
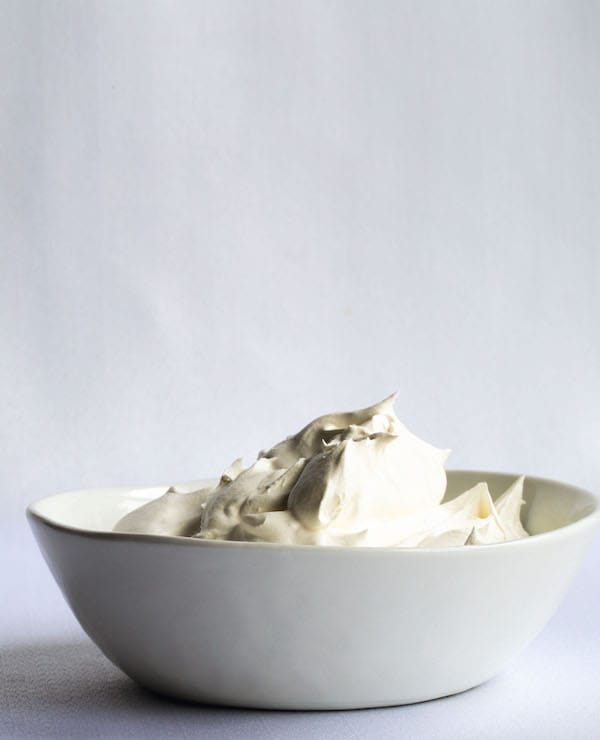
Whip the coconut cream until thick. You can use a handheld whisk or electric mixer. Be patient with it. Coconut cream takes a little longer to whip up than whipped cream.
That’s it!
Use it right away or store in the fridge. When you store it, the coconut cream firms up quite a bit. Whip it a little before serving and allow it to come to room temperature for the best flavor and texture.

Whipped Coconut Cream
Ingredients
- 1 (13.5 ounces) can full fat coconut milk
- 1/4 cup powdered sugar (1 ounce; 28 grams)
- 1 teaspoon vanilla extract
Instructions
-
Place the can in the refrigerator. Chill overnight.
-
Open the can of coconut milk and scoop out the hard coconut cream. (If after an overnight chill, there isn’t a layer of hard coconut cream, you can’t make whipped coconut with that brand of coconut milk.)
-
Place the coconut cream in a small mixing bowl. Use a handheld mixer and whip until light and fluffy. (Sometimes it looks a little gray. This is normal.) In a slow and steady steam, pour in the sugar and vanilla extract. Whip until combined.
-
Serve. Whipped coconut cream lasts about two days in the refrigerator. Rewhip before serving.
Paula Lyons says
I accidentally grabbed a can of sweet potato rather than pumpkin, but it still came out great! Thank you so much for this recipe. I’m not a baker by any means, and this was so easy to pull together, and very tasty! 🙂
Paula Lyons says
Left this comment on the wrong recipe, so sorry! Meant to leave it on the egg-free dairy-free pumpkin pie recipe!