This gluten-free brownie recipe uses two types of chocolate for rich and fudgy brownies that chocolate fans love. You can customize it to include nuts and chocolate chips. (Recipe also works great dairy-free.)
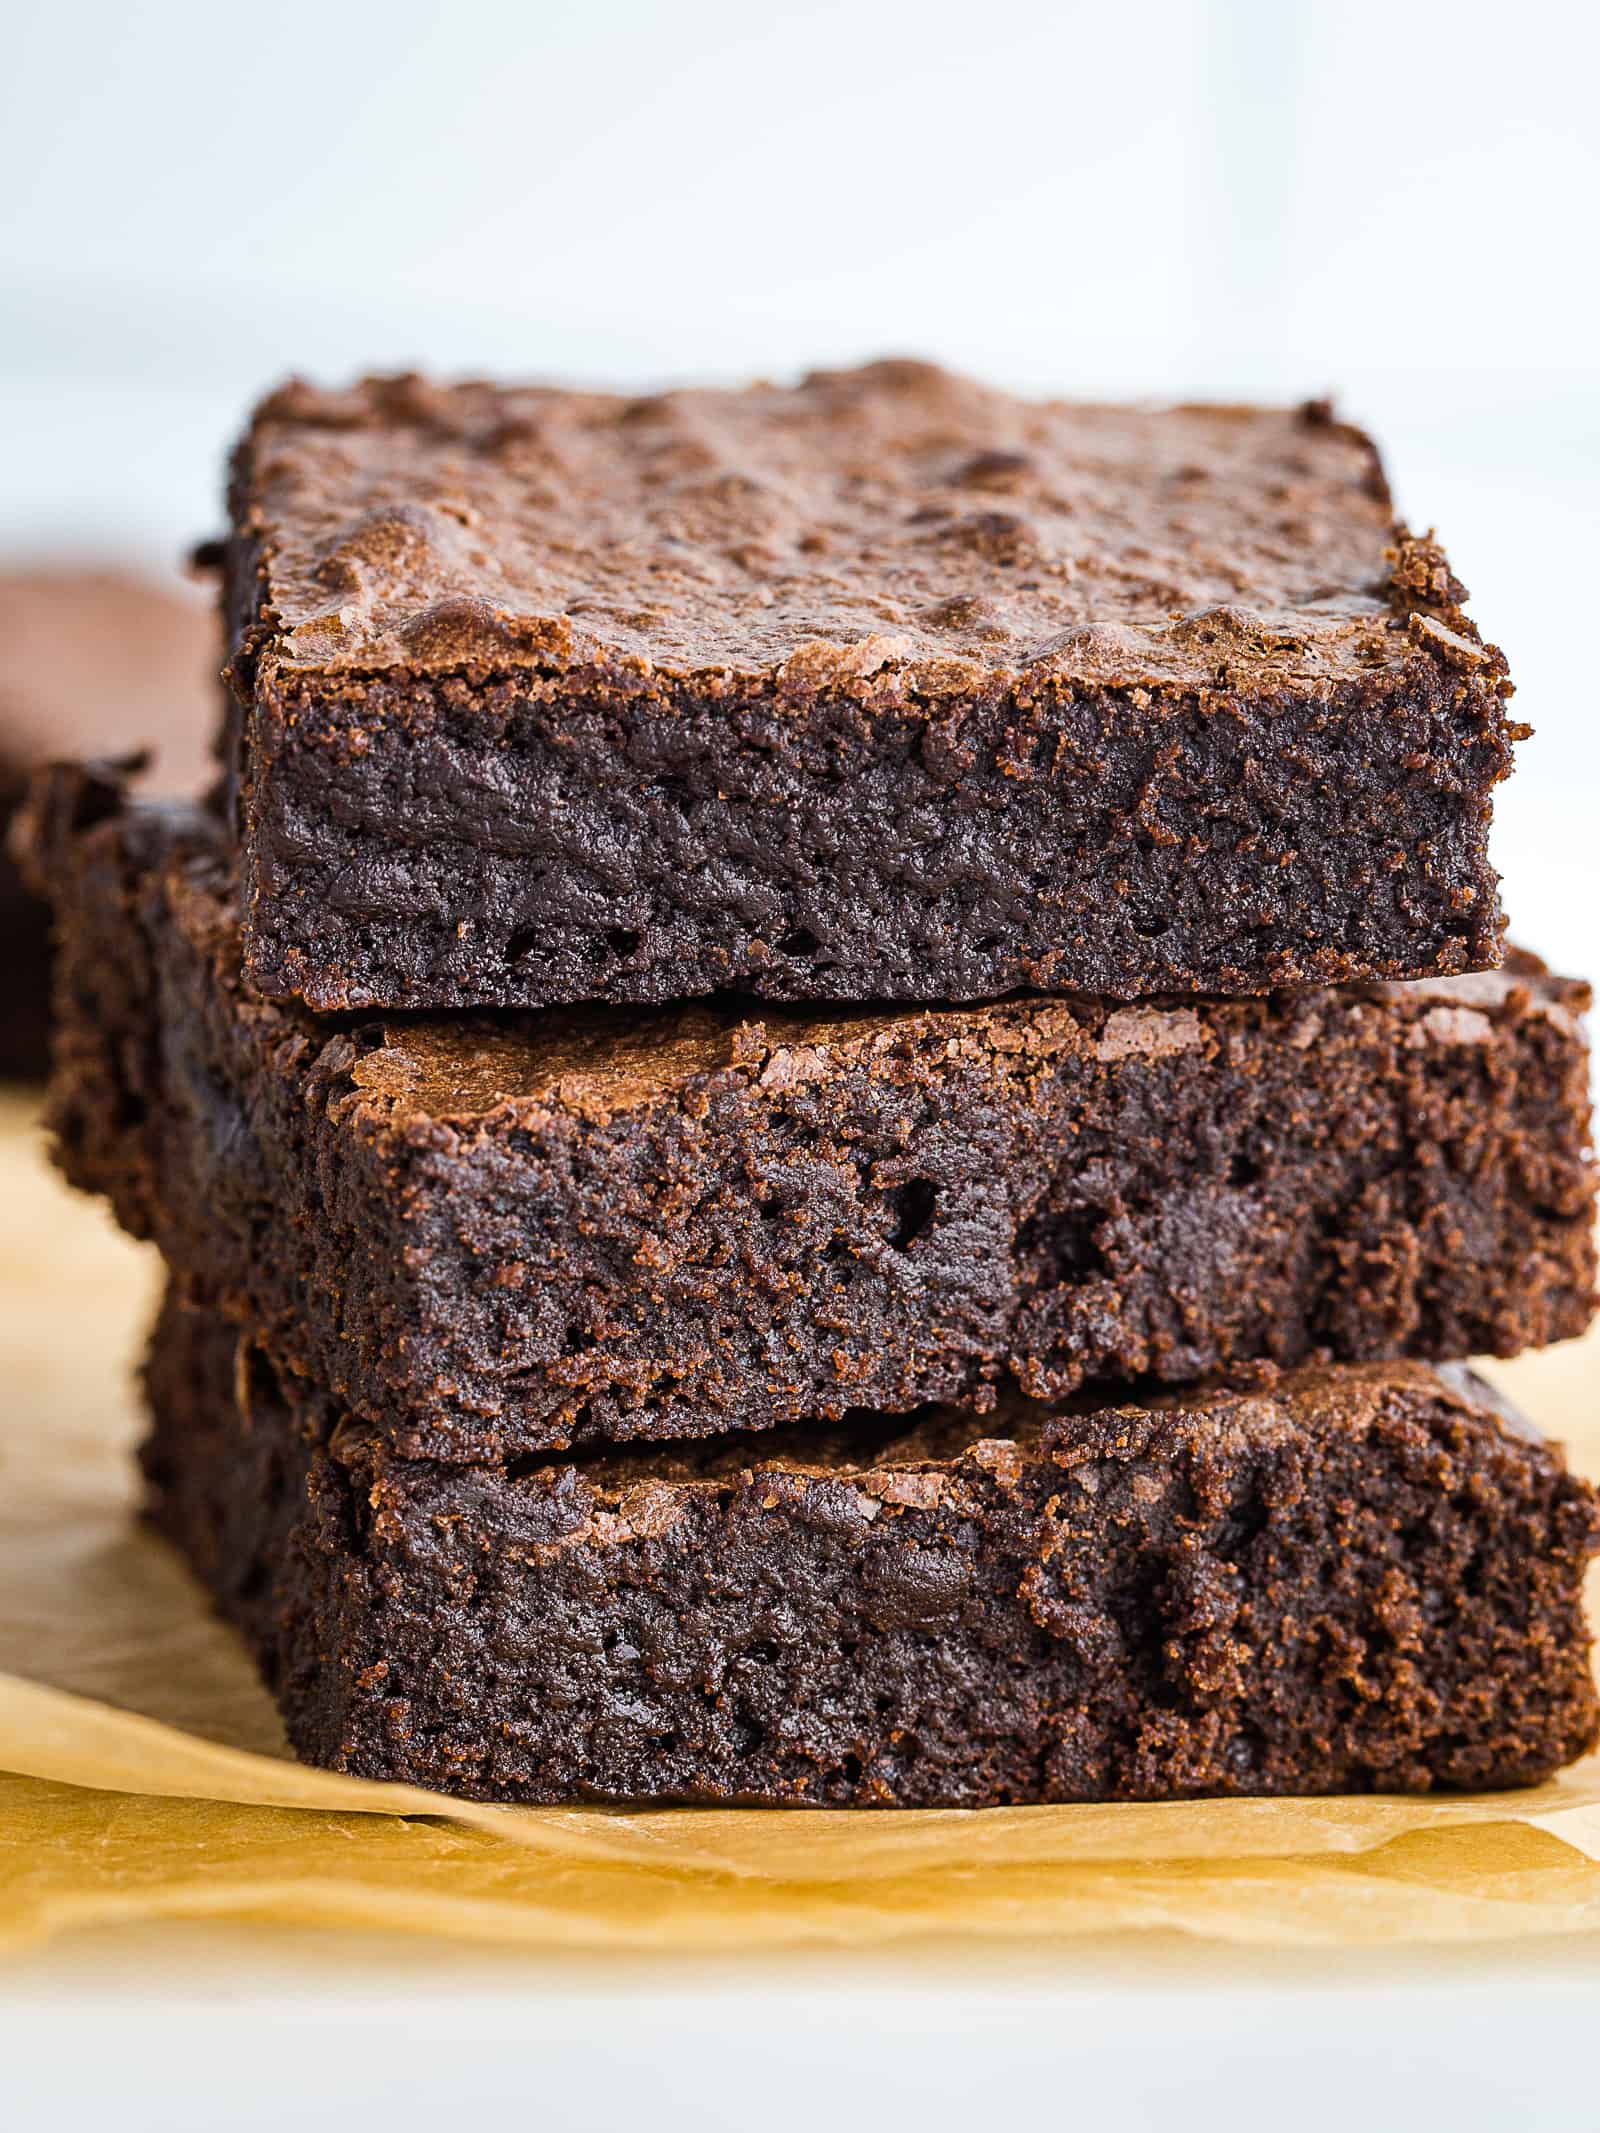
These brownies are dense. They’re fudgy. And they’re really chocolatey. And no one will mistake them for gluten-free chocolate cake. The combination of melted chocolate and cocoa powder gives the brownies a deep chocolate flavor. And just enough gluten-free flour to hold everything together.
(And if you love bar cookie recipes, try these gluten-free blondies.)
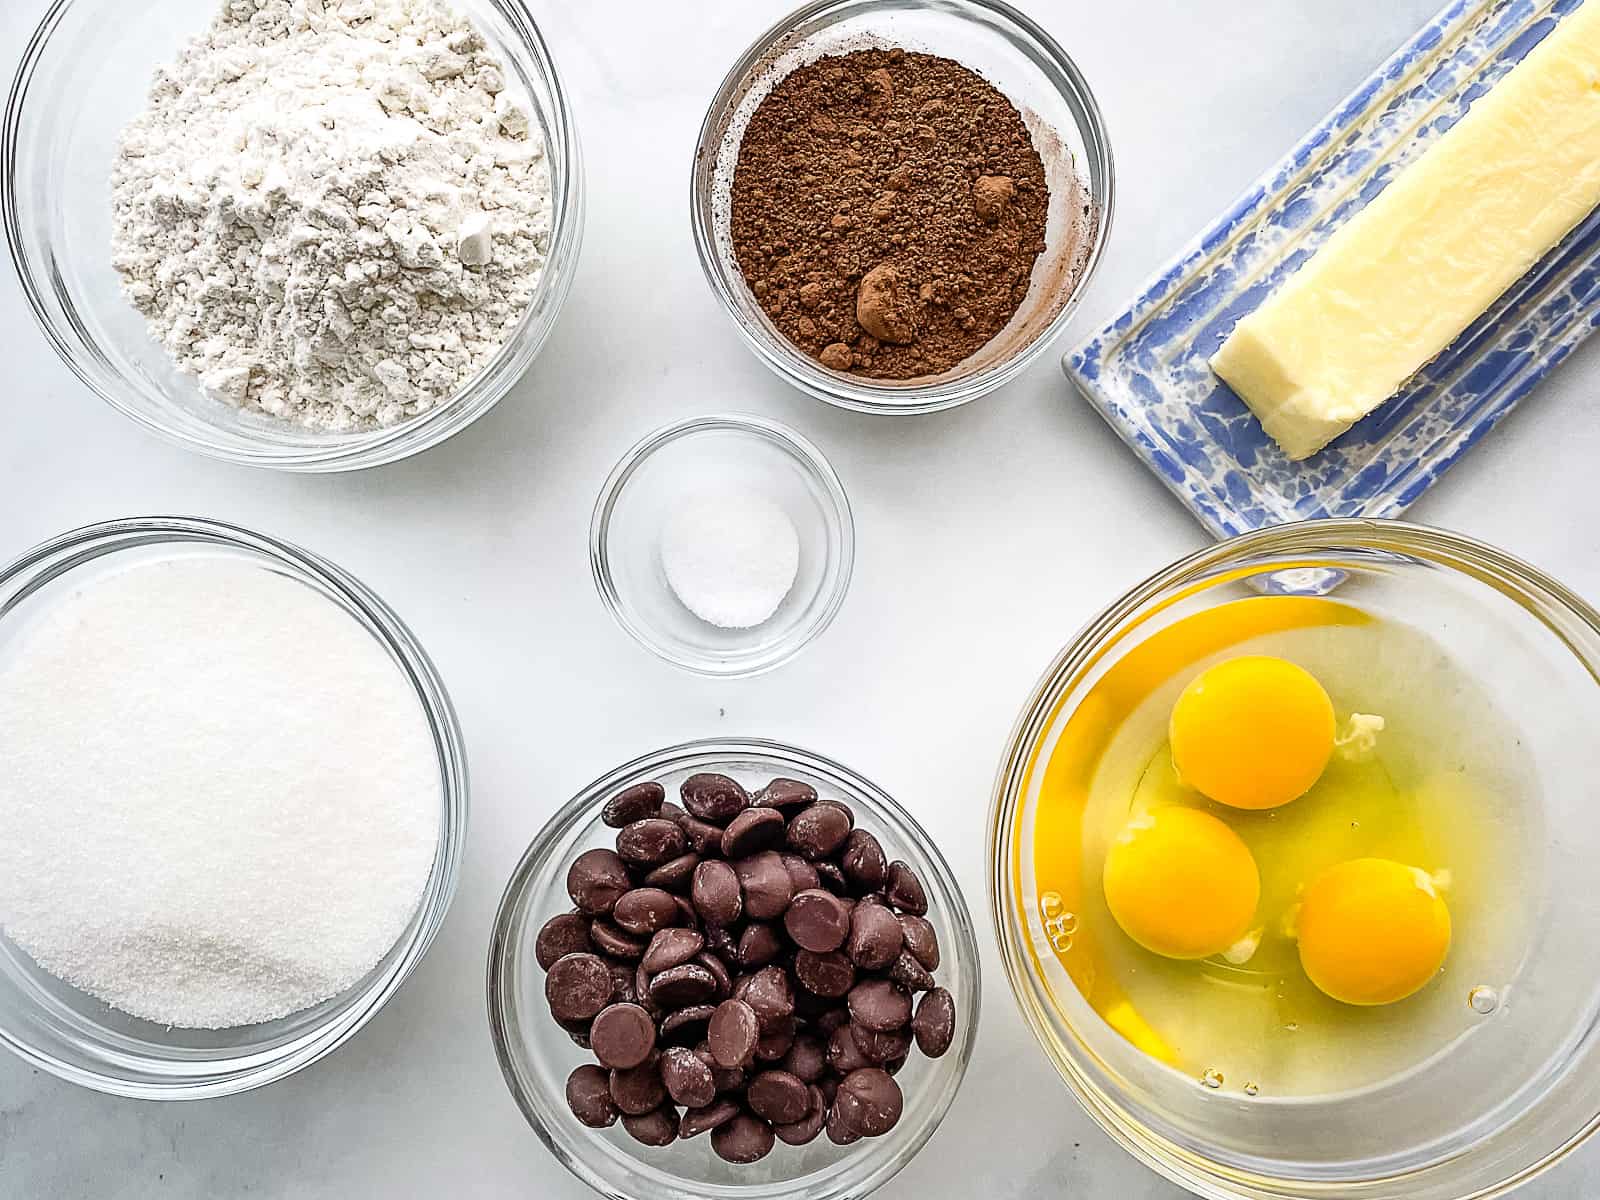
Gluten-Free Brownies: Ingredients and Substitutions.
- Chocolate. What’s a brownie without chocolate? And lots of it. Since brownies should be rich and chocolaty, the recipe calls for melted chocolate and cocoa powder. The combination gives the brownies a deep, rich chocolate flavor.
It’s up to you what type of chocolate to use in this recipe. The easiest option is to use chocolate chips. If you prefer your brownies a little richer, chop up a dark chocolate bar. Look for a bar labeled 60% cacao or above. Or, if you like brownies a bit sweeter and more mellow, use milk chocolate. The only chocolate to avoid is unsweetened. - Cocoa Powder. Both regular and Dutch process cocoa powder work in this recipe. For the deepest chocolate flavor, use Dutch process cocoa powder.
- Butter. Melted butter adds richness. If you’re dairy-free, you’ve got options. Replace the butter with your favorite dairy-free buttery spread or coconut oil.
- Sugar. The sweetness of these brownies comes from two sources; the granulated sugar and the sugar in the chocolate. If you want a light molasses-flavor in your brownies, substitute the granulated sugar with half-granulated sugar and half-dark brown sugar.
- Eggs. This recipe calls for three large eggs. The eggs play an important role. When mixed with the sugar, they help leaven the brownies without making them too cakey.
- Gluten-Free Flour. A little bit of gluten-free flour holds the brownies together. You can use a gluten-free flour blend or, in this recipe, simply use finely ground white rice flour. Gluten-free brownies are a bit unusual: you can use different gluten-free flours and not notice much of a difference.
- Salt. Adding salt helps to bring out the flavor of the chocolate. In the batter, be sure to use table (fine) salt. If you like salty and sweet baked goods, you can sprinkle a little flaky salt over the batter before baking.
Optional Ingredients.
- Vanilla Extract. You might be surprised to see vanilla extract on this list. Since gluten-free brownies are so rich, you don’t really need vanilla. If you’d like to add some for the lovely floral notes it brings to a recipe, add two teaspoons of your favorite vanilla extract.
- Chopped Nuts. Love nuts in your brownies? Add them. Toast and chop either walnuts or pecans. Use about a half cup total. And for a pretty finish, sprinkle some chopped nuts over the batter before baking.
- Chocolate chips or chopped chocolate. Stir in half a cup of chocolate chips or chopped chocolate. You can use the same type of chocolate you used in the brownie batter or mix it up! Milk chocolate tastes great in these brownies.
How to Make Gluten-Free Brownies. Four Steps for Success.
This recipe takes only a few minutes to make. And the result is worth it. These are the best gluten-free brownies. They’re dense, rich, and really chocolatey. Here’s how to make them.
Step One: Prep Your Pan and Preheat Your Oven.
Brownies love to stick to an ungreased pan. To keep this from happening, grease your pan with nonstick cooking spray or grease with butter. For easy removal, place a piece of parchment paper into the pan. I like to cut the parchment long enough so that it hangs over the sides of the pan. This way, I can use the parchment to lift the brownies out of the pan.
Before measuring ingredients, turn your oven to 350℉. This gives it time to heat while you mix the brownies.
Step Two: Make the Chocolate-Butter Mixture.
Melted butter gives the brownies a dense texture. You can melt the butter in a small saucepan or microwave bowl. If you’re going to microwave the butter, cut it into small pieces first. This helps cut down on splatter.
Once the butter is fully melted, stir the granulated sugar. Heat the mixture until it’s hot but not bubbling. If you’re using the stove, heat the mixture over low heat. In the microwave, select low power and heat for about 30 seconds. Do you know the crackly top on brownies? Melting the sugar in the butter helps that crackle form.
Remove the butter-sugar mixture from the heat and add the chocolate. If the chocolate doesn’t fully melt, gently heat the mixture until the chocolate is fully melted.
Step Three: Make the Brownie Batter.
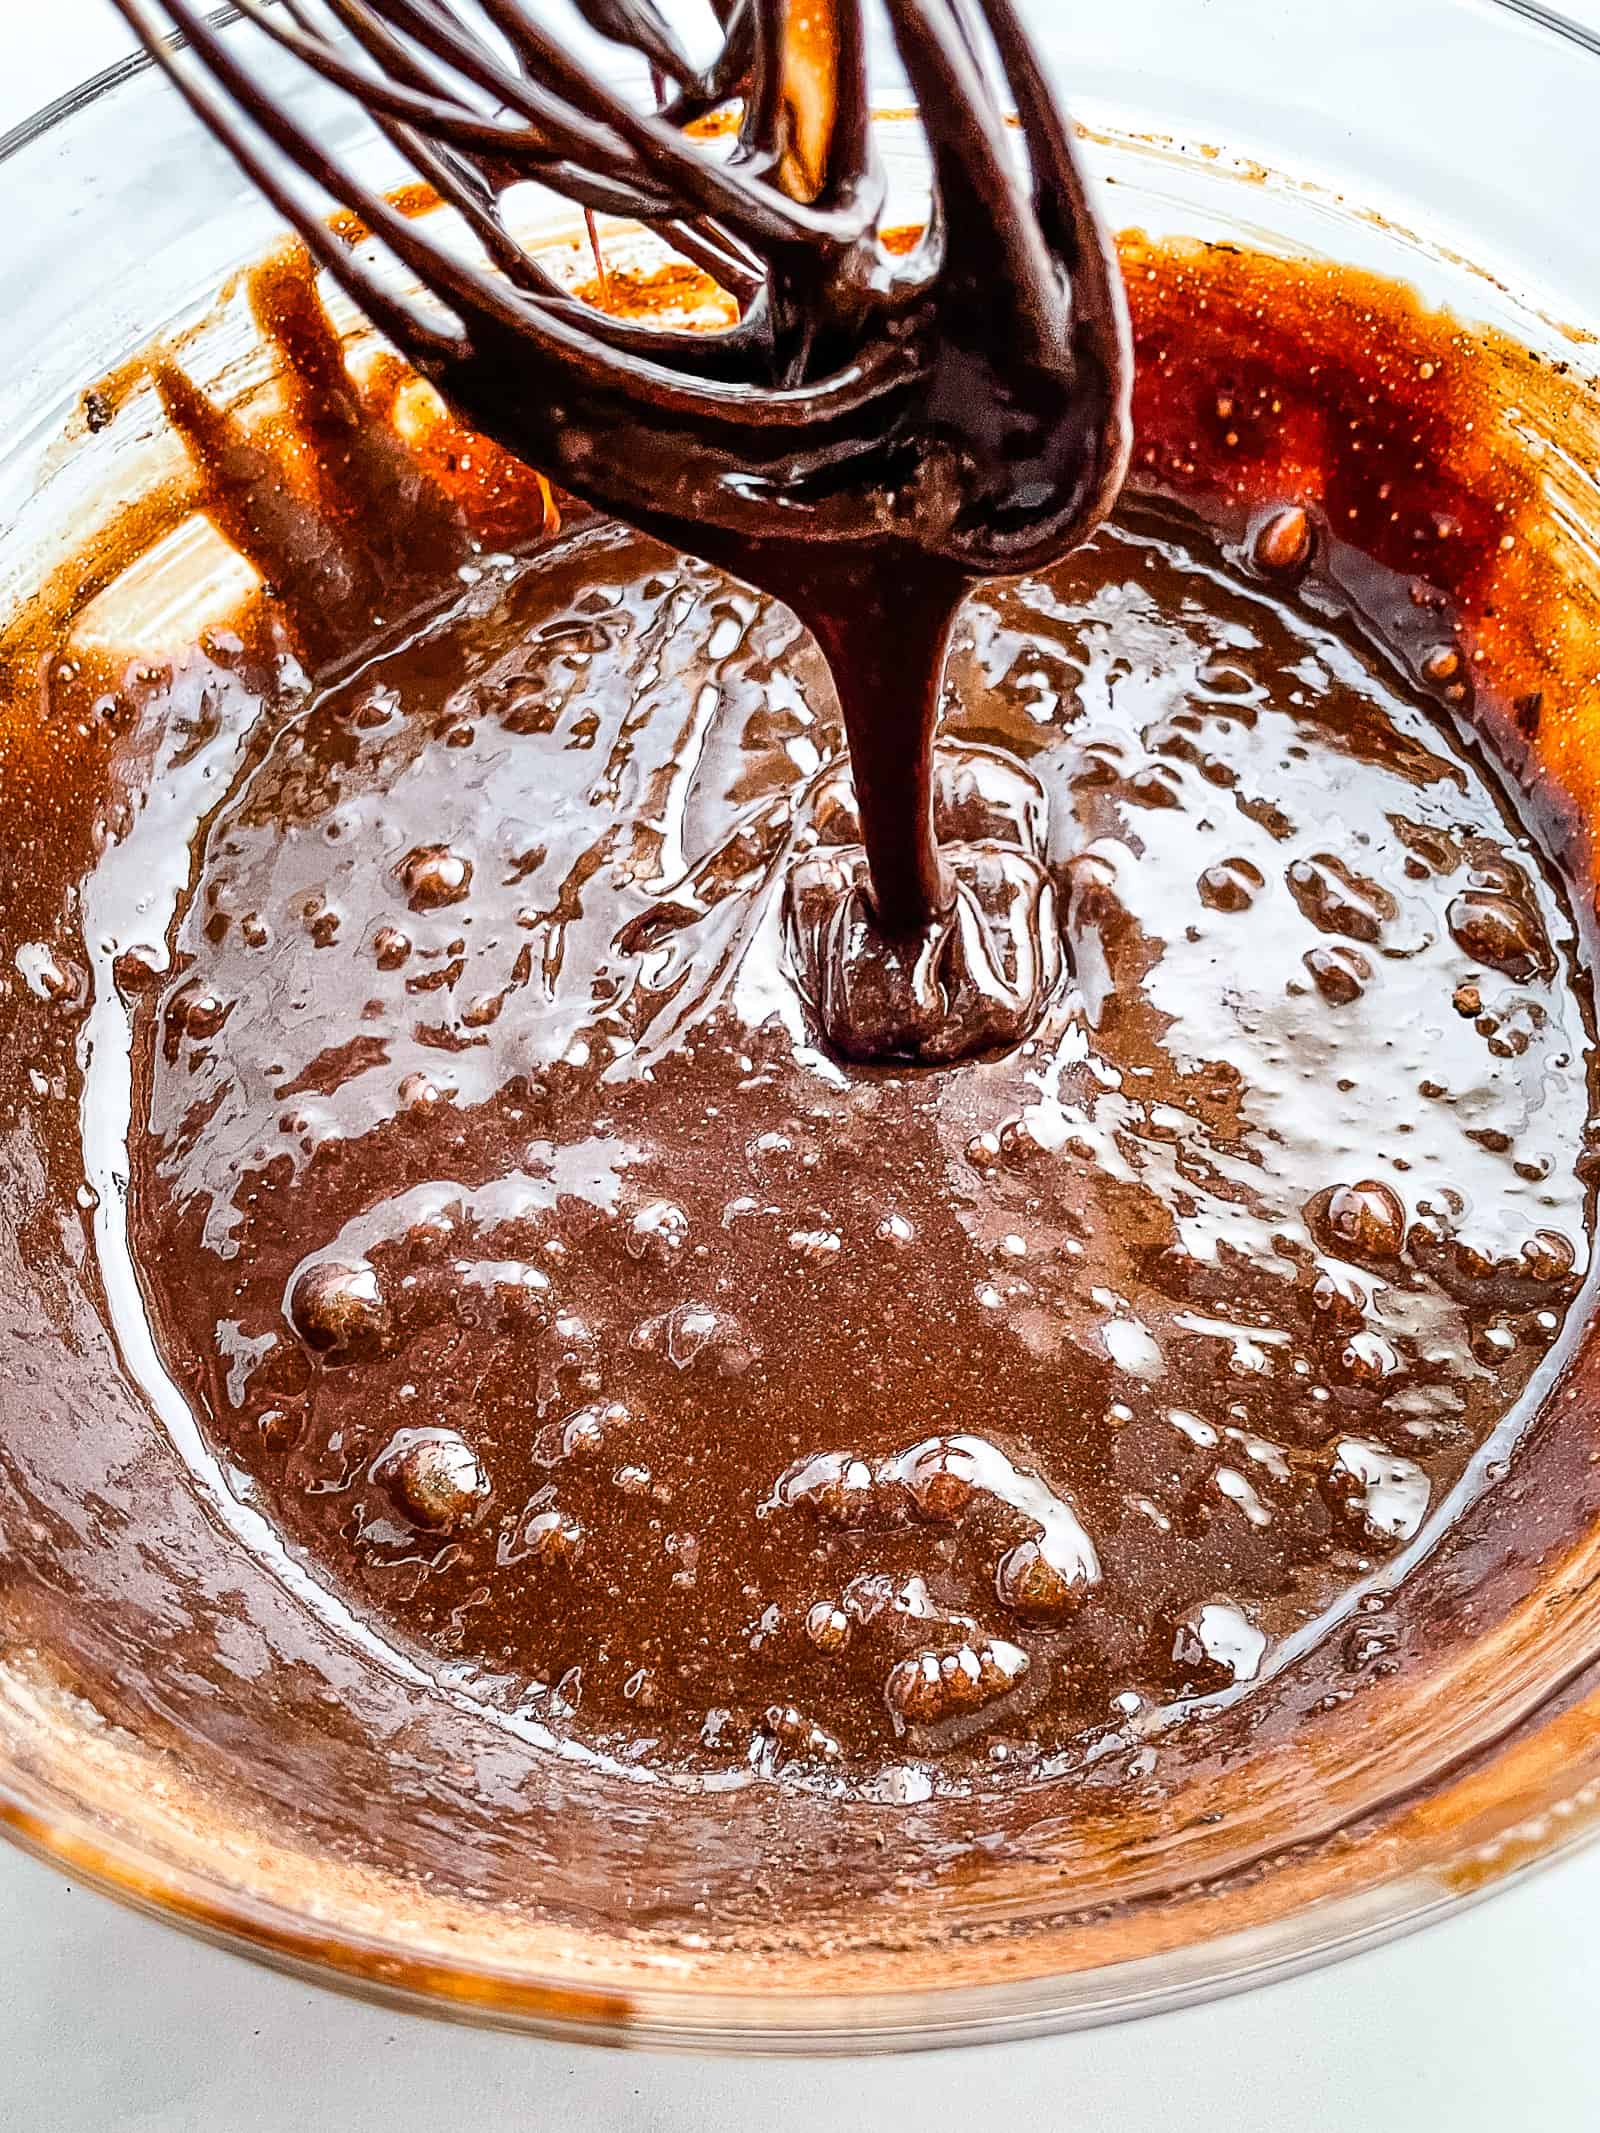
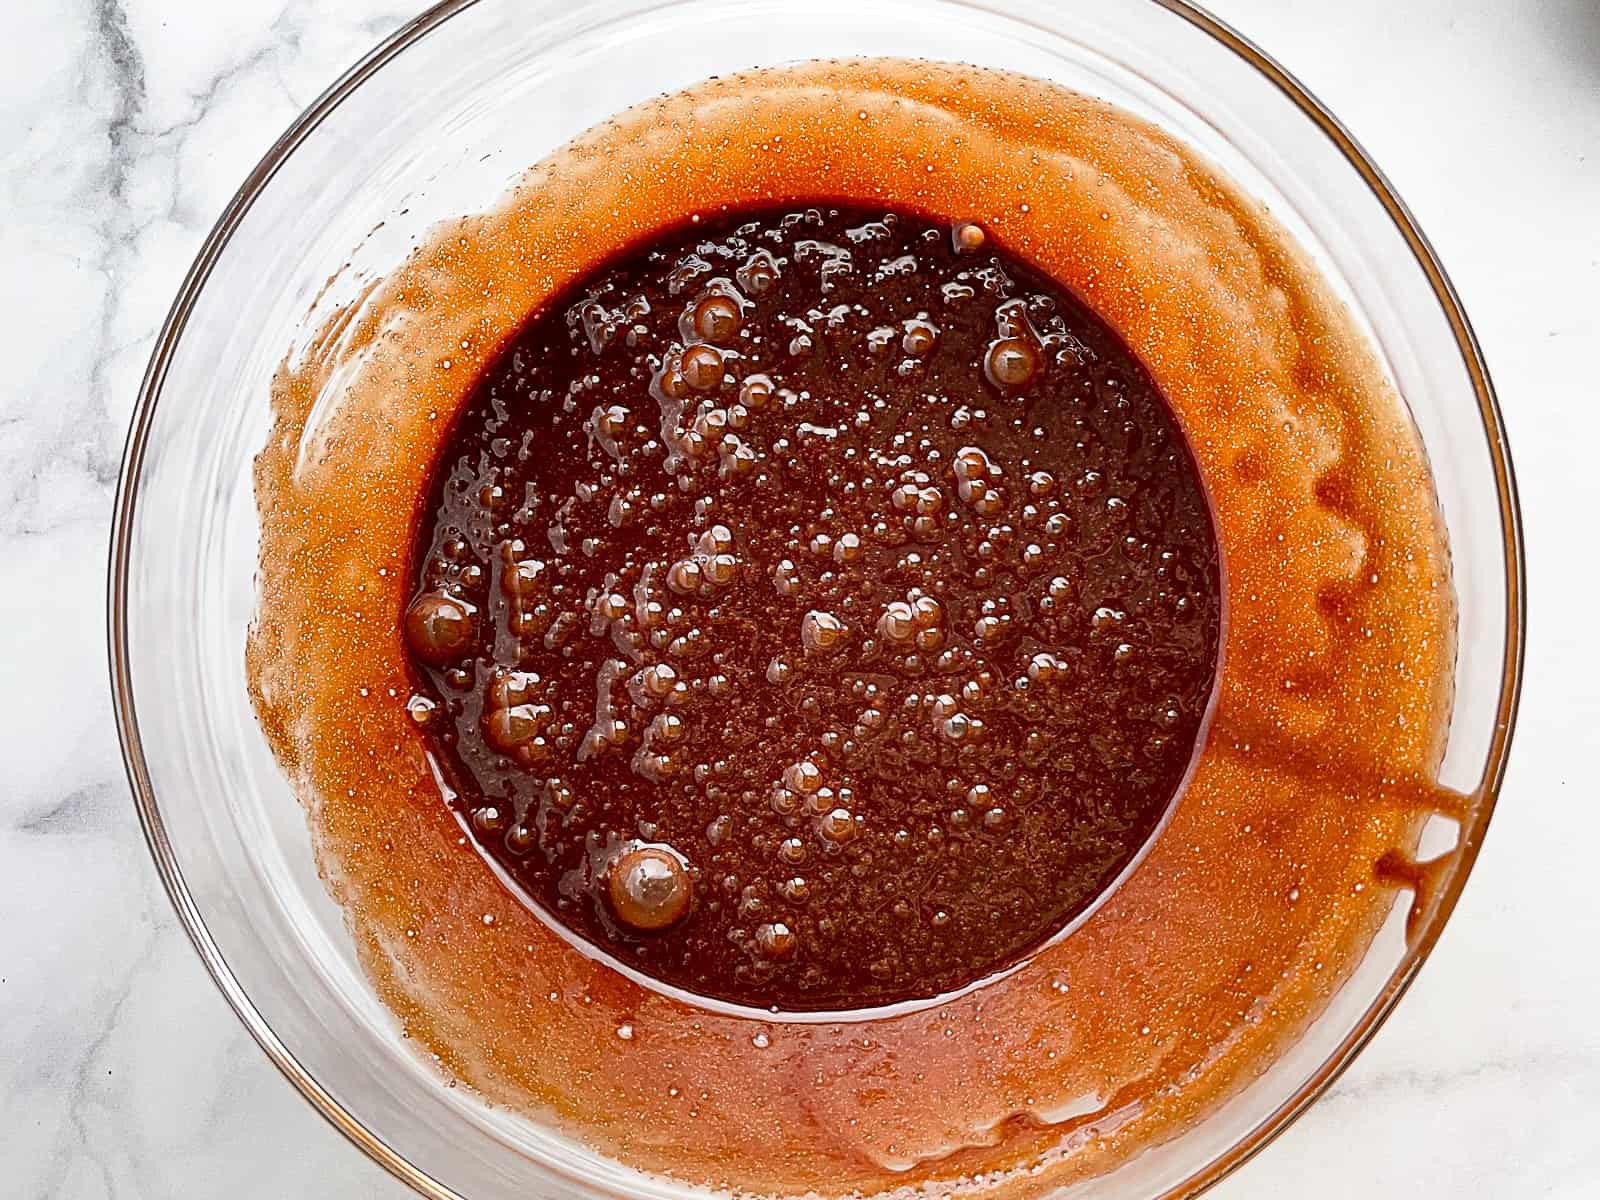
Pour the butter-sugar mixture into a medium mixing bowl. Let it cool for a few minutes. This prevents the eggs from cooking when added to the mix. Don’t skip this step. Add the eggs and mix until smooth.
Stir in the gluten-free flour, cocoa powder, and salt. If you’re using an electric mixer, blend on low speed. To keep the brownies, dense, you don’t want to beat air into the batter. If you like your brownies with nuts or chocolate chips, add them in now.
Step Four: Bake and Cool.
A pan of these brownies takes about 30 minutes to bake. To test for doneness, insert a toothpick into the center of the pan. You want it to come out clean or with just a few moist crumbs clinging to it. If the toothpick is covered in wet batter, the brownies aren’t baked. Return the pan to the oven and bake for a few more minutes.
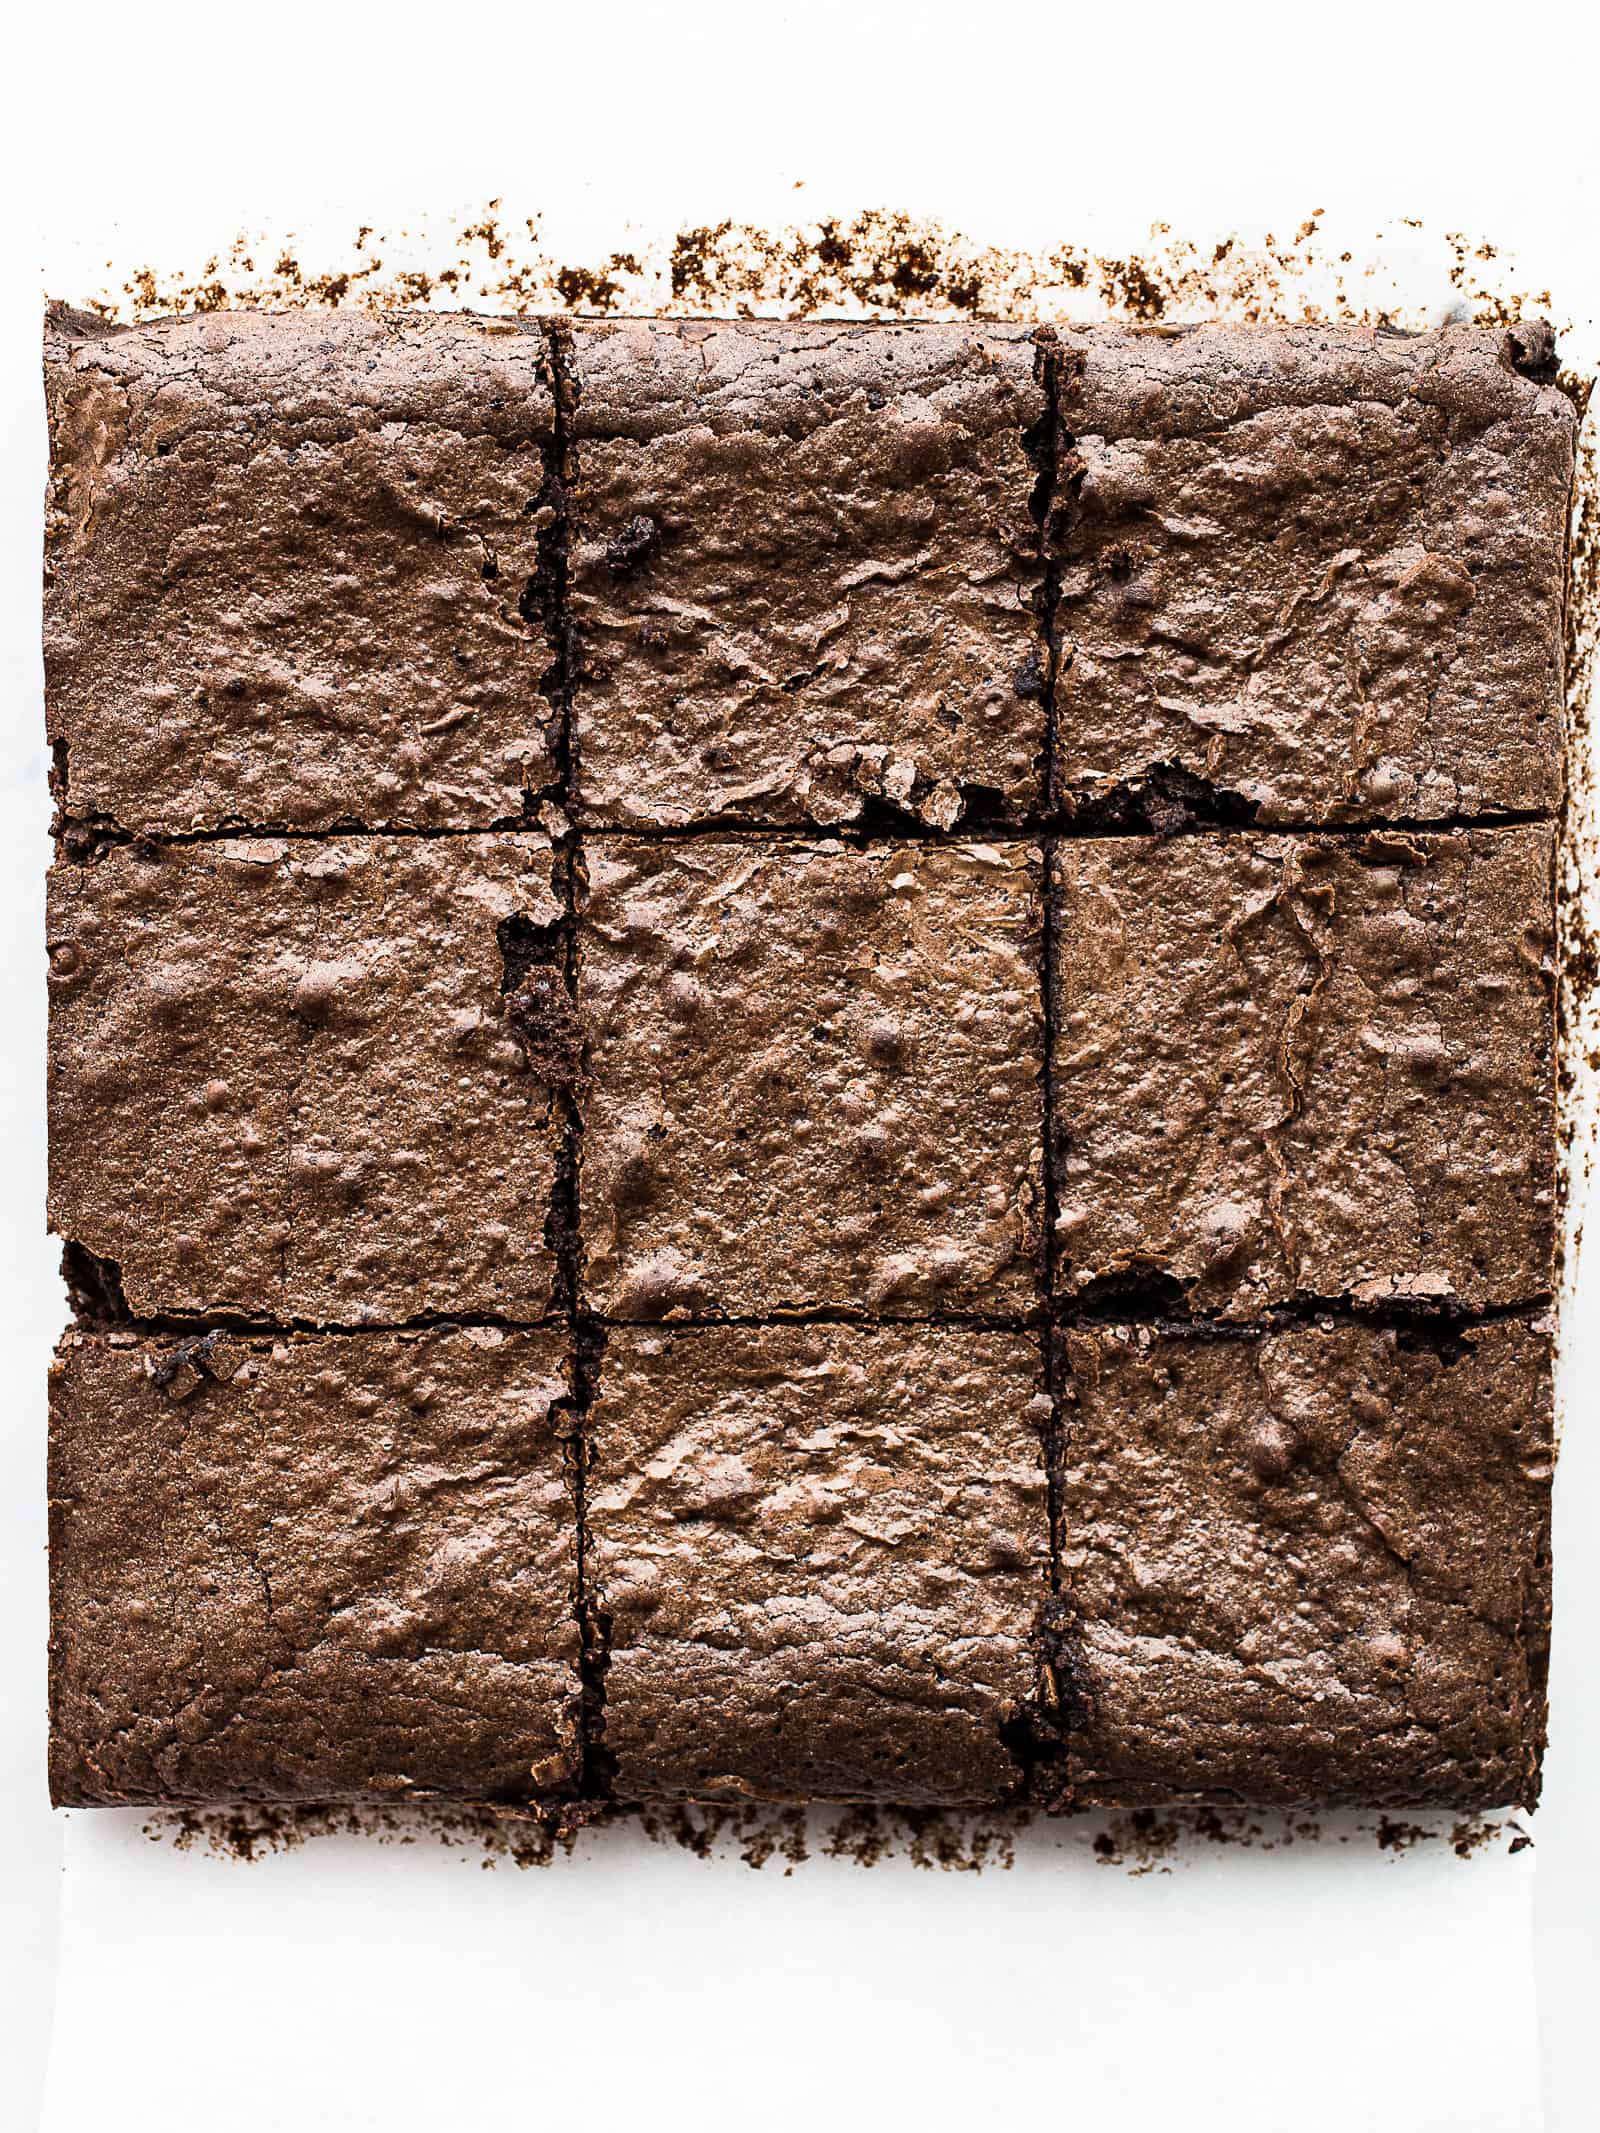
After baking, let the brownies cool right in the pan. As the brownies cool, they sink a little. This is totally normal. It adds to the dense and fudgy texture.
It’s important to let the brownies cool completely before cutting. If you try to cut them while warm, they’ll break.
Adding Nuts to Gluten-Free Brownies? Toast them first!
If you’re adding chopped nuts to your gluten-free brownie batter, toast them first. Toasting nuts takes only a few minutes and makes the nuts so much more flavorful.
Method One: Toasting Nuts in the Oven.
- Heat oven to 350 degrees F.
- Place your nuts on a baking sheet. Don’t add oil.
- Toast for about six minutes. Nuts burn quickly. Be sure to use a timer.
- Remove the pan from the oven and place the nuts on a plate to cool before chopping.
Method Two: Toasting Nuts in a Skillet.
- Place the nuts in a large skillet. Don’t add oil.
- Heat over medium-high. Stir the nuts frequently.
- Cook for about three minutes. When you notice they become fragrant and darken slightly, remove them from the pan. Place on a plate to cool before chopping.
How to Store and Freeze Gluten-Free Brownies.
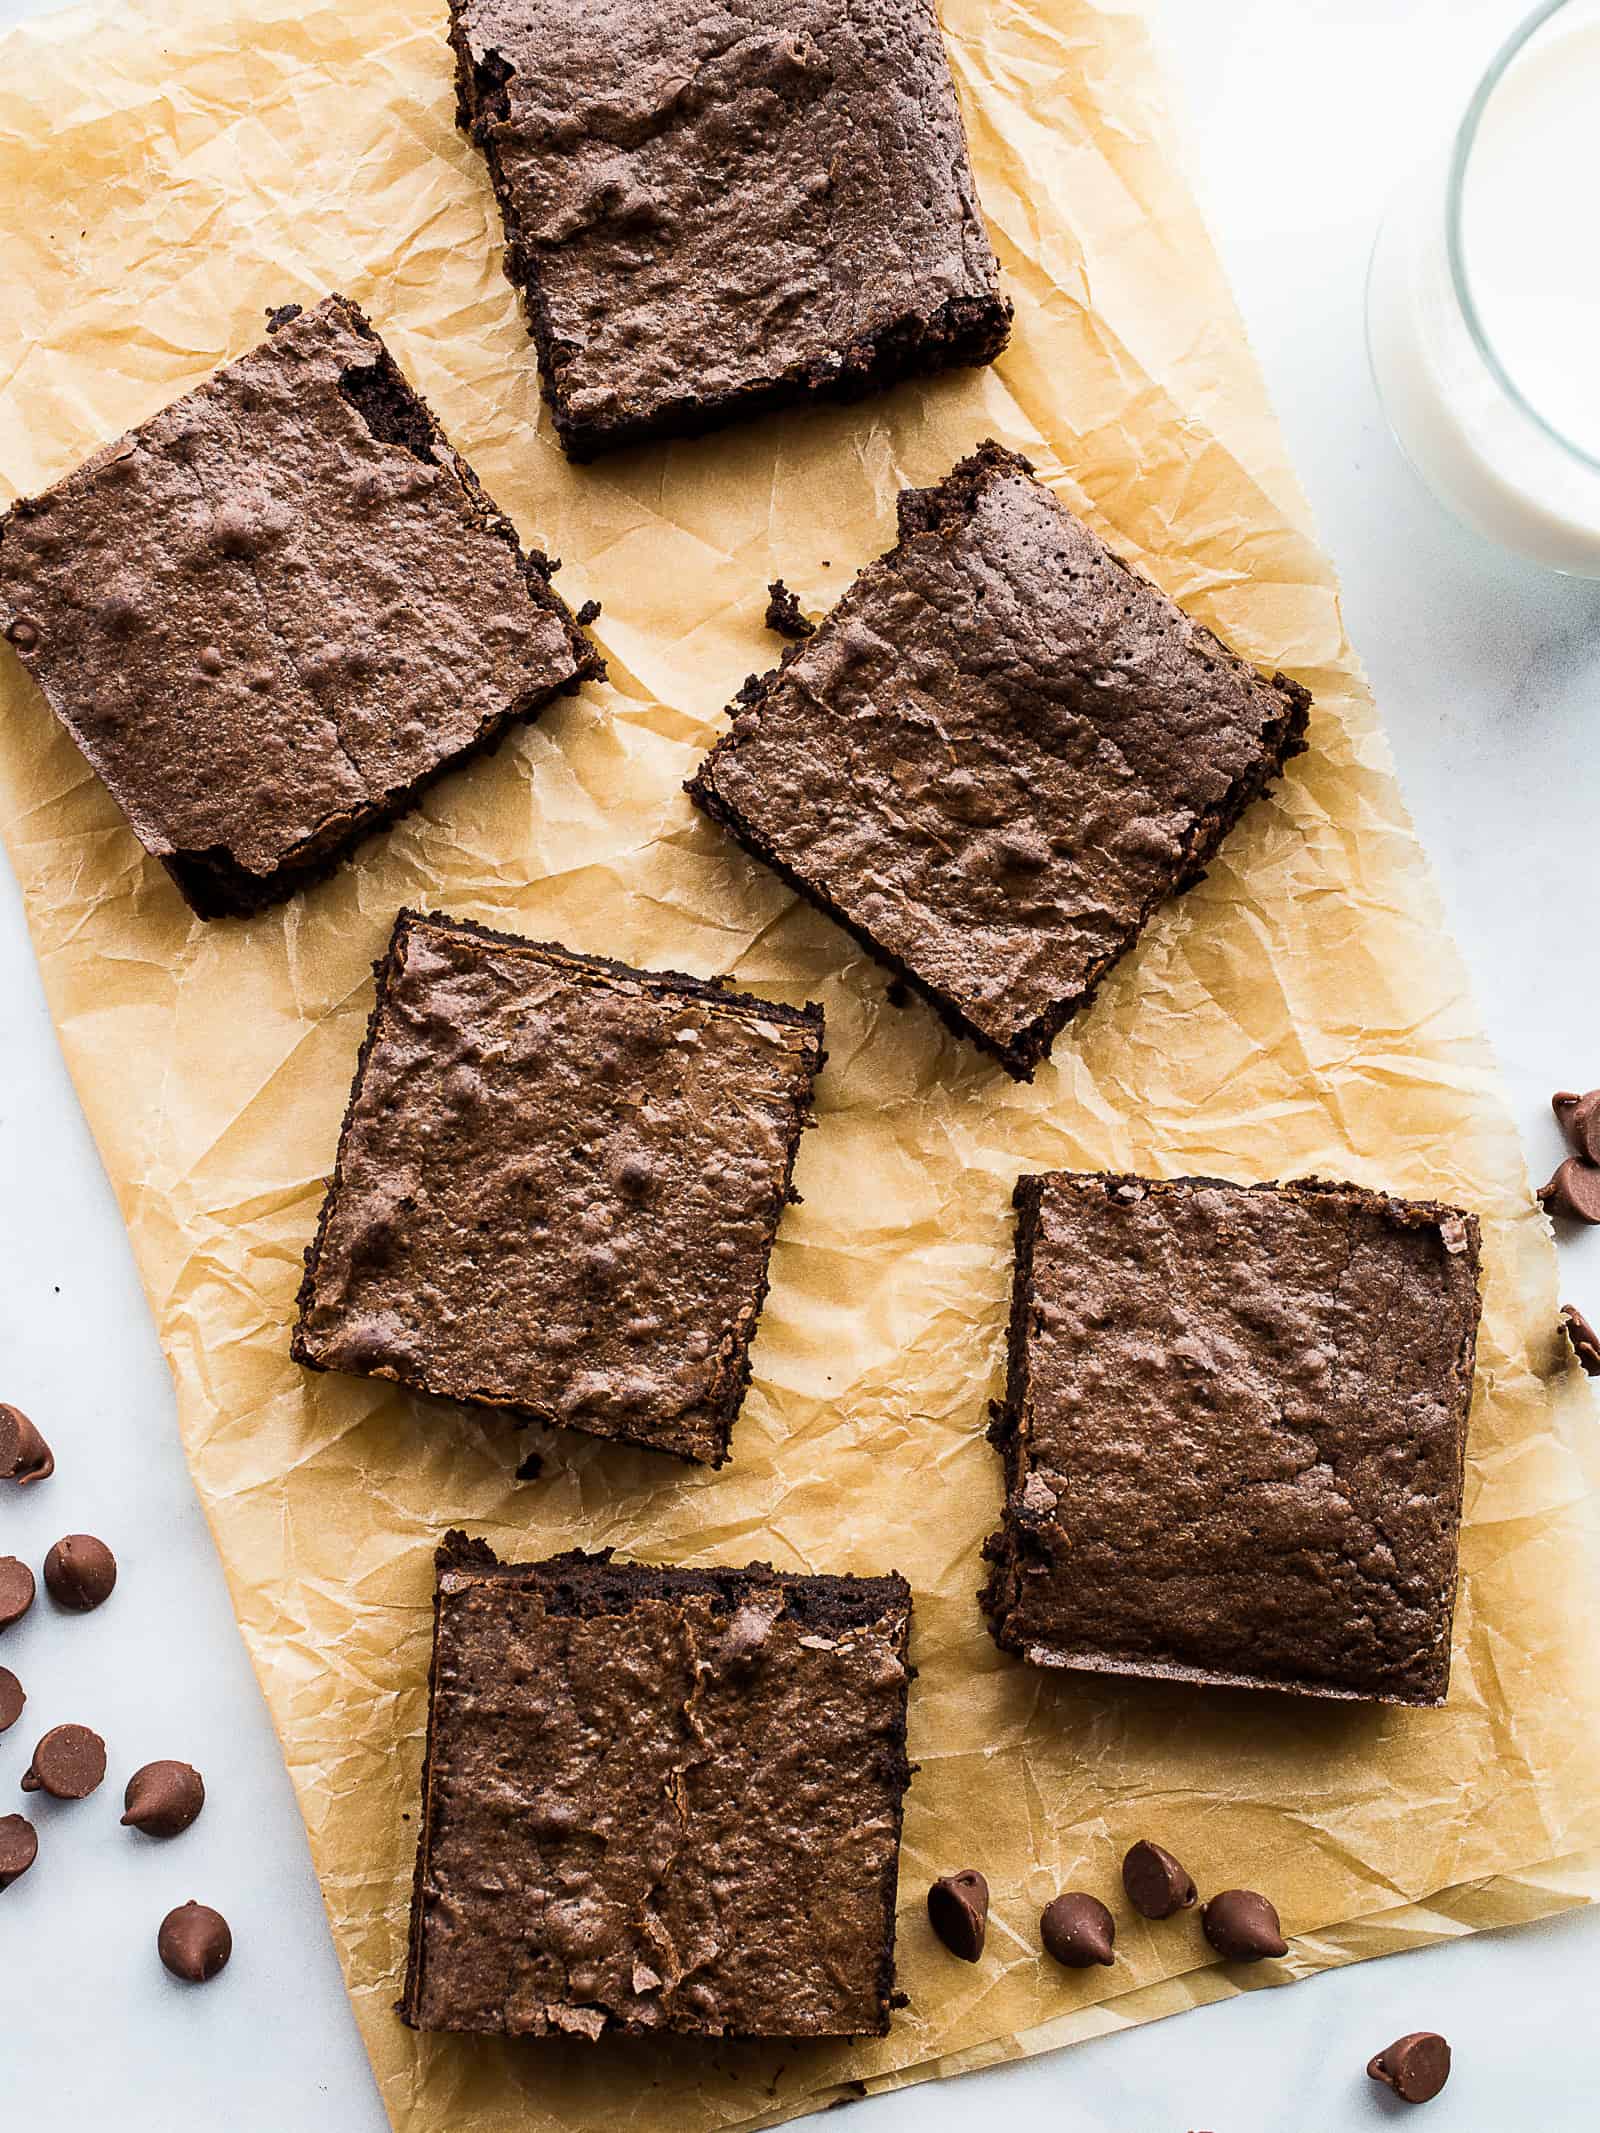
Brownies keep well on the counter. To keep them from drying out, cover the baked brownies or place them into a container with a tight-fitting lid. Store them at room temperature for up to four days.
How to Freeze Brownies.
- Let the brownies cool. If you freeze warm gluten-free brownies, the texture gets gummy.
- For an entire pan: To freeze an entire pan, don’t cut the brownies. Remove the brownies from the pan and wrap them tightly. Freeze for up to three months.
- For individual brownies: cut the brownies into squares. Place into a freezer container. If you want to stack the brownies, place a piece of parchment between each layer. Freeze for up to two months.
Gluten-Free Brownies
Ingredients
- ½ cup butter or dairy-free buttery spread (4 ounces; 113 grams)
- ¾ cup semi-sweet chocolate chips or 4 ounces dark chocolate, chopped (4 ounces; 113 grams)
- 1 cup granulated sugar (7 ounces; 198 grams)
- 3 large eggs (about 6 ounces out of shell, 170 grams)
- ¾ cup gluten-free flour (3 ¾ ounces; 106 grams)
- ¼ cup dutch process cocoa powder (¾ ounce; 21 grams)
- ½ teaspoon salt
Optional
- 2 teaspoons vanilla extract
- ½ cup chopped walnuts or pecans (2 ounces; 56 grams)
- ½ cup chocolate chips or chopped chocolate (3 ounces; 85 grams)
Instructions
-
Preheat oven to 350°F. Grease an 8×8-inch square pan with nonstick cooking spray or butter. For easy removal, place a parchment into the pan, letting about 2 inches overhang the sides of the pan.
-
Melt the butter in a small pan or medium microwave-safe bowl. Add the sugar. Heat over low heat or microwave on low power until warm. Don’t let the mixture bubble. Stir gently. Add the chocolate and stir until the chocolate melts. If needed, heat the mixture to fully melt the chocolate.
-
Pour the mixture into a medium bowl. Let cool for about three minutes. Stir in eggs until smooth. (Add vanilla now, if using) Add gluten-free flour, cocoa powder, and salt. Mix until smooth. Stir in nuts or chocolate chips if using.
-
Spread batter into prepared pan.
-
Bake for about 30 minutes. Or until a toothpick inserted comes out clean or with just a few crumbs on it.
-
Cool brownies in the pan. Cut into squares. Enjoy.
-
Cover brownies and store on the counter for up to four days.
To freeze: Wrap cooled brownies or place into a freezer container. Freeze up to three months.
Recipe Notes
For Gluten-Free and Dairy-Free Brownies: Replace the butter with a dairy-free butter replacement. Use dairy-free chocolate.




Leave a Reply