This is the best recipe for gluten-free banana muffins. It makes classic, homestyle muffins. For the best flavor and texture, use really overripe bananas. The recipe is naturally dairy-free but if you love buttery muffins, use melted and cooled butter. The easy one-bowl recipe comes together in just minutes!
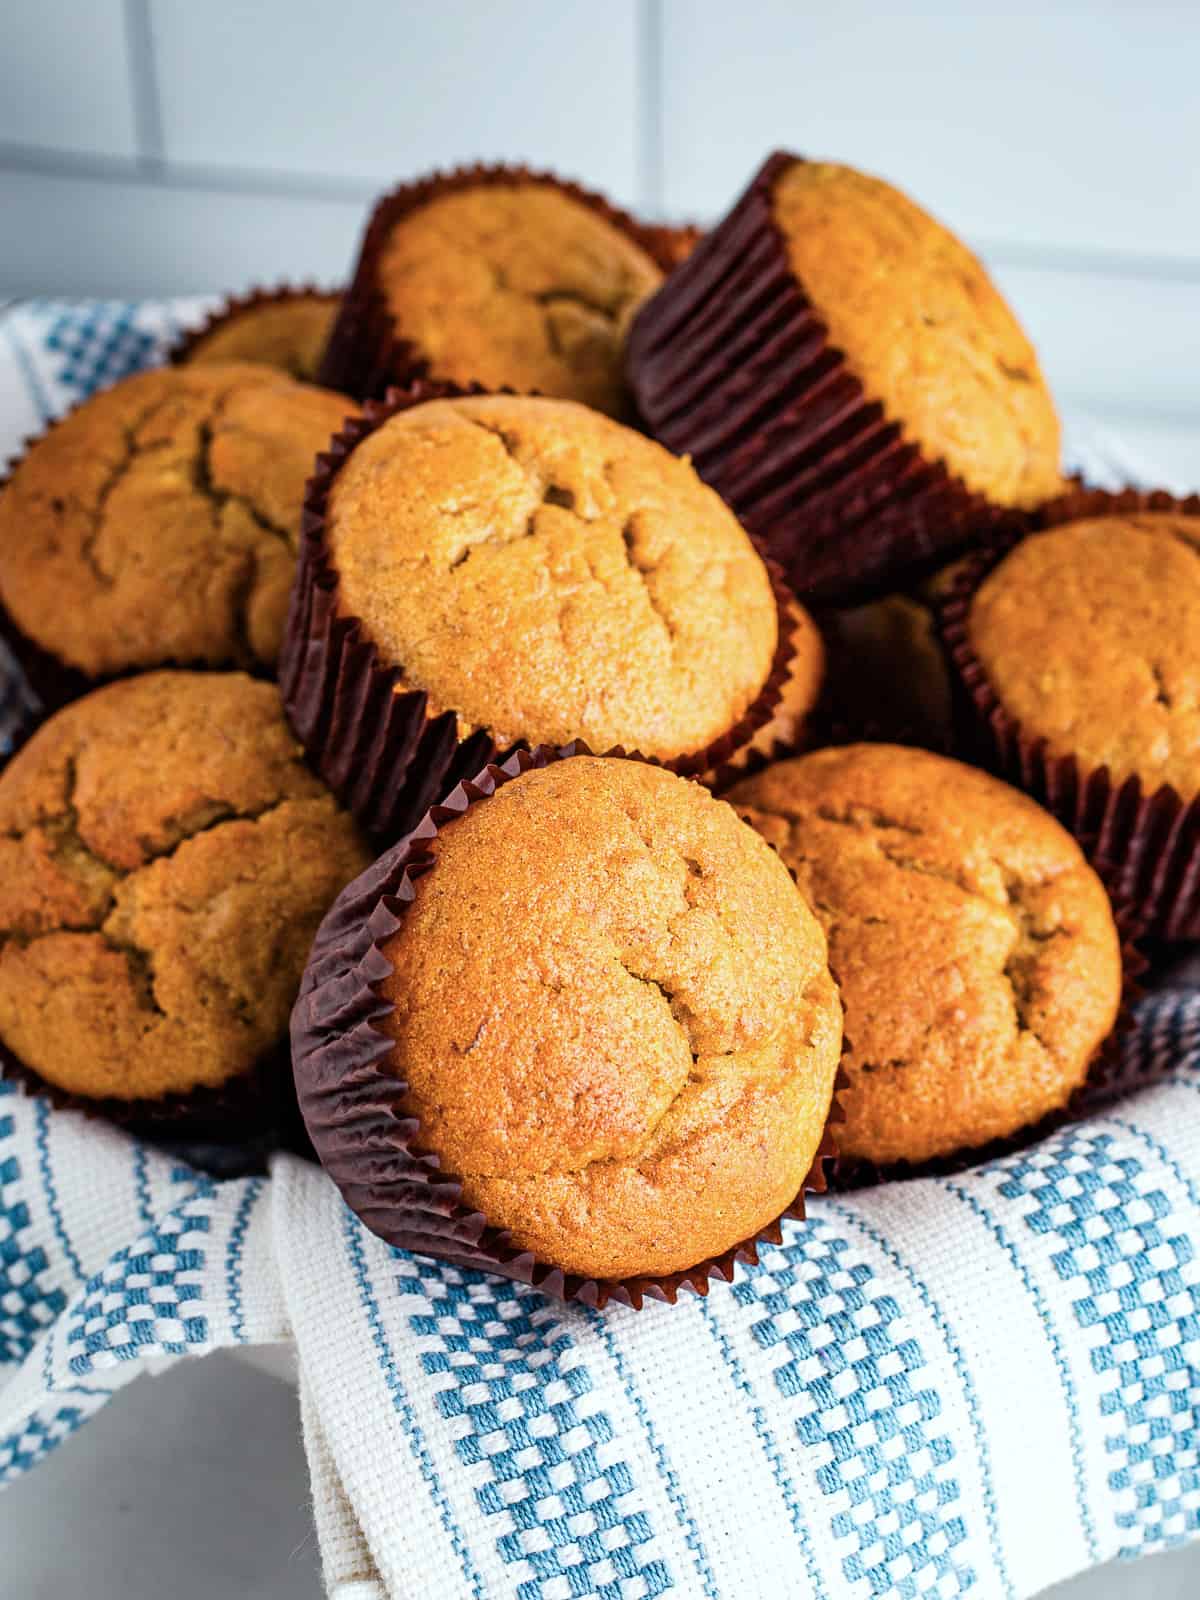
I love these banana muffins. They’re one of those “You can’t tell this is gluten-free!” recipes. I promise that there isn’t a hint of grittiness that some gluten-free muffins contain.
Since these are so good, I often double the recipe. Just like my gluten-free blueberry muffins, these freeze beautifully. So when I’m in the mood for a muffin–but not in the mood to bake–there’s always a few in the freezer along with gluten-free chocolate chip cookies and a loaf of sandwich bread.
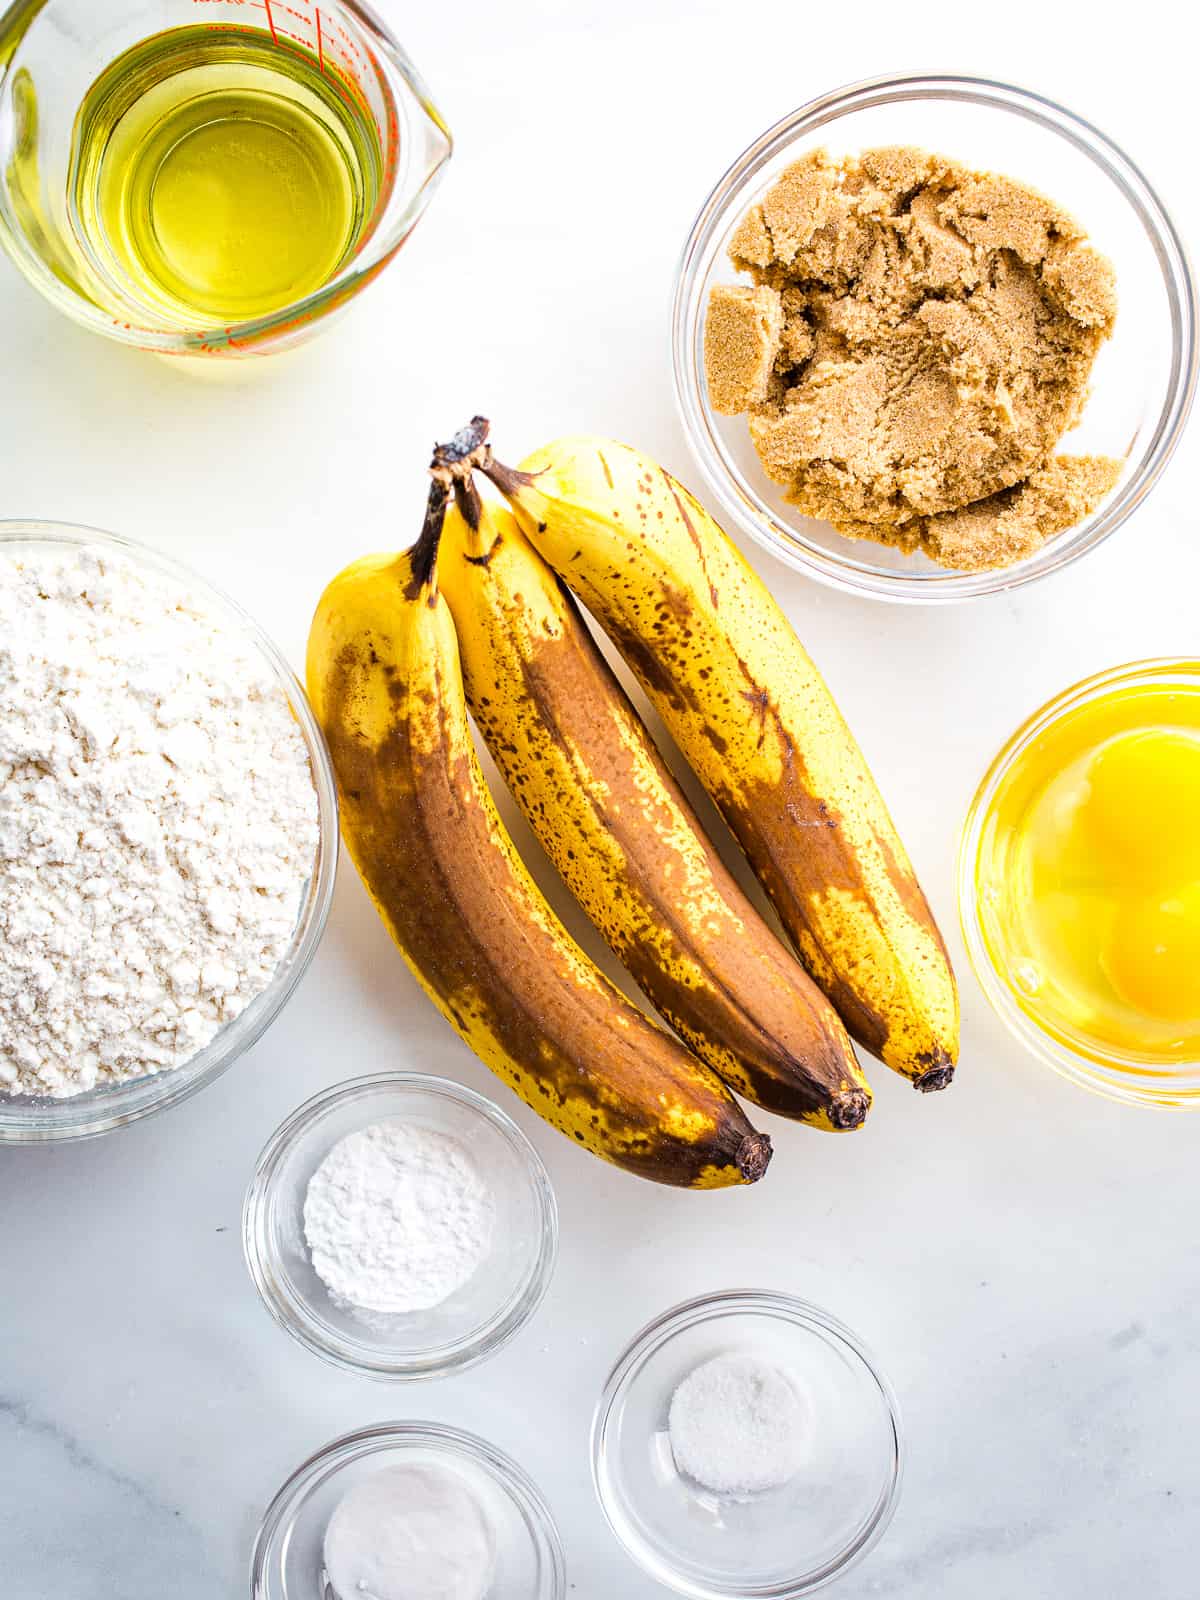
Ingredients.
- Bananas. For the best flavor and texture, you really want to use overripe bananas. They’re sweeter and contain more moisture than yellow bananas. It’s easy to tell when bananas are overripe. The skin gets very brown–it can even turn black. And the banana gets soft and mushy.
Substitute: There’s really no substitute for bananas in this recipe. But if you don’t have overripe bananas, use yellow bananas and add two teaspoons of additional brown sugar plus two teaspoons of water or milk. - Dark Brown Sugar. These muffins have a nice sweetness thanks to the dark brown sugar. Use dark brown sugar that’s soft. If it’s gotten hard in the bag, soften it by placing a lightly damp paper towel over the sugar and warm it on low heat in the microwave.
Substitute: Replace the dark brown sugar with either light brown sugar or granulated sugar. I don’t recommend honey or maple syrup for this recipe because it can make the muffins too moist. For sugar-free muffins, use a sugar replacement that’s suitable for baking. - Gluten-Free Flour. I tested this recipe with Bob’s Red Mill 1:1 Gluten-Free Baking Flour. It makes great muffins. Use a gluten-free flour blend that contains xanthan or guar gum. Without it, the muffins can turn out dense.
Substitute: If you don’t want to use a premade gluten-free flour blend, whisk together: 1 ¼ cups white rice flour. ½ cup cornstarch and ¼ cup sweet rice with ½ teaspoon xanthan gum. - Eggs. Two large eggs bring the batter together and give the muffins a nice crumb.
Substitute: Do you want to make these muffins egg-free? Here’s what to do: use a “flax egg”. To make it, whisk together two tablespoons of ground flaxseed and five tablespoons of hot water. Let that sit for about five minutes and then use it like you’d use the egg. By the way, it’s important to use ground flaxseeds. Sometimes the bags are labeled “flaxmeal.” Whole flaxseeds don’t work as well for an egg replacement. - Oil. The oil is an important ingredient in this recipe. It makes the muffins moist and rich, plus it helps keep them fresh. So it’s not an ingredient you want to skip. Use a neutral flavored oil, like vegetable or canola oil.
Substitute: Butter works great in this recipe. To use it, melt the butter and let it cool slightly before adding it to the muffins. - Baking Powder, Baking Soda, and Salt. These three ingredients contribute a lot. The baking soda and baking powder help the muffins to rise and the salt enhances the flavor.
Optional Ingredients.
- Chocolate Chips. Banana muffins and chocolate chips go great together. Use regular or mini-chips. Both taste great.
- Chopped Nuts. If you love banana-nut muffins, add a cup of your favorite chopped nuts to the batter.
- Vanilla Extract. You’ll notice this recipe doesn’t call for vanilla extract. Since the bananas and brown sugar are so flavorful, it doesn’t require it. But if you love vanilla, add a teaspoon of extract along with the eggs, sugar, and oil. It adds a lovely flavor to the muffins.
- Cinnamon. For spiced banana muffins, add a teaspoon of ground cinnamon along with the vanilla extract.
How to Make Gluten-Free Banana Muffins: Steps for Success.
This muffin recipe is so easy to make. All you need do is mix the simple batter. Let it rest. And bake the muffins. You got this!
Make the Batter.
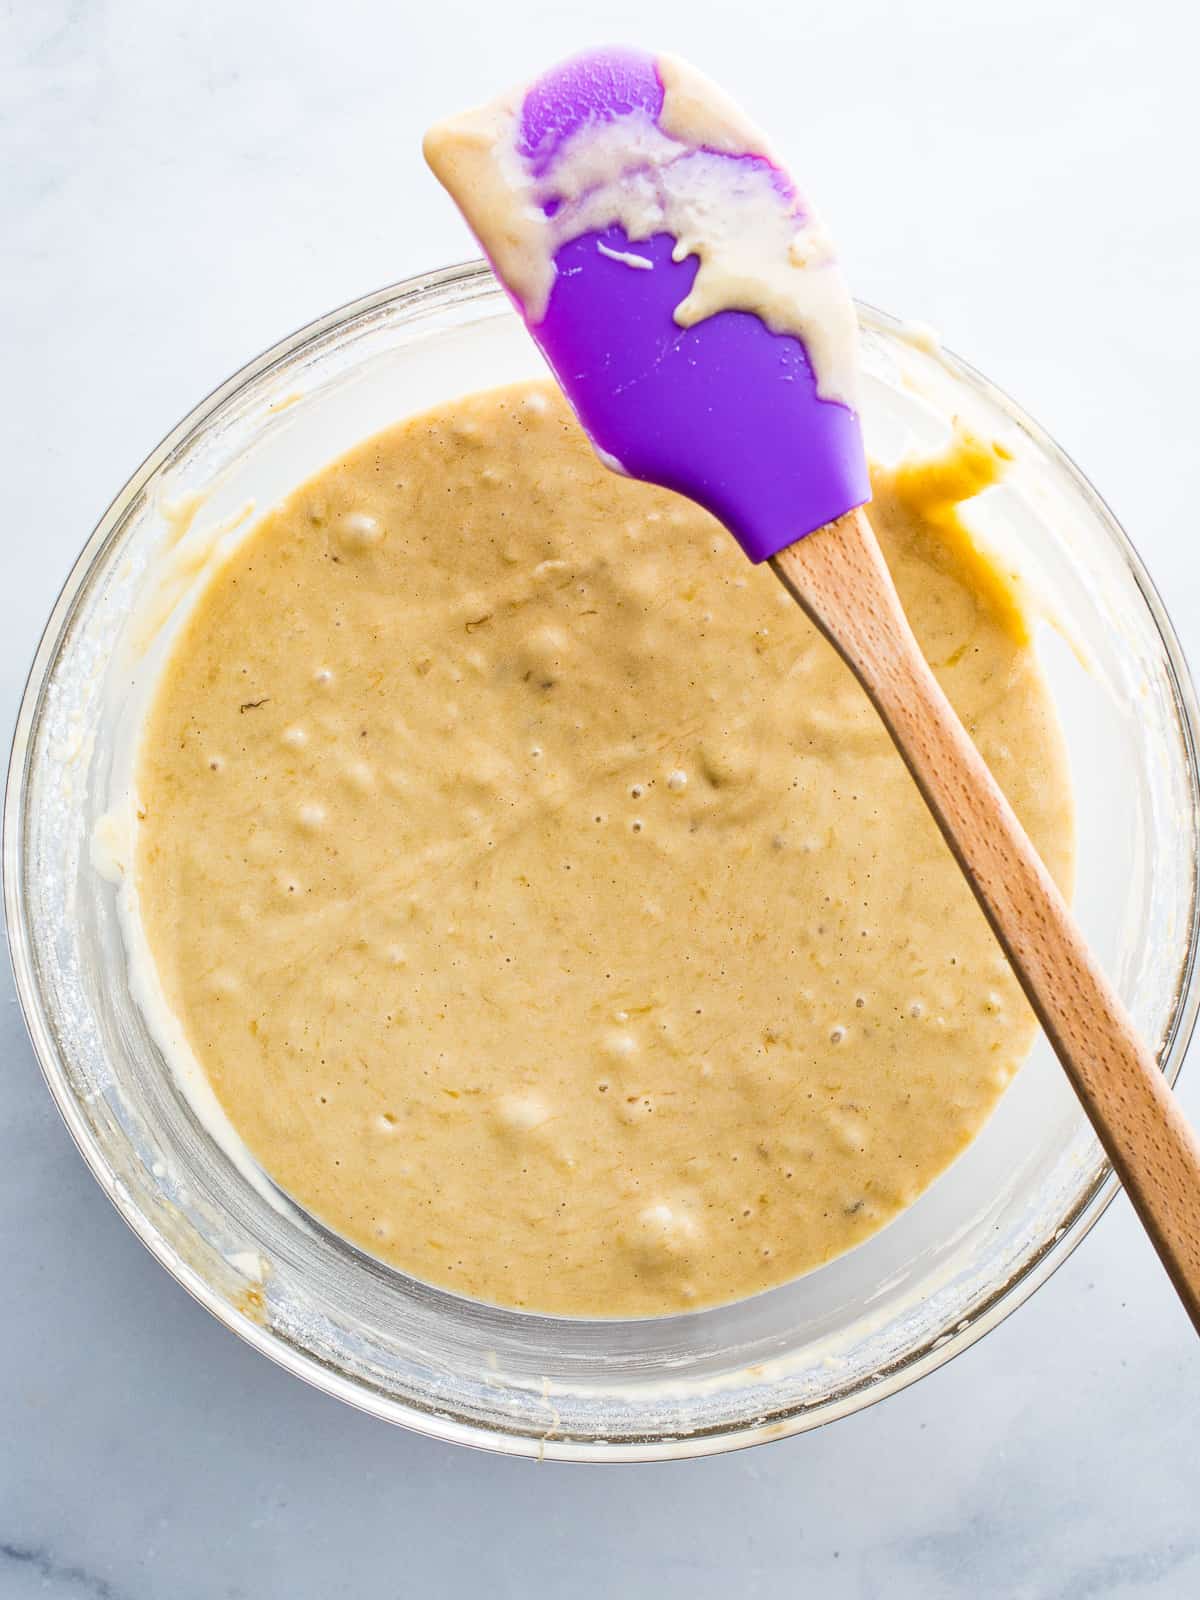
You only need one bowl to make this batter. Start by mashing the bananas. Do this with a fork or an electric mixer both work great. Then add the brown sugar, eggs, oil, and vanilla. Mix everything together until it’s almost smooth. If you see a few lumps of bananas, that’s fine.
Stop the mixer and add the remaining ingredients. Stir until a batter forms. This takes about 30 seconds. You’ll notice that the batter is thick. So it’s a good idea to stop the mixer and scrape the bottom of the bowl. A lot of times, there’s a thin layer of flour clinging to the bottom or sides of the bowl. Mix any flour or other ingredients into the batter before you let it rest.
Let the Batter Rest.
A lot of people believe that after they mix a batter they need to get it into the oven as fast as possible or the muffins won’t rise. This isn’t true. As long as the batter contains double-acting baking powder, the batter can rest. And muffins turn out better if it does.
Let’s quickly talk about double-acting baking powder since it’s the key to letting the batter rest. Unlike baking soda, which releases gas once when it interacts with the acid and liquid in a recipe, double-acting baking powder works twice. It first releases gas when it comes in contact with liquid and then again when it’s heated.
If you’re going to let your batter rest, be sure the label says “double-acting.” The good news is that most do.
Resting batter simply means mixing it, covering the bowl, and waiting a little while before baking. But how long should you wait? Good question.
I’ve found that a 30-minute rest gives you the best results. It’s long enough to allow the starches to soften but not so long that a batch of muffins becomes a day-long task.
But what if you don’t have 30 minutes to wait? For this recipe, it’s fine. The muffins still rise and turn out really well. They might not be as tender but if you’re in a rush, I wouldn’t worry about it.
Prepare and Fill the Muffin Pan.
This recipe makes about 16 standard-size muffins. I say “about” because the size of muffin pans varies depending on the manufacturer. You might get 15 muffins if your pan is large or 18 if it’s smaller.
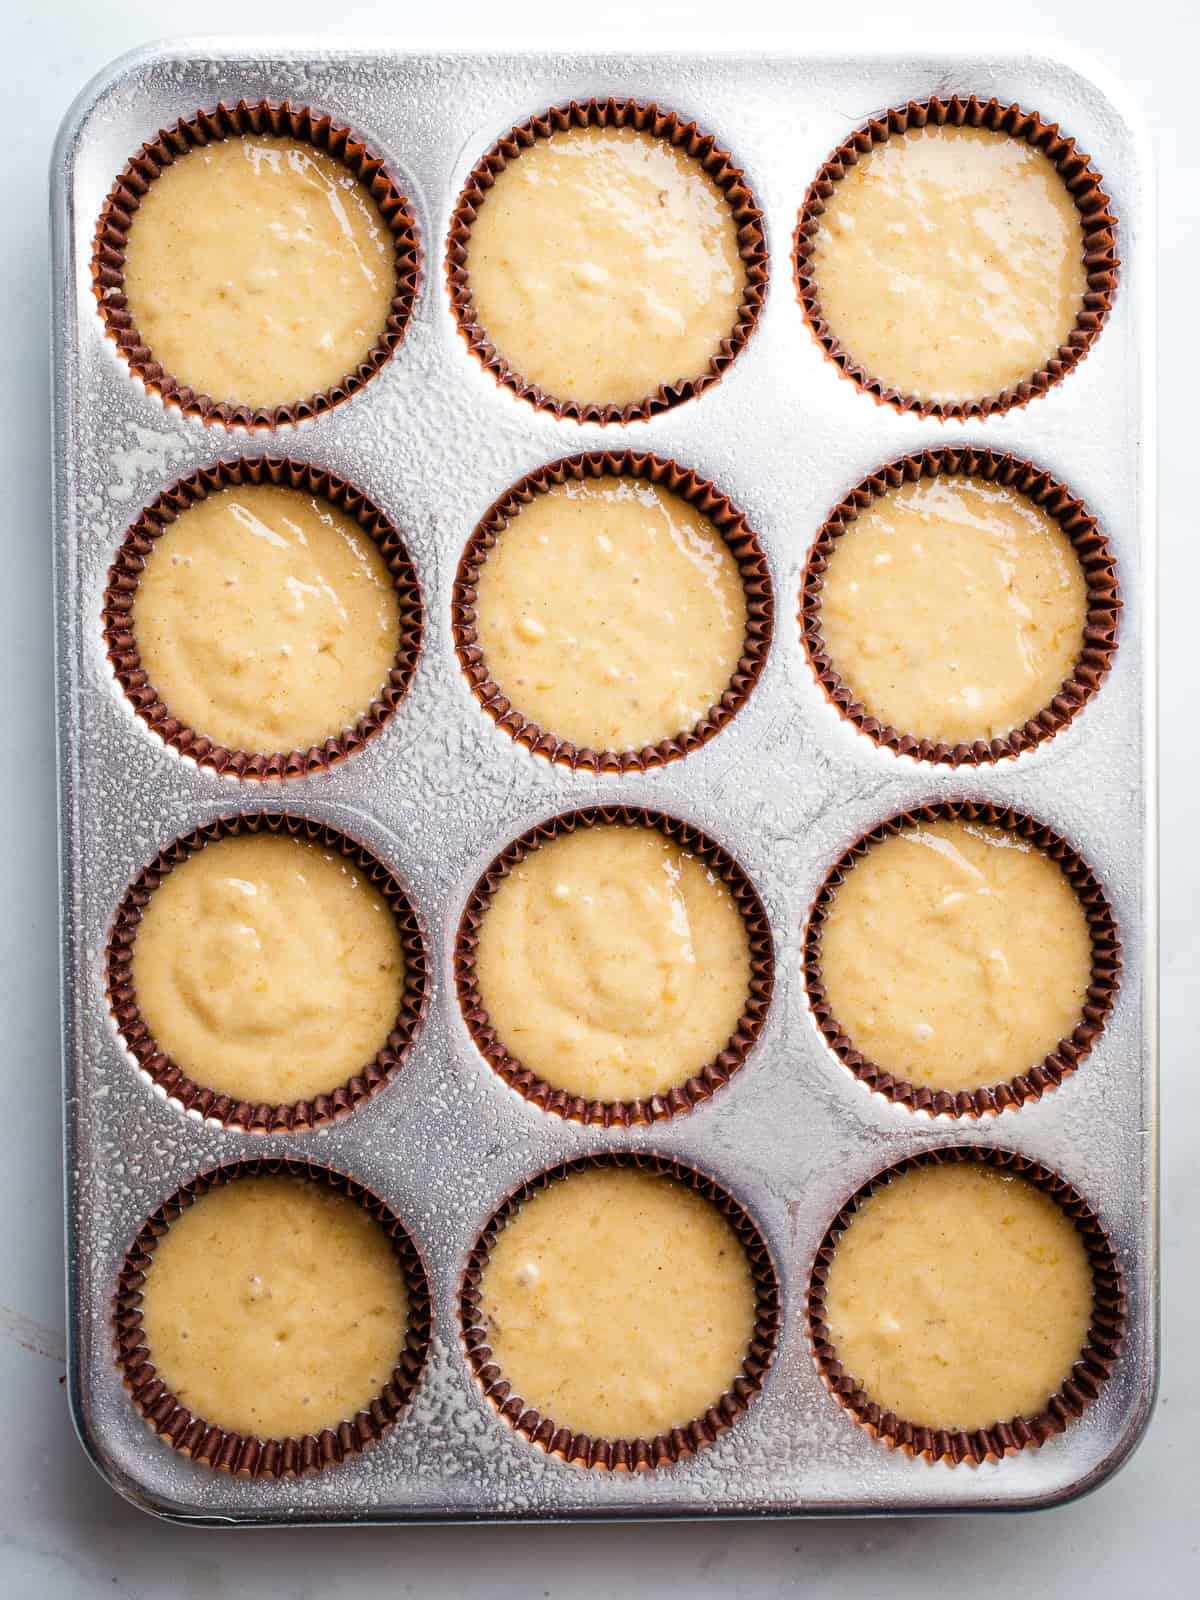
To prevent the muffins from sticking to the pan, I like to line the pan with paper liners. It makes it so easy to get the muffins out of the pan. If you want to skip the paper liners, grease each muffin cavity lightly with oil to prevent the muffins from sticking. Do this even if your muffin pan is nonstick.
As an added layer of protection from the muffins sticking, I spray the top of the pan with nonstick cooking spray. This way, if the muffin batter overflows, it won’t stick to the top of the pan.
Fill each muffin cup about ⅔ full. I like to use a muffin scoop to do this because it makes the task so quick. If you don’t have one, use a ¼ cup measuring spoon.
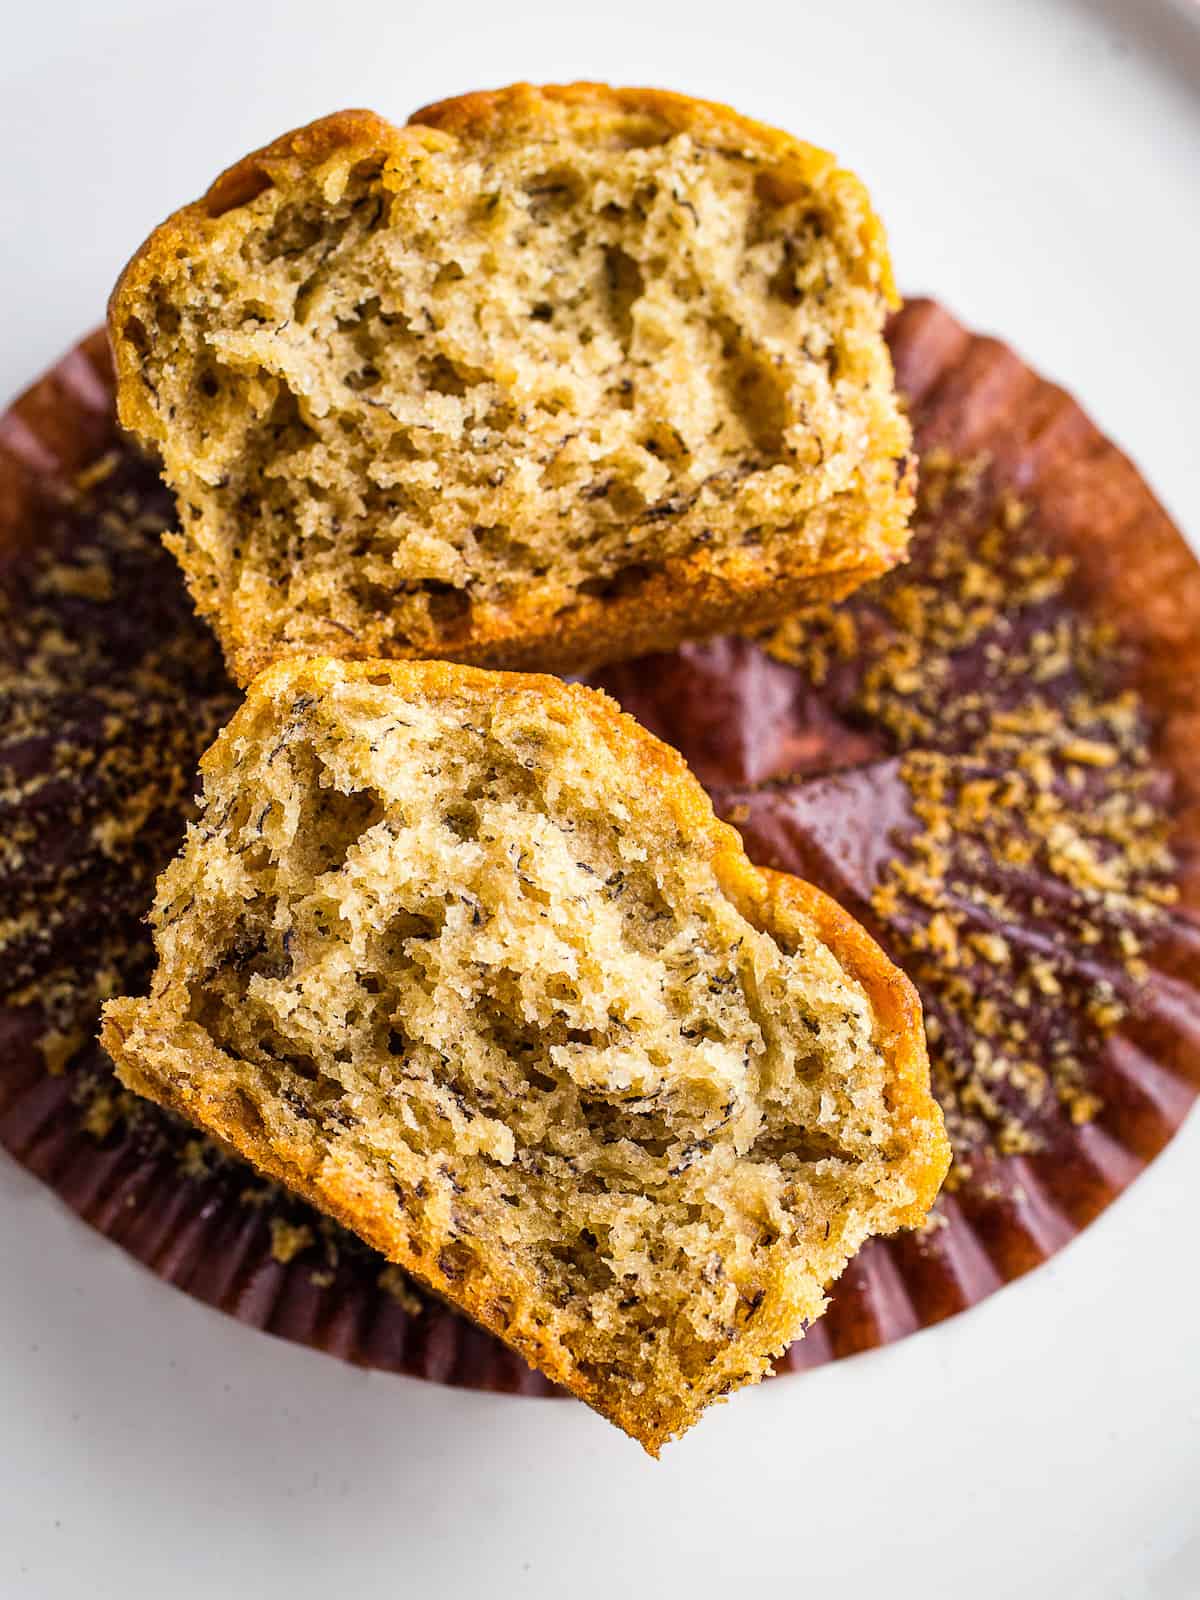
Bake Until Brown.
These muffins take about 22 minutes to bake. Baking time varies depending on your oven and the size of the pan. Check the muffins for doneness by inserting a toothpick into the center. Testing the center is important. The outside of the muffins bake faster than the center. Always aim the toothpick for the very center of the muffin. If you hit the bottom of the pan, you’ve gone too far down.
Since gluten-free baked goods have a slightly denser crumb than wheat baked goods, some folks like to use a thermometer to test for doneness. If you prefer to use a thermometer, you want the temperature to reach 203℉ to 205℉.
Cool on a Rack.
If you learn one thing about gluten-free baking from me, I hope it’s this: use a cooling rack. Hot baked goods contain a lot of steam. And if they’re allowed to cool in the pan, things can get soggy or gummy. There are a few exceptions, like gluten-free coffee cake, but most things do better when cooled on a wire rack.
When the muffins are done, remove the pan from the oven. Let the muffins cool in the pan for about five minutes. Then transfer the hot muffins to a cooling rack. This allows steam to easily escape and keeps the muffins from getting soggy on the bottom.
How to Freeze Gluten-Free Banana Muffins.
Gluten-free muffins freeze really well as long as you follow a few steps.
- Let the muffins cool. You don’t want to freeze warm muffins. When muffins are warm, they contain a lot of extra moisture. If you pop them in the freezer, this moisture turns to ice crystals. When the muffins thaw, you’ll notice they’re soggy and dry. It’s easy to avoid this! Just let the muffins cool completely before you freeze them.
- Use a freezer container. Place the muffins in a freezer bag or container. This keeps them from drying out in the freeze.
- Freeze for up to three months. For the best texture, freeze the muffins for up to three months. When you’re ready to enjoy them, remove the muffins from the freezer. Allow them to thaw at room temperature.
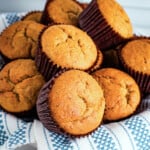
Gluten-Free Banana Muffins
These gluten-free banana muffins are tender, moist, and really easy-to-make. You'll need three large bananas for this recipe. For the best flavor and texture, use overripe bananas. They're sweet and add a
Ingredients
- 3 medium very ripe bananas (about 15 ounces; 425 grams)
- ¾ cup lightly packed dark brown sugar (5 ½ ounces; 155 grams)
- ½ cup oil or (1 stick) butter, melted and slightly cooled (4 ounces; 113 grams)
- 2 large eggs, whisked (about 4 ounces; 113 grams)
- 2 cups Bob’s Red Mill 1:1 Gluten-Free Baking Flour (9 ounces/ 260 grams)
- 1 teaspoon baking powder
- 1 teaspoon baking soda
- ½ teaspoon salt
- ½ cup chocolate chips, optional (3 ounces; 85 grams)
- ½ cup chopped walnuts, optional (3 ounces, 85 grams)
Instructions
-
In a large bowl, mash the bananas with a fork or potato masher. Add brown sugar, oil, and eggs. Add the gluten-free flour, baking powder, baking soda, and salt. Mix until batter is thick. Stir in chocolate chips and nuts if using.
-
Cover the bowl and let the batter rest for 30 minutes. (This step is optional. It makes the muffins more tender and helps them to rise more.)
-
Preheat oven to 350℉. Grease or line 16 standard size muffins cups with paper liners. Fill prepared muffin cups ⅔ full with batter.
-
Bake for about 22 minutes or until a toothpick inserted in the center comes out clean. Cool muffins in the pan for 5 minutes; remove from pan and place on a wire rack to cool completely.
-
Store, wrapped, on the counter for up to three days or freeze for up to three months.
Recipe Notes
Ingredient Substitutions.
Gluten-Free Flour Blend. If you prefer to mix your own flour, use 1 ¼ cups white rice flour, ½ cup cornstarch, ¼ cup sweet rice, and ½ teaspoon xanthan gum. Whisk together. Use in place of the premade flour blend.
Dark Brown Sugar. Use an equal amount of light brown sugar or granulated sugar. Muffins made with granulated sugar bake up a little lighter than those made with brown sugar.
Eggs. Replace the two eggs with a flax egg. To make it: stir together two tablespoons of ground flaxseed and five tablespoons of hot water. Let the mixture sit for five minutes. It will thicken during this time. Add it to the recipe along with the brown sugar and oil.
Oil. Melted butter is a great substitute for the oil. Melt one stick (4 ounces) of butter and allow it to cool slightly before adding it to the batter.


"Gluten Free/ Not Gluten Free" baker. says
I didn’t have enough gluten free flour in my cupboard so I blended up some oats in my blender. I added a smidgen of xanthen gum to make up for what wasn’t in the flour oat flour I made. I also replaced the 3/4 cup brown sugar for 1/2 cup honey/ maple syrup; going heavy on the honey, light on the maple. I also have eggs from the farm, so they are much smaller. I added a bit of ground flax to help with the binding, and walnuts. These were the perfect texture and my husband was surprised they rose so well. Amazing recipe. Thank you!
MaryK says
I used coconut oil. Cannot tell they are gluten free! Perfect and easy. Everyone loves them. I’ll definitely make them a go to recipe. THANKS!!!!
Leanne says
What did you replace with coconut oil?
Vin says
Butter
Logo says
Followed the recipe exactly, using Bob’s Red Mill 1:1 flour, vegetable oil, and weighing ingredients. I included the optional chocolate chips but omitted the optional walnuts.
These were fabulous! Best GF muffins I’ve had since having to adjust to GF 4 years ago.
Dee says
I just made these, and they are delicious. I used plant-based “butter” and melted it. I used stevia, and since my favorite banana bread recipe – pre-gluten-free lifestyle dissolves the baking soda in 1/3 cup of yogurt (I used coconut), I just had to include that. The muffins raised fine and taste great! I’m thrilled. I’ve had quite a few duds as I journey down this no, soy, corn, gluten, dairy, yeast road- I’m thankful these did?
Emma says
I made this recipe twice now, and I am making it again today, the third time. It is one of the best recipes I’ve made. Absolutely delicious. I substituted the sugar with xylitol for a sugar free version, and the choc chips I used were also sugar free. Thank you for this recipe…it is amazing!
Shannon says
Every time I have some over ripe bananas I have to make this recipe because it is just so good! I always make them with vegan butter and use dark chocolate chips and walnuts. So yummy!! Thank you for this recipe!
Vanessa says
These are amazing – they bake up light and fluffy and you can’t tell they are gluten free! I used butterscotch chips instead of chocolate chips and pecans instead of walnuts, and the combination is delicious!
Marie Shartner Gilchrist says
These turned out PERFECT ! I would love to have taken a picture to show you !!!
Stacie says
Excellent recipe! Made it exactly as written except I used swerve brown “sugar” for a sugar free muffin. Very soft, moist, delicious muffin! Kids ask specifically for this recipe for breakfast. Definitely a keeper and will be a regular breakfast for my kids.
Stacie says
Excellent recipe! Made it exactly as written except I used Truvia brown “sugar” for a sugar free muffin. Very soft, moist, delicious muffin! Kids ask specifically for this recipe for breakfast. Definitely a keeper and will be a regular breakfast for my kids.
Susan says
Followed the recipe except that I left out the nuts and chocolate chips. Very tasty. My husband is on his 2nd muffin. Thank you 😉
Mj says
Made these (butter variant) with Cup 4 Cup flour and they turned out GORGEOUS, super fluffy and moist and banana-y.
Mary says
This is the best gf banana muffin recipe I have tried and this is the fourth recipe I followed. They are very moist and delicious. I will definitely make them again.
Katie says
I’m newly gluten free and this is the first thing I’ve had that was super yummy and satisfying in the baked goods realm. They were easy. I used butter. Will make again.
Barbara says
You can’t even tell they are gluten free!. My family gets bananas almost every week and as soon as they are really ripe muffins are expected. They become a breakfast item for my family. As well as snacks. I add vanilla and some cinnamon. Yum!!
Carrie says
The only person in my family who is gluten-free is my daughter, so I need to find recipes that don’t “taste” gluten-free for the rest of the gang! This one hit the spot! I made the mini-size ones, and I would say that 22 minutes is way too long for cooking, though. They came out perfect after 15 minutes! Thank you for a quick, easy, and DELICOUS recipe!
Barbara M says
Love this recipe. I substitute butter with coconut oil. I do reduce the sugar a bit as my bananas are always very ripe and sweet. I have made this a few times, comes out great every time. Family loves them. I have made muffins, muffin caps, mini muffins and a small bread. They all came out perfect. Letting the dough rest is brilliant! I believe it is key to the raised results. Thank you!
Stephanie T. says
I made these for brunch with friends. The flavor was wonderful. I used one stick of vegan butter and I think that is too much as the muffins were just a bit oily. I also used Just Egg. We do a lot of GF baking and cooking and these were one of the best recipes for texture and taste. We are going to play with the amount of butter and egg replacer – may try Bob’s Egg Replacer. Thanks for a great recipe and helpful comments!
Gerry says
Yet to make the recipe, I just need some clarification on the method please!
Step one says “ Fill prepared muffin cups ⅔ with batter.” Batter as in the muffin mixture? And then cover the bowl for 30 mins? Step 3 says to line muffin cups with paper cases but aren’t they already 2/3 filled with batter in step 1? Please help me I’m confused! Thank you 😊
Elizabeth says
That was a typo. It’s been fixed! The batter is mixed, rested (an optional step, and then scooped into the pan.
Kathleen Brydzinski says
So moist and delicious!😋