I think eggnog might be the candy corn of the Christmas season. People either love it or loathe it and, just like candy corn, they’ll passionately tell you which camp they’re in. Me? I love eggnog. Love it. But the last few years, disappointment instead of delight accompanied my annual eggnog purchase. The reason? High fructose corn syrup IHFCS). Health reasons and the HFCS debate aside, I just don’t like the mouth feel it brings to beverages. I find eggnog (and even soda) made with HFCS to be, well, syrupy, instead of smooth. (For soda, I find sugar-based sodas “crisper” than their more prevalent HFCS-sweetened cousins.
Then this year, hope of a HFCS-free eggnog sprung up! My friend Rachel mentioned that a local creamery (which will remain nameless because I usually love their stuff) was offering eggnog. She said it was was the best nog she’d ever had. After hearing this, I ran so fast to the store to pick up a glass bottle of the stuff that it could have qualified as a cardio workout. Then I scanned the ingredients and saw….high fructose corn syrup. I.was.so.bummed. “That’s it! I’m making my own!” I muttered to Greg. And I did! After the first sip of homemade eggnog, I knew I’d never buy pre-made nog* again. Like most things, it’s just so much better homemade. It’s eggy and rich without being cloying sweet or as thick as a semi-melted milkshake.
*Statements like that one are always so full of hope, aren’t they? Watch, next year I’ll get busy and throw a carton of commercial nog into cart. You know how that goes, don’t you?
Making homemade eggnog isn’t hard but you do need a few tools:
Heavy-bottomed 4 quart pot (I used a 2 quart pot. This was a mistake. A big one.)
Balloon whisk
Thermometer Ice Bath (Fill a large bowl with lots of water and ice.)
Ladle
After gathering your tools and preparing the ice bath. It’s time to make nog! (feel free to cue up the Christmas music while you make it!)
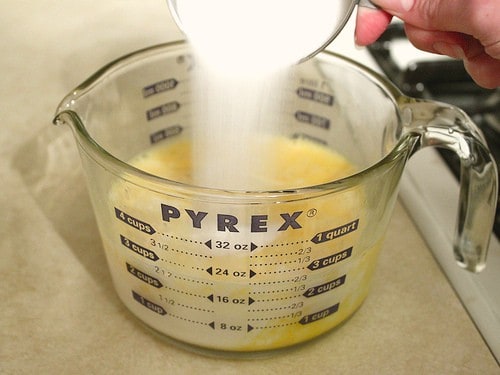
Egg nog contains eggs. And while we want to cook the eggs, we don’t want bits of eggs (think scrambled eggs) floating in our nog. So we are going to temper the eggs. To do this, whisk together the eggs, half the granulated sugar, and one cup of the milk. Set it aside near the stove.
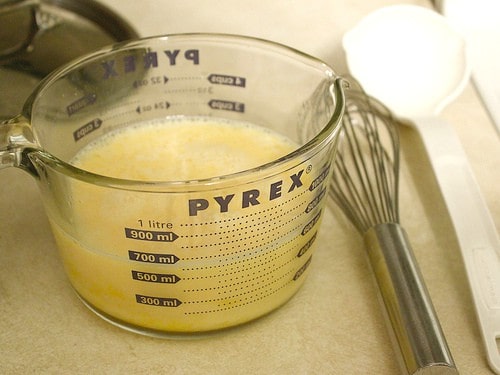
And place your ladle and whisk near the bowl. (Or in my case, a four-cup measure.)

Bring milk and remaining sugar to a boil
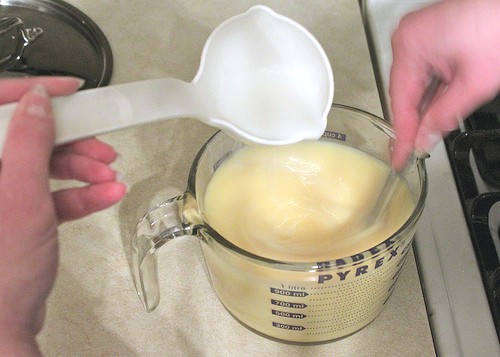
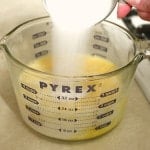
Slowly ladle one cup of the hot milk into the egg mixture. (This slowly raises the temperature of the eggs without cooking them.) Don’t add the hot milk too fast. you want to whisk the egg mixture as you add the hot milk.

Now, whisk the egg mixture into the hot milk in a slow and steady stream. You can see why I use my four-cup measure. It makes pouring the eggs into the milk easy.
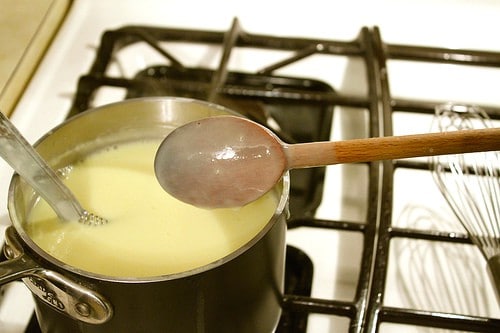
Cook until the eggnog thickens. It needs to reach 185°F. The finished nog should coat the back of a spoon.
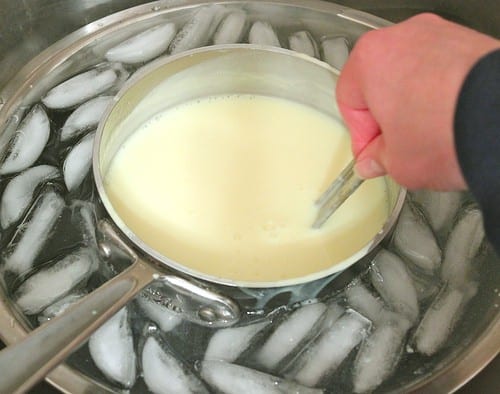
Immediately transfer the pot to the waiting ice bath. Whisk the eggnog to cool it quickly. You want the mixture to come down before 70°F.
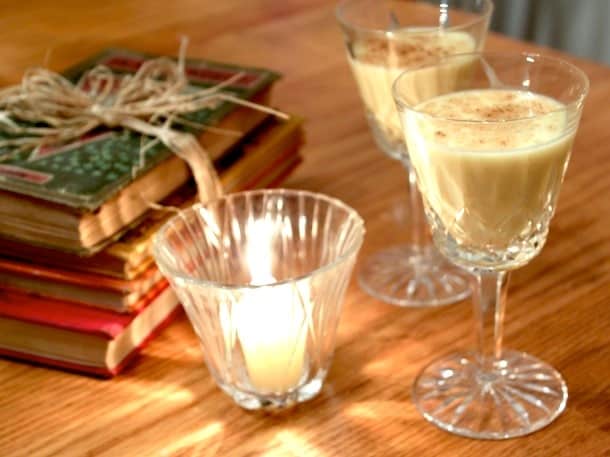
Once the eggnog cools, add the vanilla and nutmeg. Chill and serve the next day. And if you want to add a glug of something adult in your glass, go right ahead. It is the holiday season after all.
Homemade Eggnog
Ingredients
- Ice
- Cold water
- 6 large eggs (10 1/2 ounces; 300 grams)
- 1 cup granulated sugar (reduce to 3/4 cup granulated sugar for a less sweet eggnog) (7 ounces; 198 grams)
- 4 cups whole milk (32 ounces; 900 grams)
- 1 teaspoon vanilla extract
- 1/2 teaspoon ground nutmeg
Instructions
-
In a large bowl, combine ice and cold water. Bowl should be large enough to place your saucepan without having the ice and water slop over the sides and into your cooked eggnog.
-
In small bowl, whisk together eggs, 1/2 the granulated sugar, and 1 cup of the milk. Combine remaining milk and sugar in a heavy-bottomed 4 quart pot.
-
Bring milk to a boil over medium high heat. Reduce heat to low and slowly whisk one cup of hot milk into the egg mixture.
-
In a slow and steady stream, whisk egg mixture into the hot milk. Increase heat to medium hight. Cook, whisking constantly, until mixture reaches 185 °F. Eggnog should thicken and coat the back of a wooden spoon.
-
Immediately place pot into the ice bath and whisk until cool. Add vanilla and nutmeg. Transfer to a covered container and chill overnight. Serve with a little nutmeg sprinkled onto of the eggnog, if desired. Or with a splash of bourbon or your favorite adult spirit.
-
*If some of your eggs cooks and your nog is a little lumpy, fear not! Simply strain the eggnog once it cools and serve.
Dianna says
Delicious! We never made homemade eggnog before, and this turned out perfectly! Added the nutmeg while cooking to bring out more flavor. I never feel comfortable trusting store-bought eggnog because I’m never sure if it’s gluten free. We appreciated that this is less sweet than the commercial varieties, too. Thank you for the recipe!