A great pie needs a great crust. This recipe makes a gluten-free crust that’s delicate, flaky, and perfect for any pie from pumpkin to apple—and everything in between. In the guide, we cover ingredient selection and how to make a pie crust by hand or in a food processor.
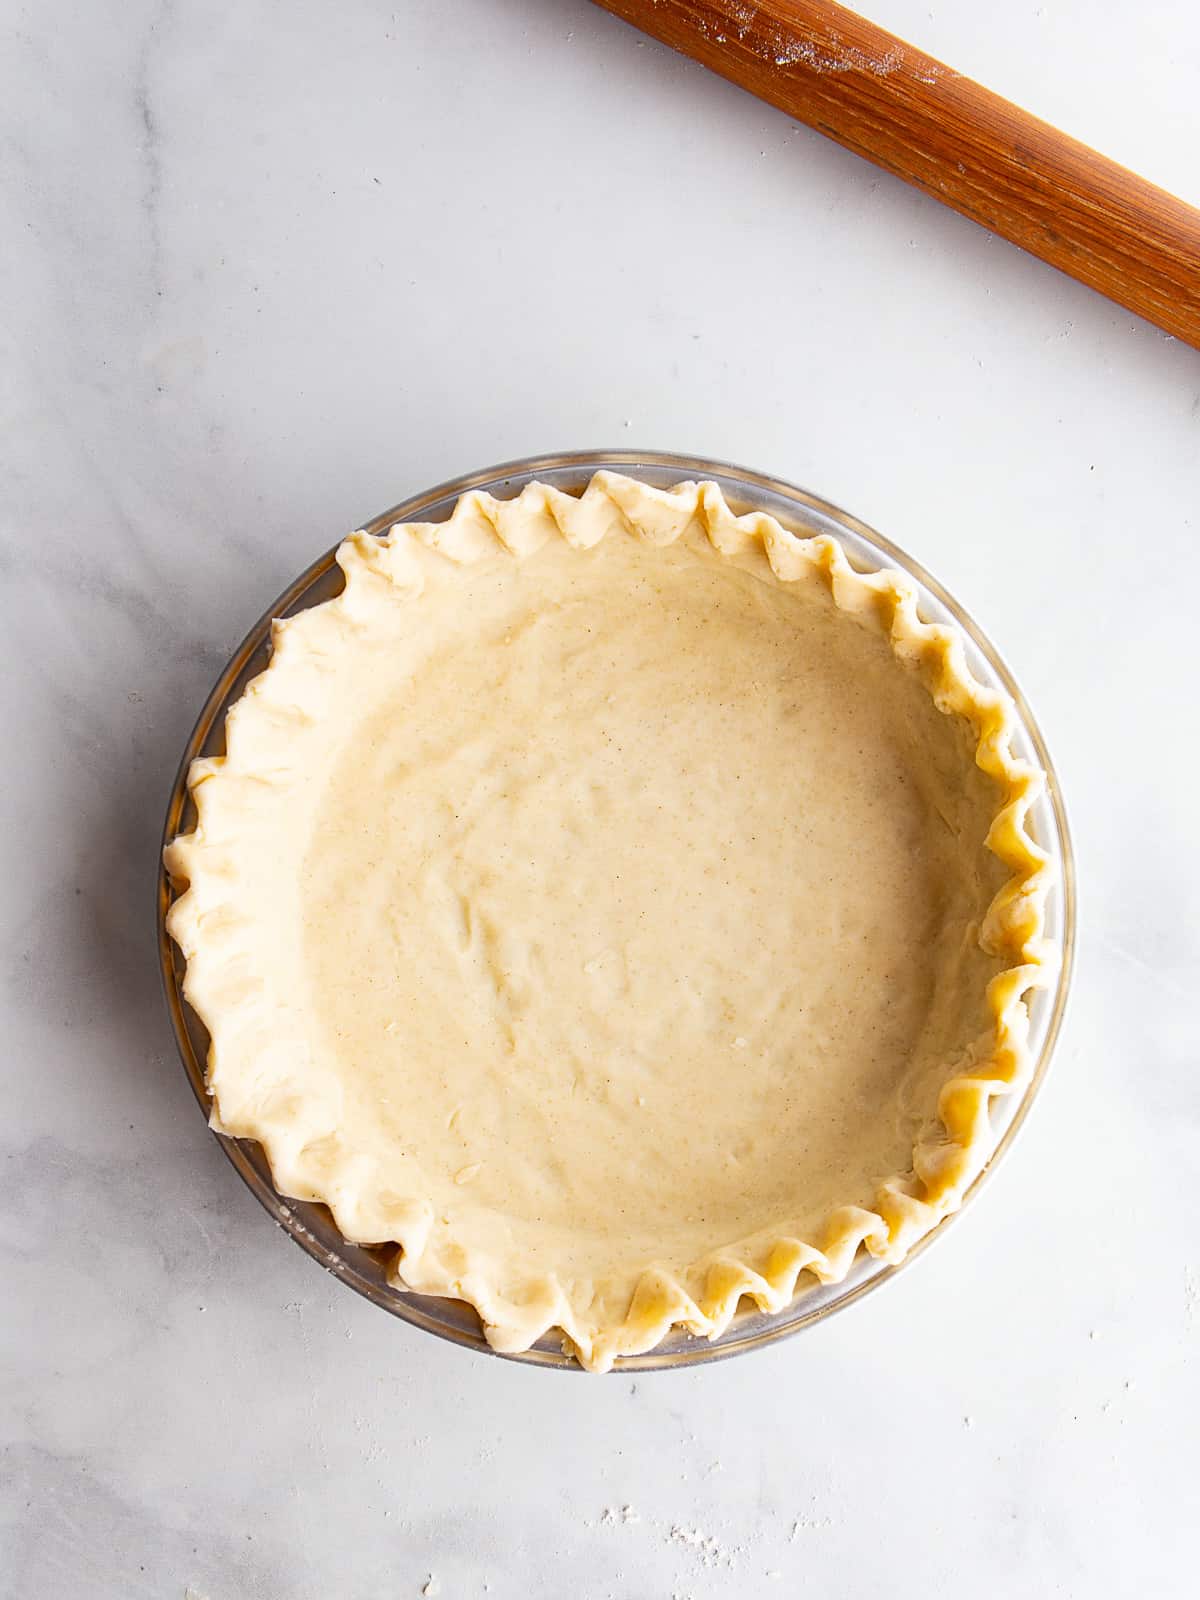
This easy recipe for a homemade gluten-free pie crust is one of my favorite recipes. It’s flaky. It’s buttery. (It can easily be made dairy-free.) And, if you have a food processor, you can make a batch in less than 10 minutes.
Gluten-Free Pie Crust Ingredients.
Here’s what you’ll need to make this recipe. And we get into the butter vs. shortening debate.
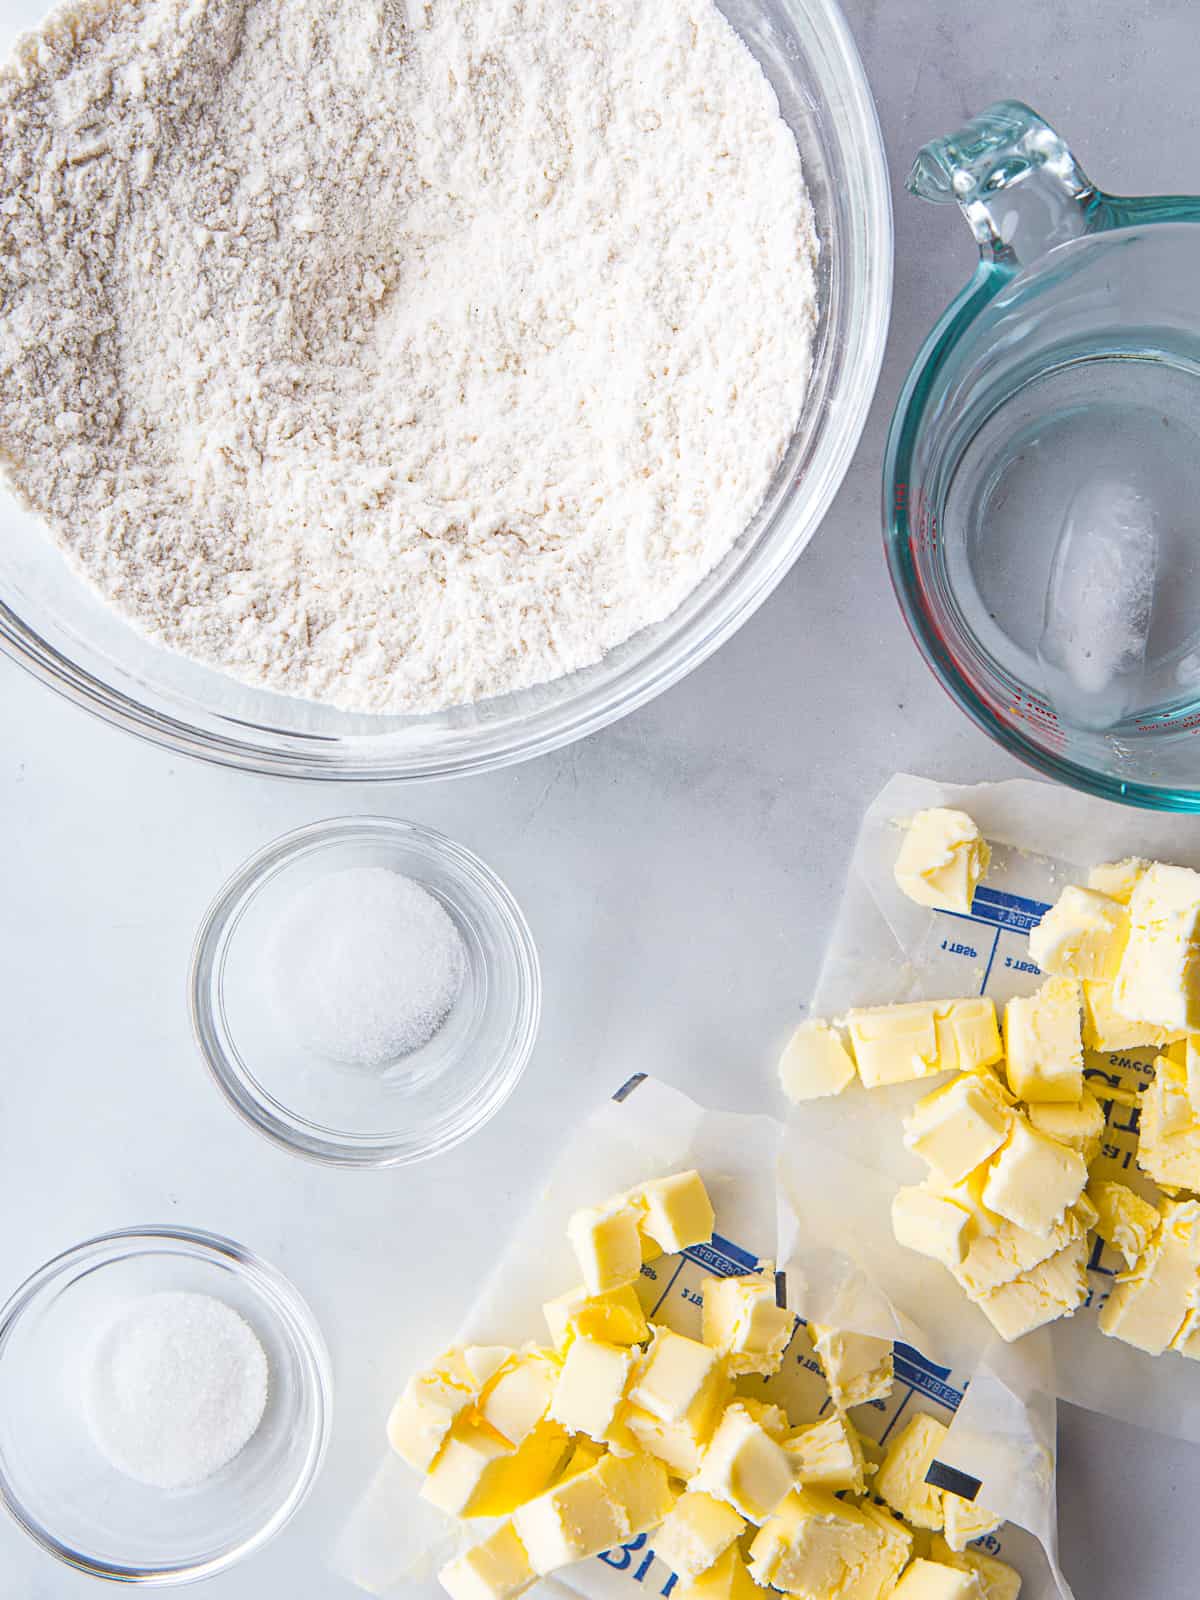
Gluten-Free Flour. For a classic, flaky gluten-free, nothing beats a gluten-free flour blend. Either one you buy at the store or one you make yourself. The combination of flours and starches gives you a lovely crust that’s flaky and tender. If purchasing the blend, be sure it includes xanthan or guar gum. Without xanthan gum, gluten-free pie doesn’t turn out as flaky.
Butter or Shortening. Butter versus shortening is a hot topic among pie bakers. Since pie crust relies on a generous amount of fat for both flavor and texture, it’s the most important ingredient. Whichever you use, make sure it’s cold.
Sugar. A tablespoon of sugar helps the gluten-free crust to brown. It doesn’t add a noticeable sweetness. You can omit it if you’d like.
Salt. Salt enhances the flavor of the crust, taking it from bland to flavorful–even when you use shortening. Be sure to use table salt or very fine sea salt. It dissolves and mixes easily into the dough.
Water. Cold water is a must for pie dough. To ensure that your water is cold enough, place a few ice cubes into a glass of water. Let it sit for about five minutes and then measure your water from the glass of ice water.
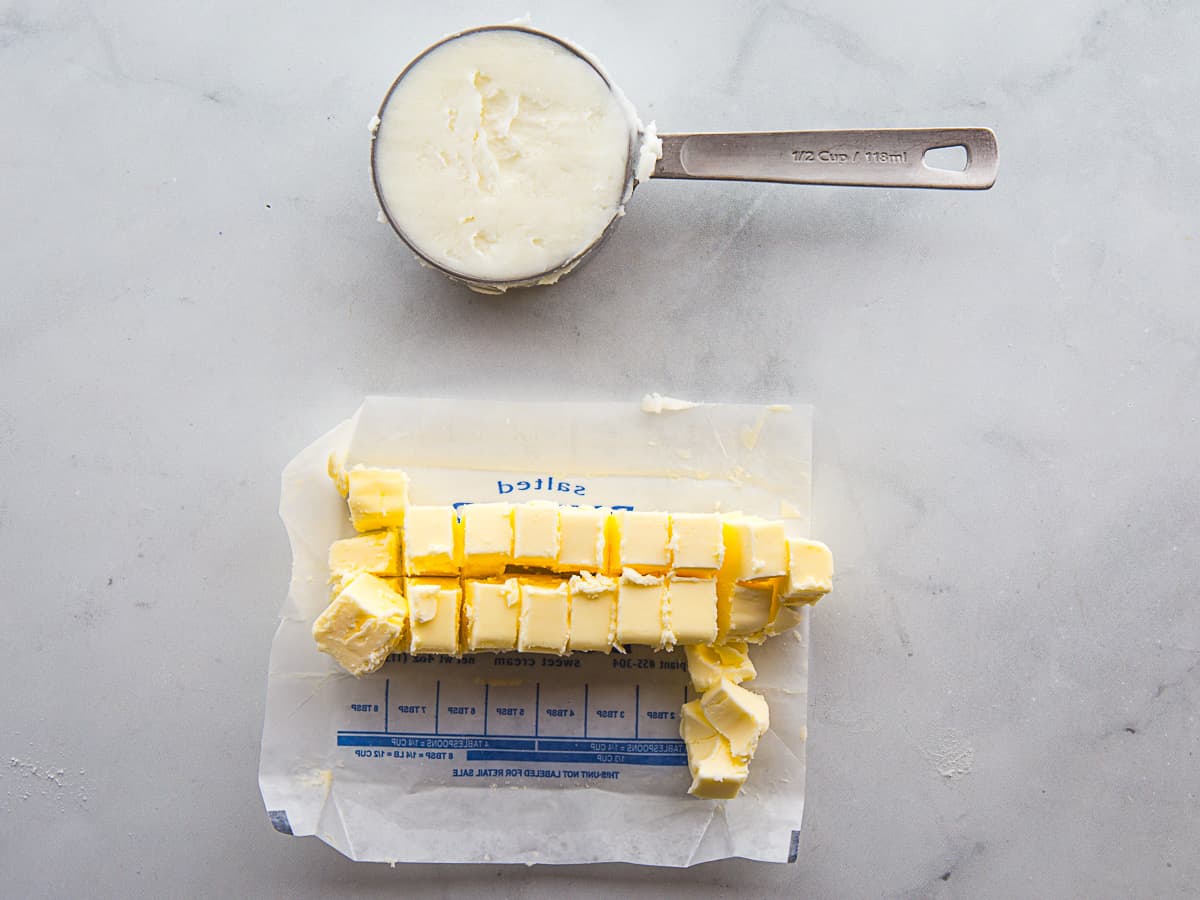
Butter or Shortening? Which is best for a gluten-free pie crust?
Butter or shortening work equally well but it’s important to understand the differences between the two.
- Butter. Very flavorful. Pie dough made with butter takes practice to work with. It if it’s too cold, it cracks. If it’s too warm, it turns out mealy. Butter makes for a really tender pie crust. Gluten-free pie crust made with butter tends to be slightly less flaky than pie crust made with shortening.
- Shortening. Almost flavorless. Makes a dough that’s easy to work with. Crusts made with shortening are very flaky. This is a benefit when you want the flavor of your pie filling to be the star. And it’s dairy-free.
Want the best of both worlds? Use a 50/50 blend of butter and shortening for a crust that’s flavorful and flaky.
A note about lard and other fats.
- Lard. This is a classic pie crust ingredient. If you can find it, make sure it’s fresh and not rancid. It’s dairy-free and makes a flavorful and flaky crust. The downside is that it can be hard to find.
- Coconut Oil. I hesitate to recommend coconut oil for pie crust. It’s low melting temperature makes it finicky to work with. It can easily turn to liquid in the bowl, leaving you with a dense oily crust.
If you want to use coconut oil, be sure it’s cold and solid.
How to Make a Gluten-Free Pie Dough. Everything you need to know.
There are two methods for making a pie crust. You can make it “by hand” or use a food processor. If you’re wondering which method is best, the answer is: it depends.
Mixing the crust by hand allows you to feel the dough each step of the way. It also lets you adjust how the butter is cut into the flour and how much water is added to the dough.
But there are drawbacks to the by hand method. Some folks don’t like the sensation of floury hands. Others have warm hands–and warm hands don’t make for a good pie crust.
Happily there’s another way: the food processor.
A food processor cuts the butter very quickly in the flour. It’s a great tool to use if you’ve got warm hands, don’t like touching dough, or are pressed for time.
So which method should you pick? Whichever you prefer. Both make excellent gluten-free pie crusts.
A note on stand and handheld mixers.
I don’t recommend using a handheld or stand mixer for gluten-free pie crust. It smooshes the butter into the flour very quickly, instead of the cutting action of a food processor. This makes for a crust with the texture of gluten-free shortbread, instead of the lovely flaky texture of pie crust.
Making a Gluten-Free Pie Crust By Hand.
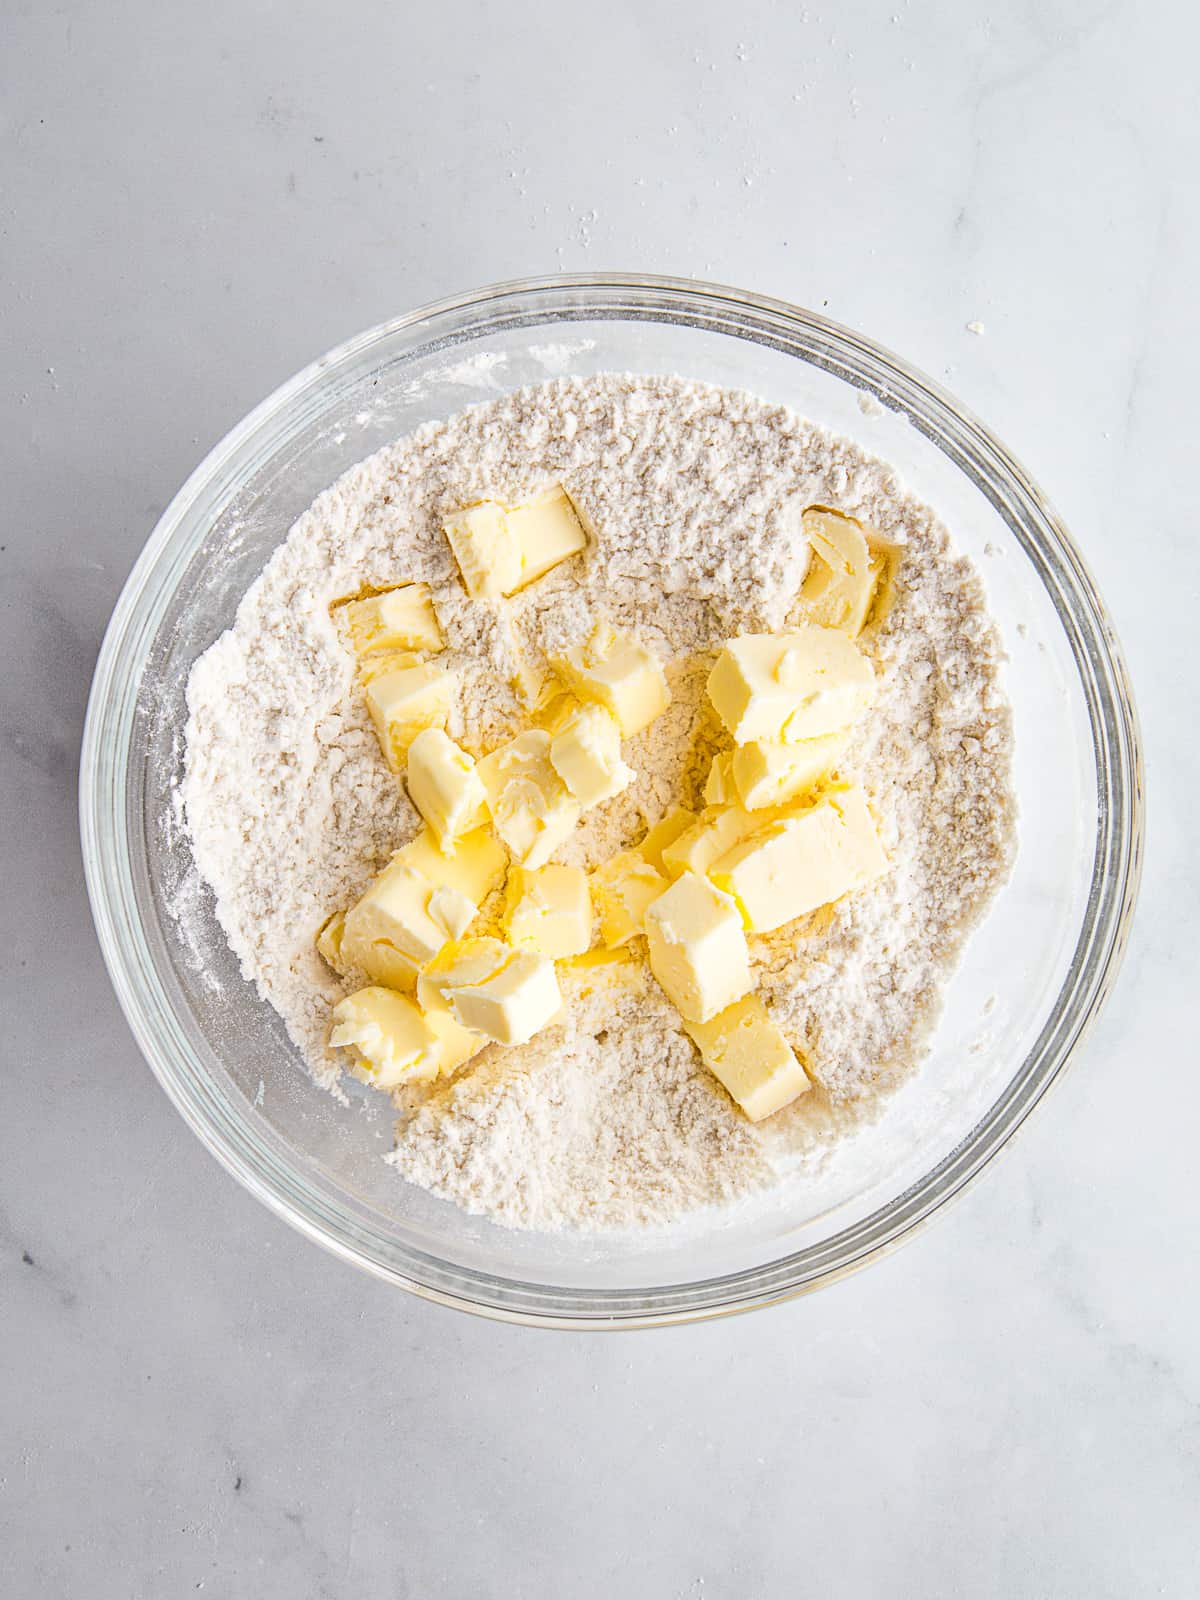
Tools Needed.
- Large mixing bowl. If it’s warm when you make pie dough, chill the mixing bowl for 30 minutes before making the dough.
- Whisk or fork. Use this to mix together the flour, sugar, and salt.
- Pastry cutter OR two butter knives OR a large fork. (optional) You can work the butter into the flour with your fingertips or use a pastry cutter, two butter knives, or a large fork.
The Steps Explained.
- Whisk together the gluten-free flour and salt. This distributes the salt evenly through the flour mixture.
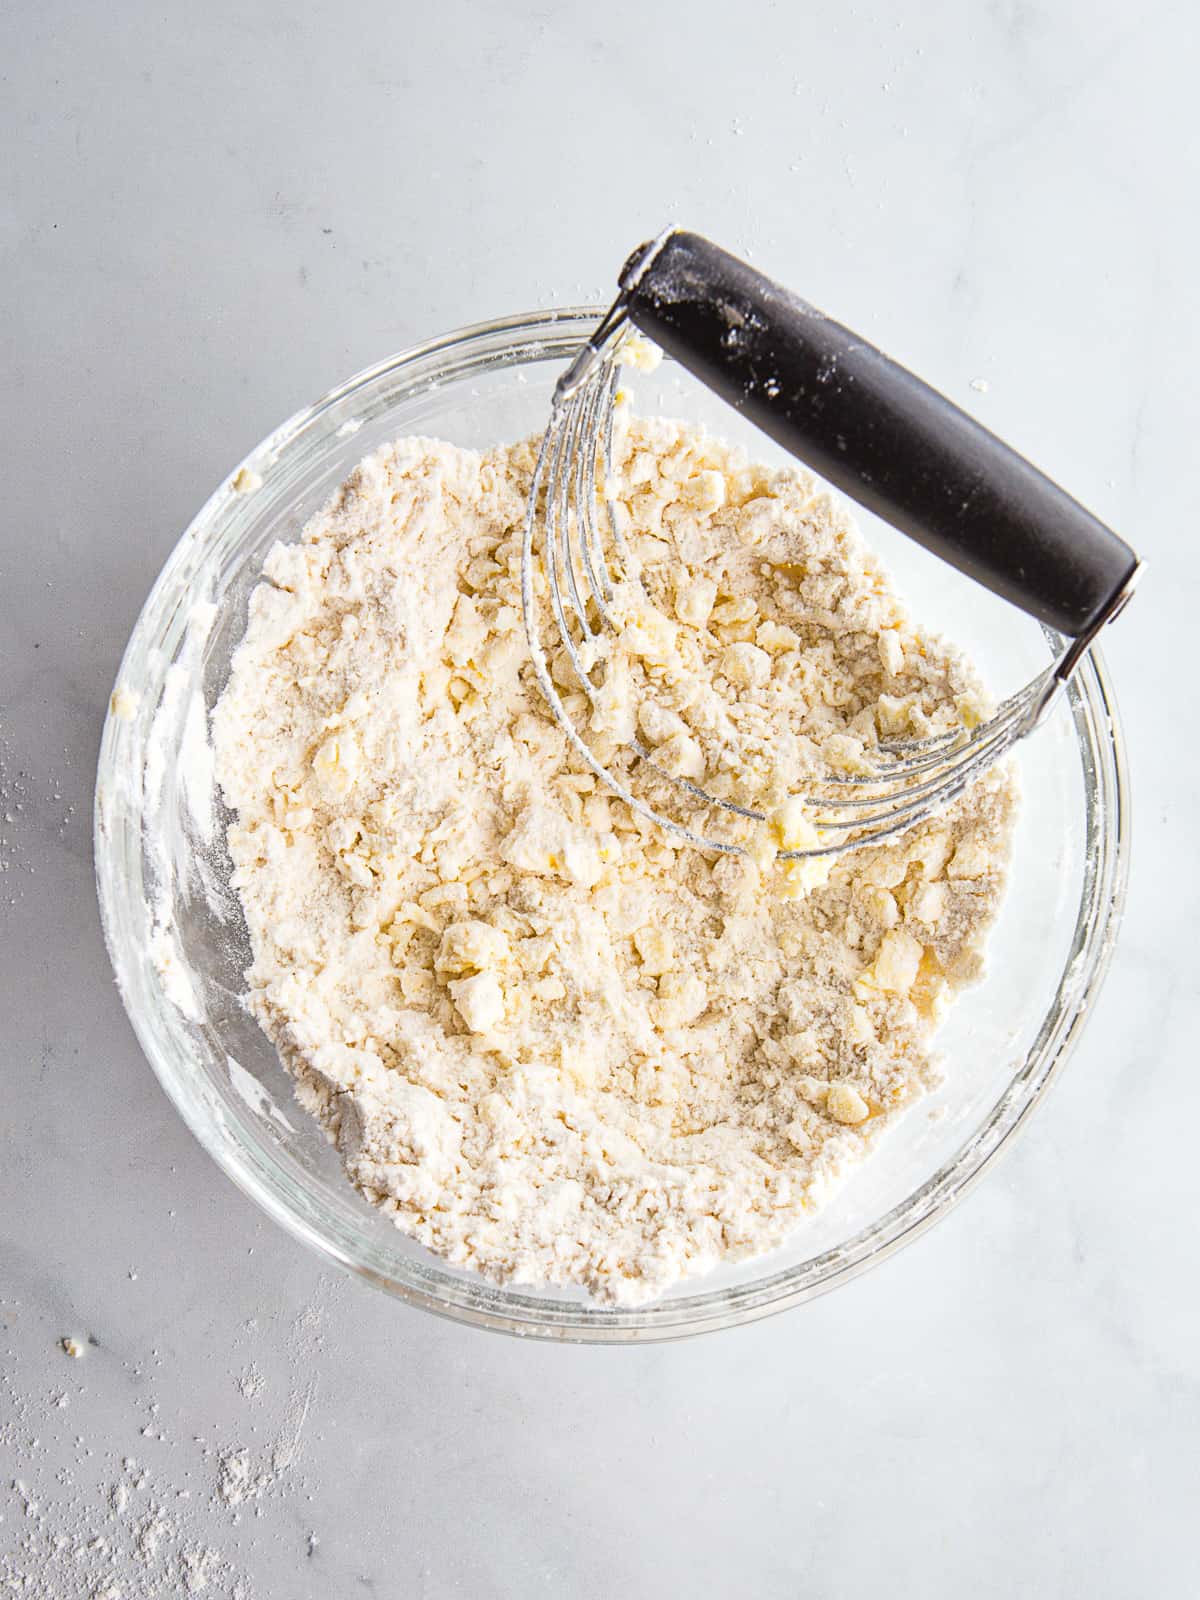
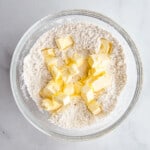
- Now it’s time to add the flour. This step takes the longest. Don’t rush it. Add the butter or shortening. (This step is called “cutting in.”) Place the butter or shortening to the flour. Stir gently to coat them with flour. This keeps the pieces from sticking together. You aren’t trying to work the butter into the flour yet.
- Flatten the flour-coated pieces of butter by squeezing them between your fingers. Do this one piece at a time.
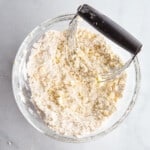
- Rub the flattened butter into the flour in an almost snapping motion with your fingers. Cut the butter in until there are pea and walnut half pieces of butter throughout the flour.
If you have warm hands or this is uncomfortable for you, skip steps two through four and use a pastry cutter in a rocking motion. Or two butter knives in a scissoring motion.
- Finally, add the water. This will transform the flour-butter mixture into a dough. Start by adding ½ cup ice water. It’s hard to say just how much water you’ll end up using. Different types of gluten-free flour blends hydrate differently. Think of the water amount as a starting point. First, toss the flour-butter mixture with the water.
- After you’ve added the water, start to gently mix the dough with your hands or a wooden spoon. Do this until the dough holds together. If it doesn’t or if it looks floury, add more water, one tablespoon at a time.
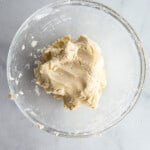
- You’ve now successfully made gluten-free pie dough. Turn the dough out onto a lightly floured counter. Knead it once or twice to bring it together. Cut it in half with a sharp knife. Press each half into a flat disk and wrap it tightly with plastic wrap.
How to Make a Gluten-Free Pie Crust in a Food Processor.
Food processors make it easy to whip up a gluten-free pie crust in minutes. They’re also great for bakers who have warm hands.
Tools needed.
- Food processor. Use a food processor with at least a 6-cup capacity.
- Combine the flour with the salt. Place the gluten-free flour in the bowl of the food processor and hit the “pulse” button a few times to combine.
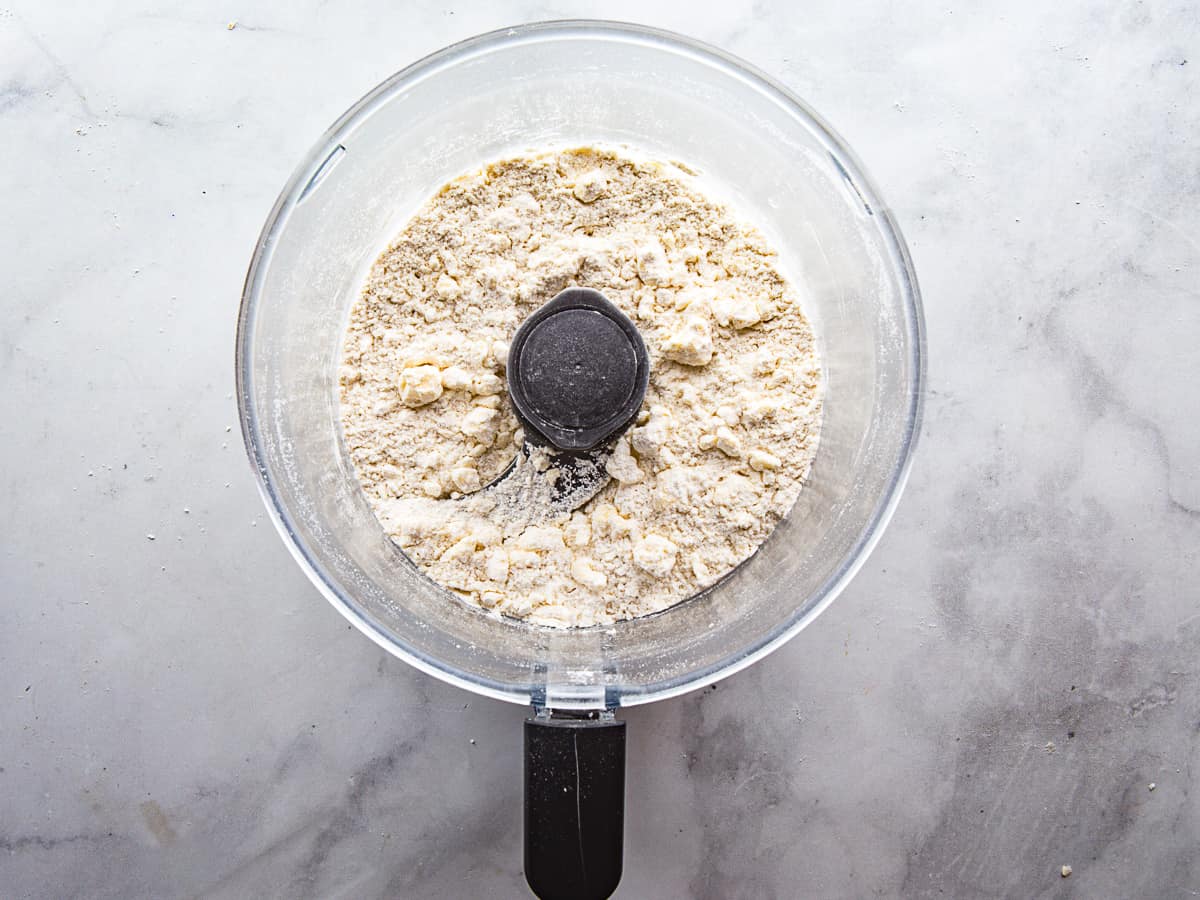
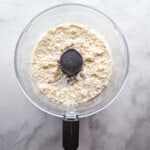
- Add the butter or shortening to the bowl of the mixer. Remember to cut it into small pieces before adding it to the flour. Pulse the processor a few times until the butter is somewhere between the size of walnut halves and peas. Don’t let the food processor run. You want to pulse it in short two to three second bursts a few times.
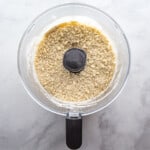
- Stop the processor and add the water, all at once. Don’t drizzle it in through the pour spout. Pulse the food processor until the water is absorbed. Most likely it will not form a dough. Rather, the mixture might resemble tiny pebbles.
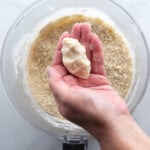
- Transfer the mixture to a large mixing bowl. Squeeze a handful. It should hold together. If it does, stir or knead it together until it forms a dough. If the handful doesn’t hold together, stir in a tablespoon of additional water.
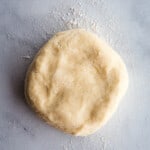
- Once a dough forms, turn it out onto a floured counter. Knead it once or twice to bring it together. Cut the dough in half with a sharp knife. Press each half into a flat disk and wrap it tightly with plastic wrap.
Chill the Dough.
This is one step you don’t want to skip! Be sure to chill your dough whether you mix it by hand or in a food processor.
Wrap the dough tightly in plastic wrap and chill it for at least one hour. Chilling gluten-free pie dough gives the fat a chance to firm up, so it won’t overmix into the flour. The flour also absorbs the liquid in the dough during this time which gives the crust a great texture.
Troubleshooting.
The Dough is Too Dry.
If your dough looks floury or doesn’t hold together, it’s too dry. Add a little more water, one tablespoon at a time, until it holds together and you don’t see any dry gluten-free flour.
The Dough is Too Wet or Sticky.
If your dough feels wet or sticky, it contains too much water. To fix this, add a little extra gluten-free flour. Start with one tablespoon and go from there.
Selecting the Perfect Pie Plate for Gluten-Free Crust.
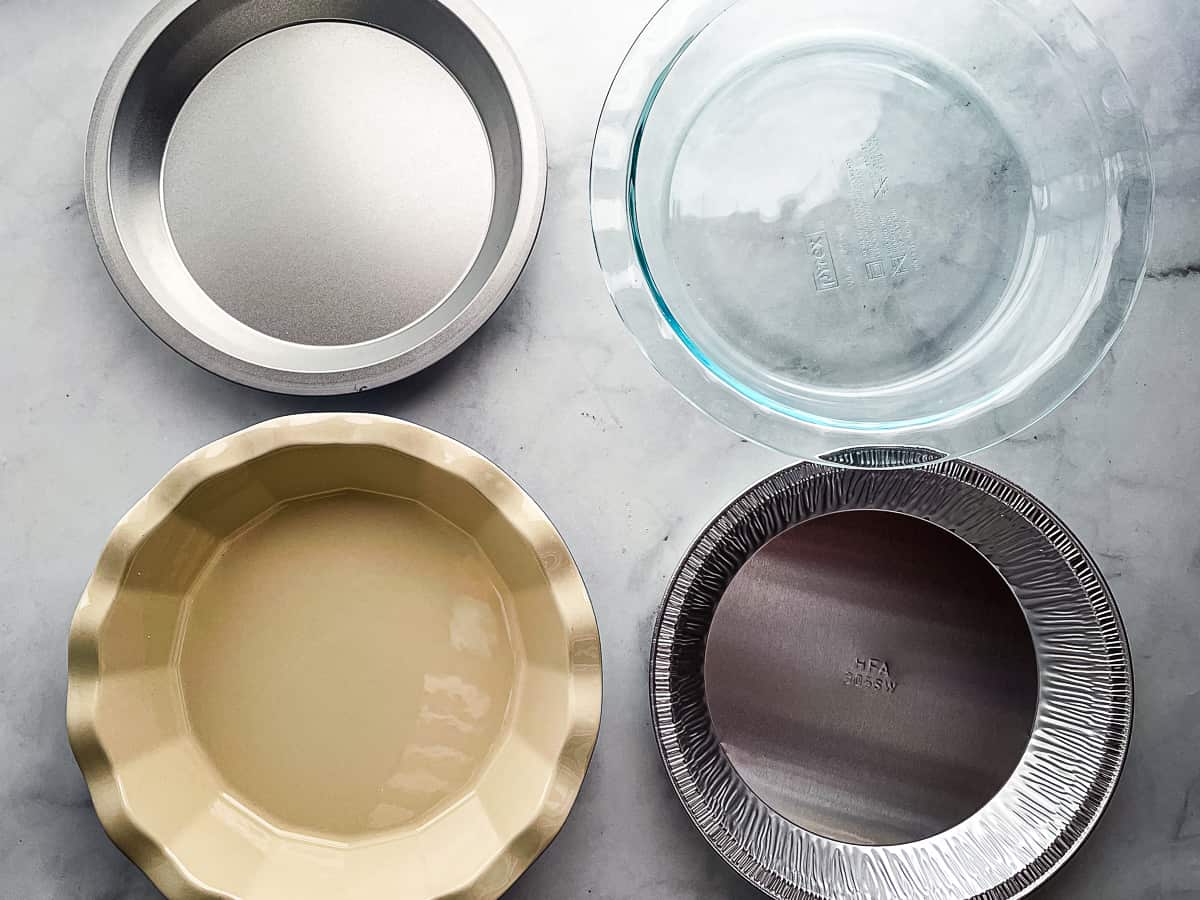
Let’s get right to it: you can bake a gluten-free pie in any type of pie plate. Metal. Glass. Ceramic. Disposable. They all work. But there are some differences between them. Let’s look at the options.
- Metal. This is my favorite material for a pie plate. The crust doesn’t stick. They conduct and distribute heat well, which gives us a nice brown crust. Plus metal pans tend to be easy to find and affordable.
- Ceramic. These pans are so pretty. Like a metal pie plate, they conduct heat well. However, some of the finishes cause the pie dough to stick. If you find this is happening with your favorite pan, try lightly greasing the pan before placing the crust. This usually solves the problem.
- Glass. A see-through pan. What’s not to love? One thing: they don’t conduct heat as well as metal or ceramic pans. If you use one, check the crust for doneness before removing it from the oven. It might need an extra few minutes of baking.
- Disposable. These pie plates are great if you’re gifting a pie. They tend to be very thin and a little smaller than regular pie plates. Take care when lifting them. Disposable plates can buckle under the weight of a filled pie. I always place them on a baking sheet to avoid an accident.
Deep Dish versus Regular Pie Plates.
We’ve all seen a “deep dish” pie on the menu at restaurants. But what is a deep dish pie? It’s a pie baked in a pan that’s between 1 ¾ and 2 ½ inches deep. A standard pan, for comparison, is between 1 ¼ to 1 ½ inches.
Deep dish pies require more crust and filling than standard pies. Unless a recipe clearly states “deep dish”, it’s safe to assume it’s a standard pie.
This recipe makes enough dough to fit a deep dish pan. You won’t have much leftover for trimming or decor. If you like a little extra dough to work with, increase the recipe by 50%.
How to Roll Out a Gluten-Free Pie Crust.
Just like making the dough, you’ve got options. You can roll your pie crust directly on the counter. Or you can use parchment paper. I like rolling the crust between two pieces of parchment. It doesn’t stick and is fairly easy to move the dough.
By the way, gluten-free pie dough doesn’t have gluten holding it together. This is important because gluten, the stretchy protein found in wheat and other grains, makes wheat-based pie crust easy to roll. Since gluten-free pie crust has no gluten, it’s very delicate. Keep this in mind before rolling.
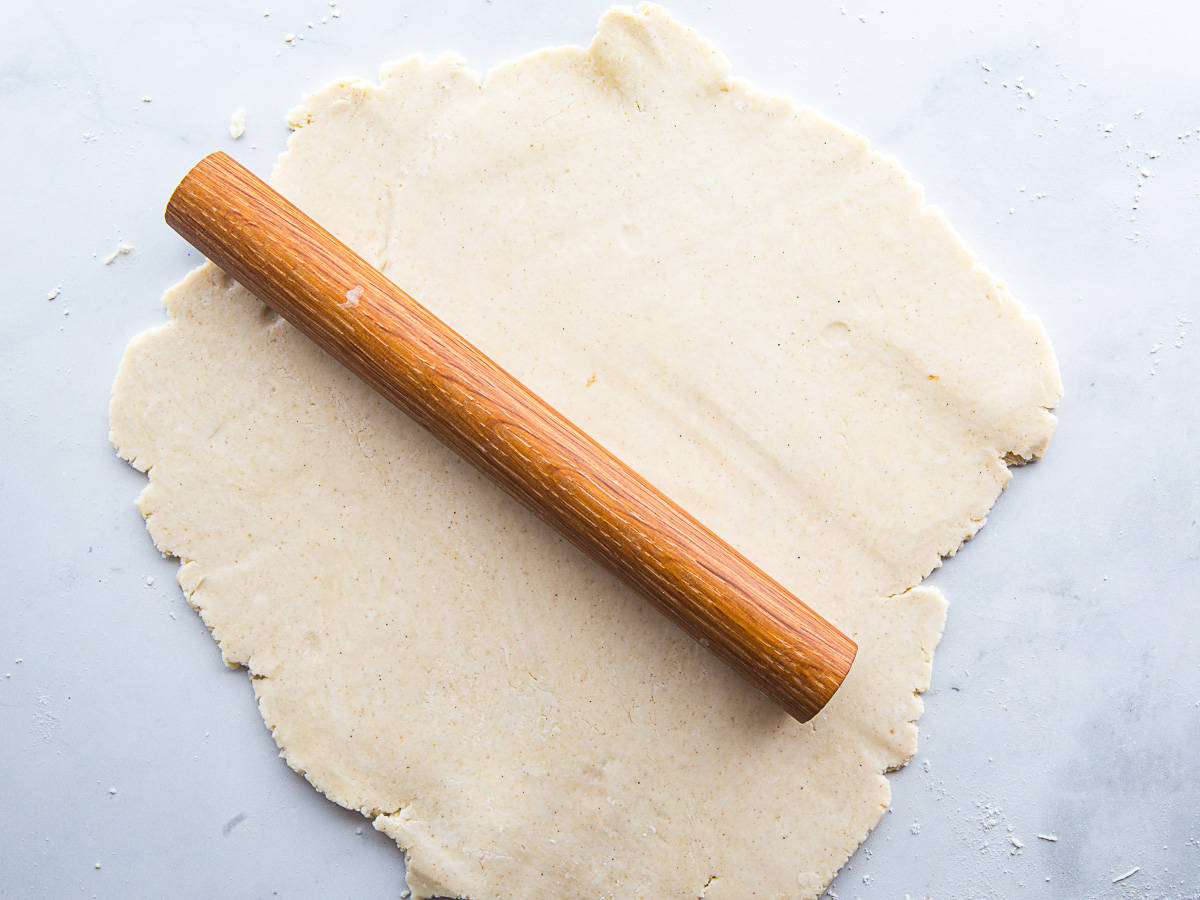
Remove the dough from the refrigerator about 30 minutes before you want to roll it out. If you try to roll really cold gluten-free pie dough, it cracks. Letting it warm slightly prevents it from cracking.
How to Roll Out Gluten-Free Dough Between Parchment Paper.
You need two pieces of 12×18-inch parchment, gluten-free flour, and a rolling pin for this method.
- Lightly dust the parchment and dough with gluten-free flour. Place the dough in the center of the paper. Cover the dough with the second piece of parchment. Roll until the dough is between 1/8-and 1/4-inch.
Sometimes the top piece of parchment can wrinkle as you roll. As long as you dust the dough with gluten-free flour, the top piece shouldn’t stick.
- Gently remove the top piece of parchment. Invert your pie pan over the dough. Be sure to center it.
- Slide your hand under the parchment paper and place the other on the back of the pan. In a swift motion, flip the dough into the pie plate. Press the dough into the pan and then gently remove the parchment paper.
- If the dough tears during this process, press it back together firmly before filling or baking.
How to Roll a Gluten-Free Pie Crust on the Counter.
You need gluten-free flour and a rolling pin for this method.
- Lightly dust your counter with gluten-free flour. Uses about a tablespoon of gluten-free flour spread over a 12-inch area.
- Sprinkle additional flour on top of the dough and coat your rolling pin lightly.
- Roll the dough from the center outward until it’s between 1/8-and 1/4-inch thick. Apply a gentle pressure to the dough as you do this. Working from the center out, instead of a back and forth motion keeps the dough even.
- Move the dough, adding more flour under it as needed to prevent it from sticking to the counter.
- If the dough cracks as you roll it, gently press it back together. If it’s cracking a lot, the dough might be too cold. Cover it and let it sit for five minutes before trying to roll again.
- After you’ve rolled out the dough to the desired thickness, invert your pie plate over the dough. Be sure to center it. You want the dough about one-inch larger than the plate.
- Turn the pie plate rightside up. Gently roll the dough around your rolling pin. Position the pin along the far end of the plate. Slowly unfurl the dough off the pin.
- Gently press the dough into the bottom and sides of the pan.
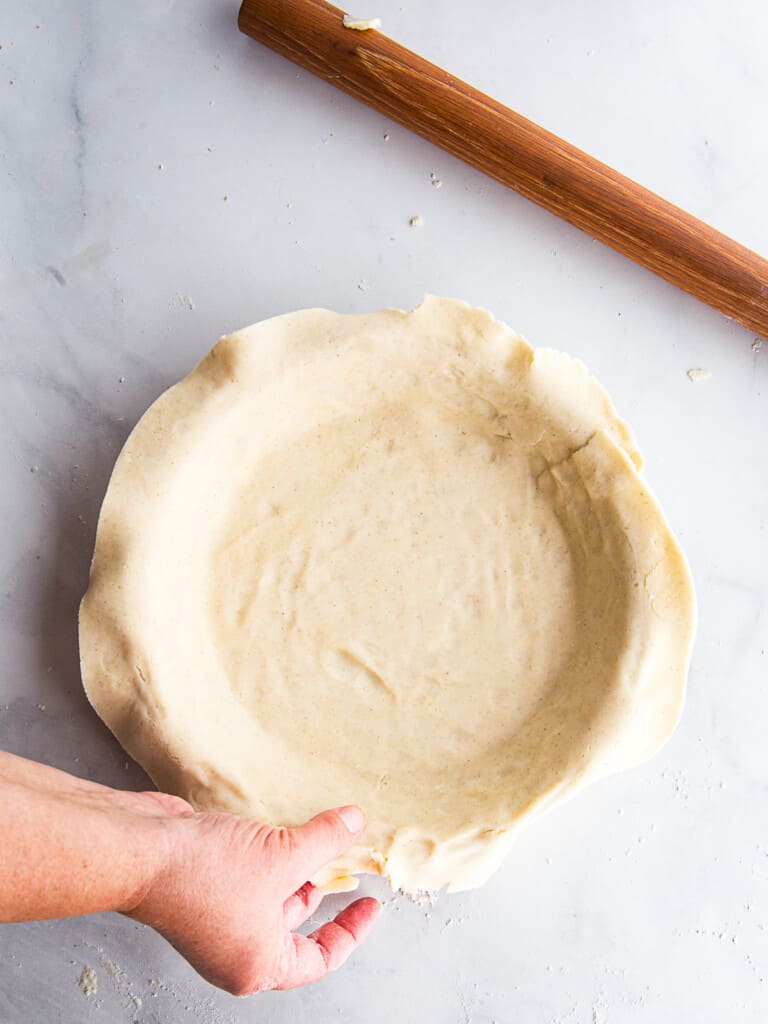
Trim excess dough from the edge. You want to leave about ½-inch of dough overhanging the pan.Tuck the dough under the edge of the pan. Crimp it with your fingers or a fork.
If the dough warmed up while you worked with it, place the pan into the refrigerator for about 30 minutes before either blind-baking or filling.
How to Make a Double Crust Gluten-Free Pie.
- Fill the pie as directed. Then roll out the second piece of dough, just as you did for the first.
- Wrap the dough around the rolling pin. Lift it and transfer it to the pie. Gently unroll it over the filling.
- Trim excess dough. Ideally you’ll want about a half-inch of dough hanging over the edge of the pie.
- Tuck the dough under the bottom crust and pan. Press the two pieces of dough together lightly as you do this. This seals the two pieces together.
- Crimp the crust together with a fork or with your fingers.
How to Parbake and Blind-Bake (Pre-bake) Gluten-Free Crusts.
- Parbaking a crust means baking it partially before filling. Do this when your filling will cook quickly, before the crust has time to bake. This is usually done when your filling will bake before the crust fully cooks.
- Blind-Baking means fully baking the crust before filling. Do this when you’re filing the crust with a fully cooked filling, like pudding.
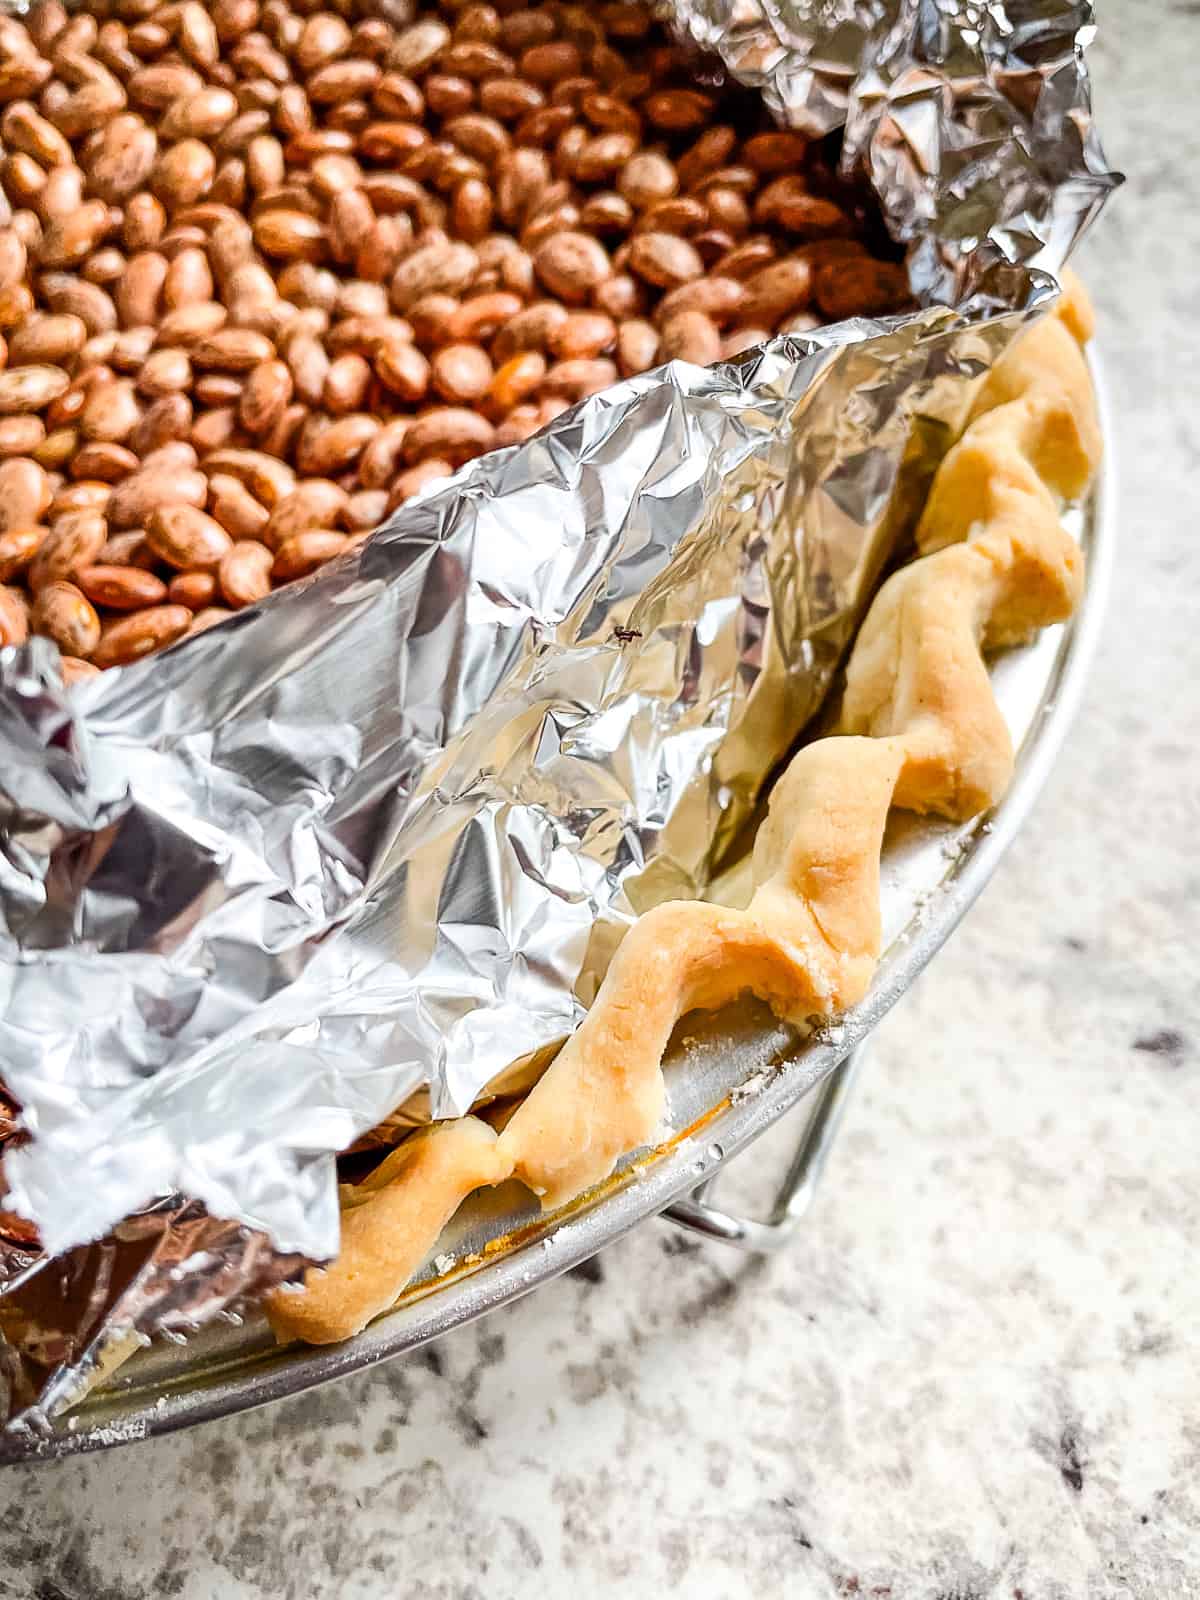
If your pie recipe calls for parbaking or blind-baking the crust, here’s what to do.
- Preheat your oven to 425℉.
- Roll out the dough and place it into the pie pan. If your dough feels warm, chill the dough in the pan for 20 minutes.
- Prick the crust all over with the tines of a fork. This keeps the crust from puffing up as it bakes. Place a piece of foil or parchment in the pan. Fill the pan with dried beans or pie weights.
- Bake until the edges just begin to brown. This takes about 15 minutes..
- Carefully remove the pan from the oven. Carefully remove the foil and weights from the pan.
For Parbaking: Return the pie to the oven and bake for another three or four minutes. Just until the crust loses its raw, shiny appearance. Remember, you don’t want to fully bake a parbaked crust.
For Blind-Baking: Return the pie to the oven and fully bake. The crust should be golden brown. This takes about 12 minutes.
- Place the pan on a cooling rack and allow the crust to cool slightly before filling.
- Fill and bake the pie as directed.
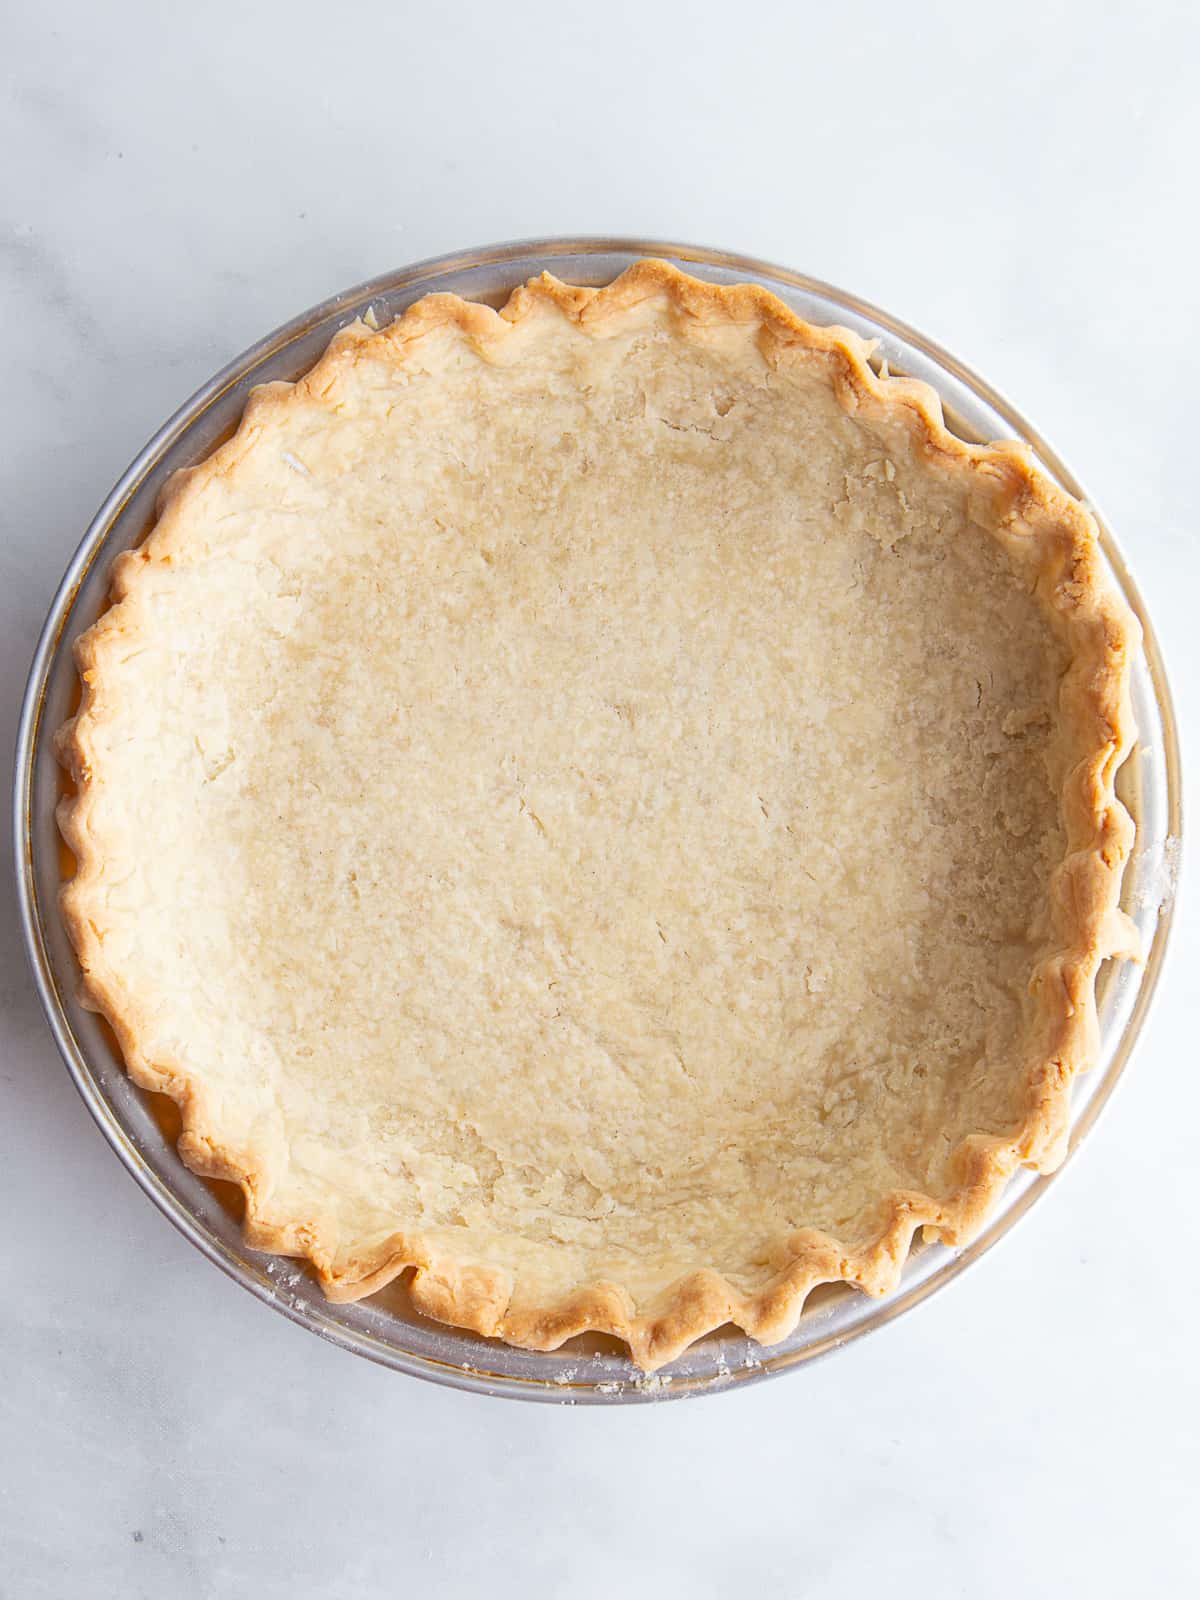
Helpful Tips for Making Gluten-Free Pie Crust
- If it’s warm when you want to make a pie crust, chill everything. Place the ingredients and mixing bowl in the fridge for at least 30 minutes before you make the dough.
- Drizzle the water all over the flour. Instead of pouring the water in one spot, drizzle it evenly over the flour. Do this if you’re mixing by hand or in a food processor. This keeps the flour from clumping in one spot.
- If the dough cracks as you roll it, don’t panic. First press it back together. Next, let it warm up slightly. Cold, butter-based pie dough tends to crack. Let it sit on the counter for five to ten minutes. If this doesn’t solve the problem, it might be too dry. Transfer the dough to a mixing bowl and add a tablespoon of additional water.
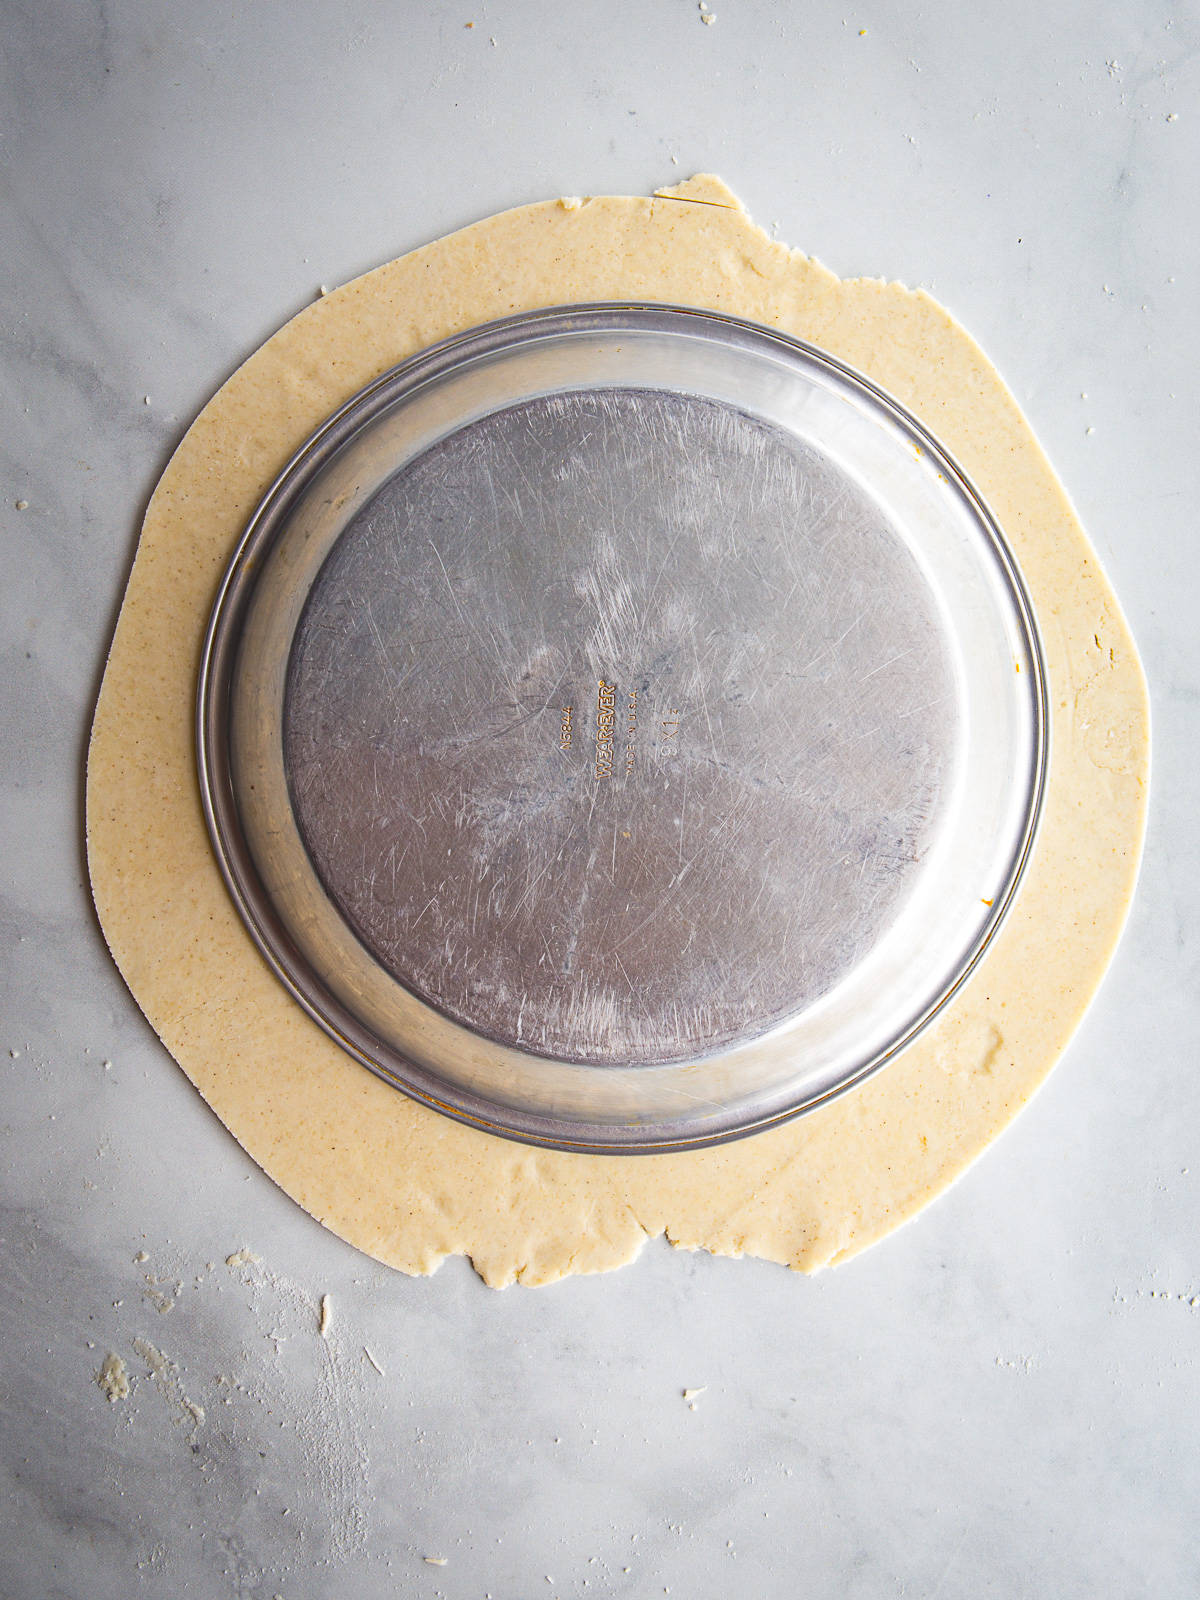
- Roll it out pretty thin but not too thin. You want the dough between ⅛-inch and ¼-inch. This way it’s not too fragile.
- Make sure you roll your dough circle out large enough. To check the size, invert your pie plate over the dough. If it’s about one-inch larger than the plate, you’re all set. It’s better to focus on thickness rather than diameter when rolling out pie dough.
Make-Ahead Tips.
Gluten-free pie dough can be made in advance. Simply store it in the refrigerator or freezer. When you want to make a pie, it’s ready-to-use.
To Refrigerate the dough.
- Keeps up to three days.
- Prepare as directed.
- Shape into a disk.
- Wrap tightly with plastic wrap.
- Use within three days.
To Freeze the dough.
- Keeps up to three months.
- Prepare as directed.
- Shape into a disk.
- Wrap tightly with plastic wrap. Then wrap tightly in foil.
- Label and date the dough.
- Freeze up to three months.
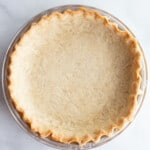
Easy Gluten-Free Pie Crust Recipe
Ingredients
- 3 cups gluten-free flour (10 ½ ounces; 300 grams)
- 1 tablespoon granulated sugar, optional
- 1 teaspoon salt
- 2 sticks cold butter or 1 cup cold shortening, cut into small pieces (8 ounces; 226 grams)
- ½ cup cold water, plus more as needed (4 ounces; 113 grams)
Instructions
-
If this is your first time making a gluten-free pie crust, read the post included with this recipe. It contains in-depth information and tips to help you succeed.
By Hand Directions
-
Whisk the gluten-free flour, sugar, and salt together in a large mixing bowl. Make sure the bowl is large enough that you can place your hands or a pastry cutter into it as you make the dough.
-
Add the butter or shortening. Stir it gently to coat it with gluten-free flour. Don’t mix it into the flour yet. Just coat each piece.
-
Work the butter into the flour. To do this, use your fingertips, a pastry cutter, or a large fork. Mix until the pieces of butter are somewhere between a walnut-half and pea size.
-
Drizzle the cold water over the mixture. Mix, either with your hands or a wooden spoon, until the dough comes together. Test the dough by giving it a squeeze. If it holds together, move to the next step. If not, add an additional tablespoon of cold water.
-
Turn the dough onto a floured surface. Knead it once or twice to bring it together. Cut the dough in half. Pat each half into a flat disk. Chill for at least one hour.
Food Processor Directions
-
Combine the gluten-free flour and salt in the bowl of a food processor. Pulse three or four times to combine.
-
Add the butter or shortening. Pulse the food processor in 3-second bursts until the pieces of butter are between the size of walnut-halves and peas. This takes about 10 to 15 pulses.
-
Remove the lid and drizzle the water over the flour-butter mixture. Pulse the processor in about four or five short, three second bursts. The mixture will look crumbly. Do not mix until a dough comes together.
-
Transfer the mixture to a mixing bowl. Squeeze a handful. If it holds together, mix with a wooden spoon until a dough forms. If the handful falls apart, stir in an additional tablespoon of water until the dough forms.
-
Turn the dough onto a floured surface. Knead it once or twice to bring it together. Cut the dough in half. Pat each half into a flat disk. Chill for at least one hour.
-
Use and bake the dough as directed in your favorite pie recipe.
Recipe Notes
Notes
For detailed information on each step, see the full blog post that accompanies this recipe.
The recipe was tested with Bob’s Red Mill and Cup4Cup Flour. Other gluten-free flour blends might not work as well.
Use a blend of half butter and half shortening for a flavorful and flaky gluten-free crust.
Be sure to use very cold water.


Leave a Reply